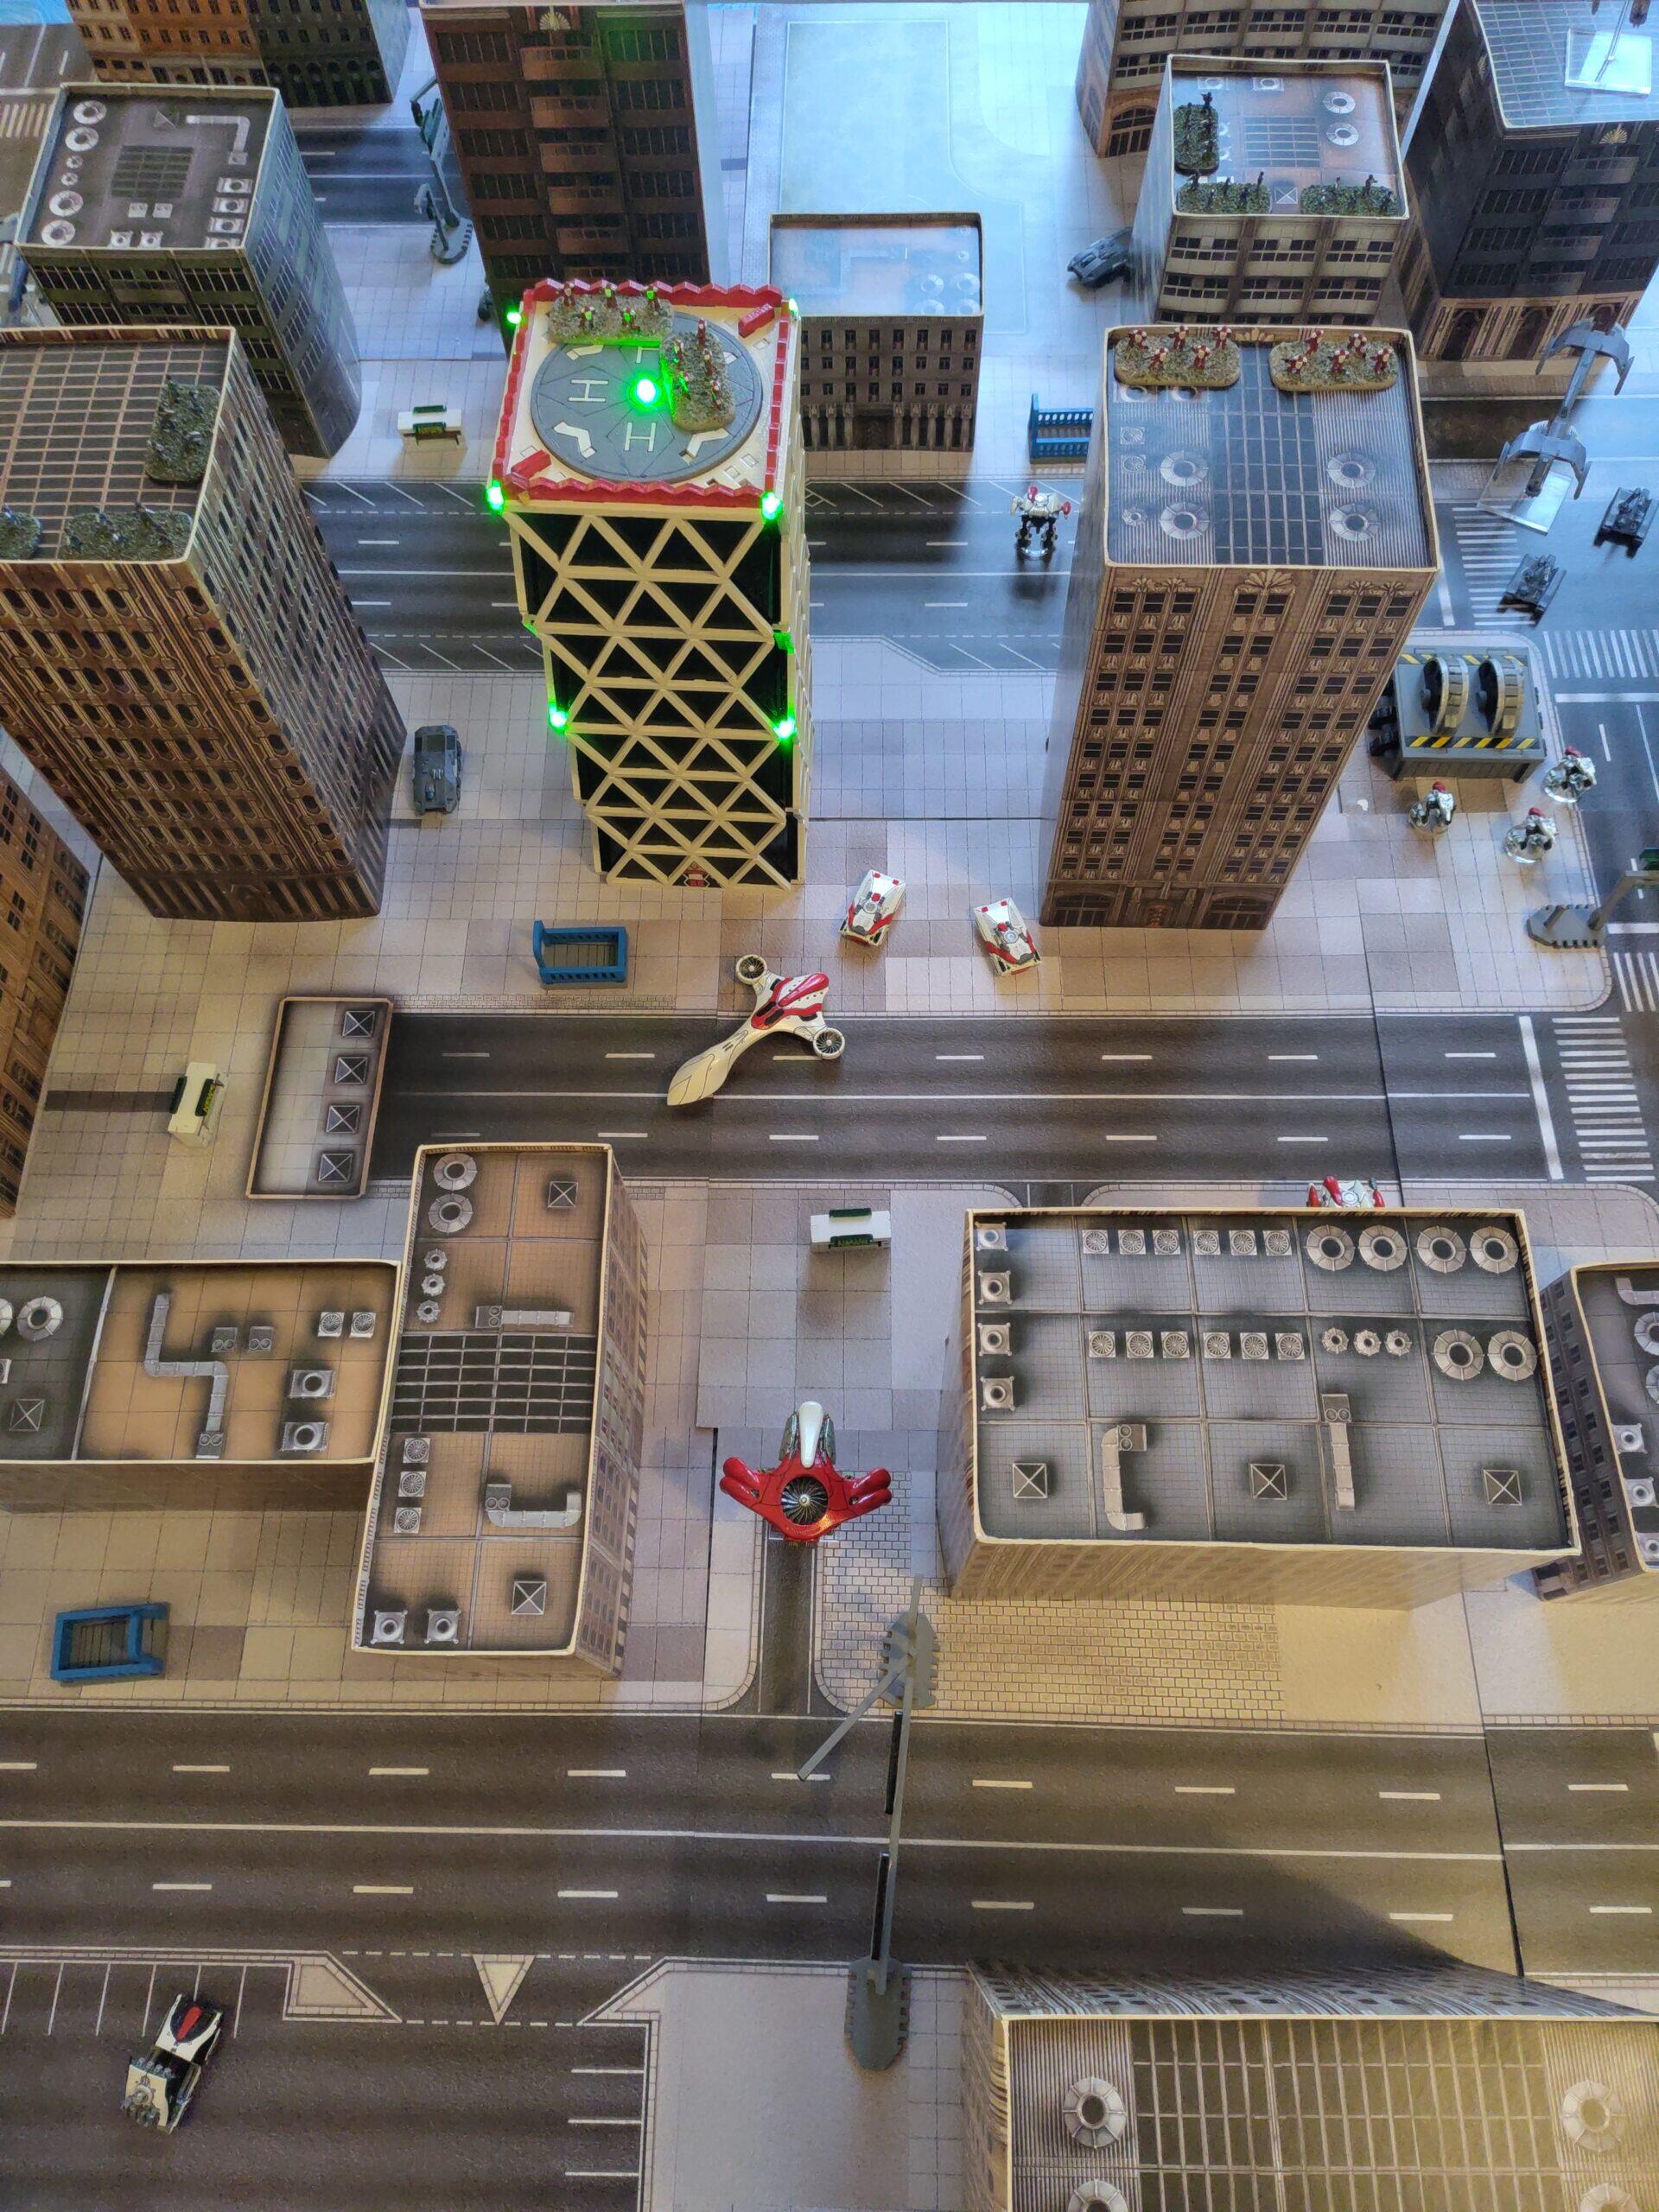
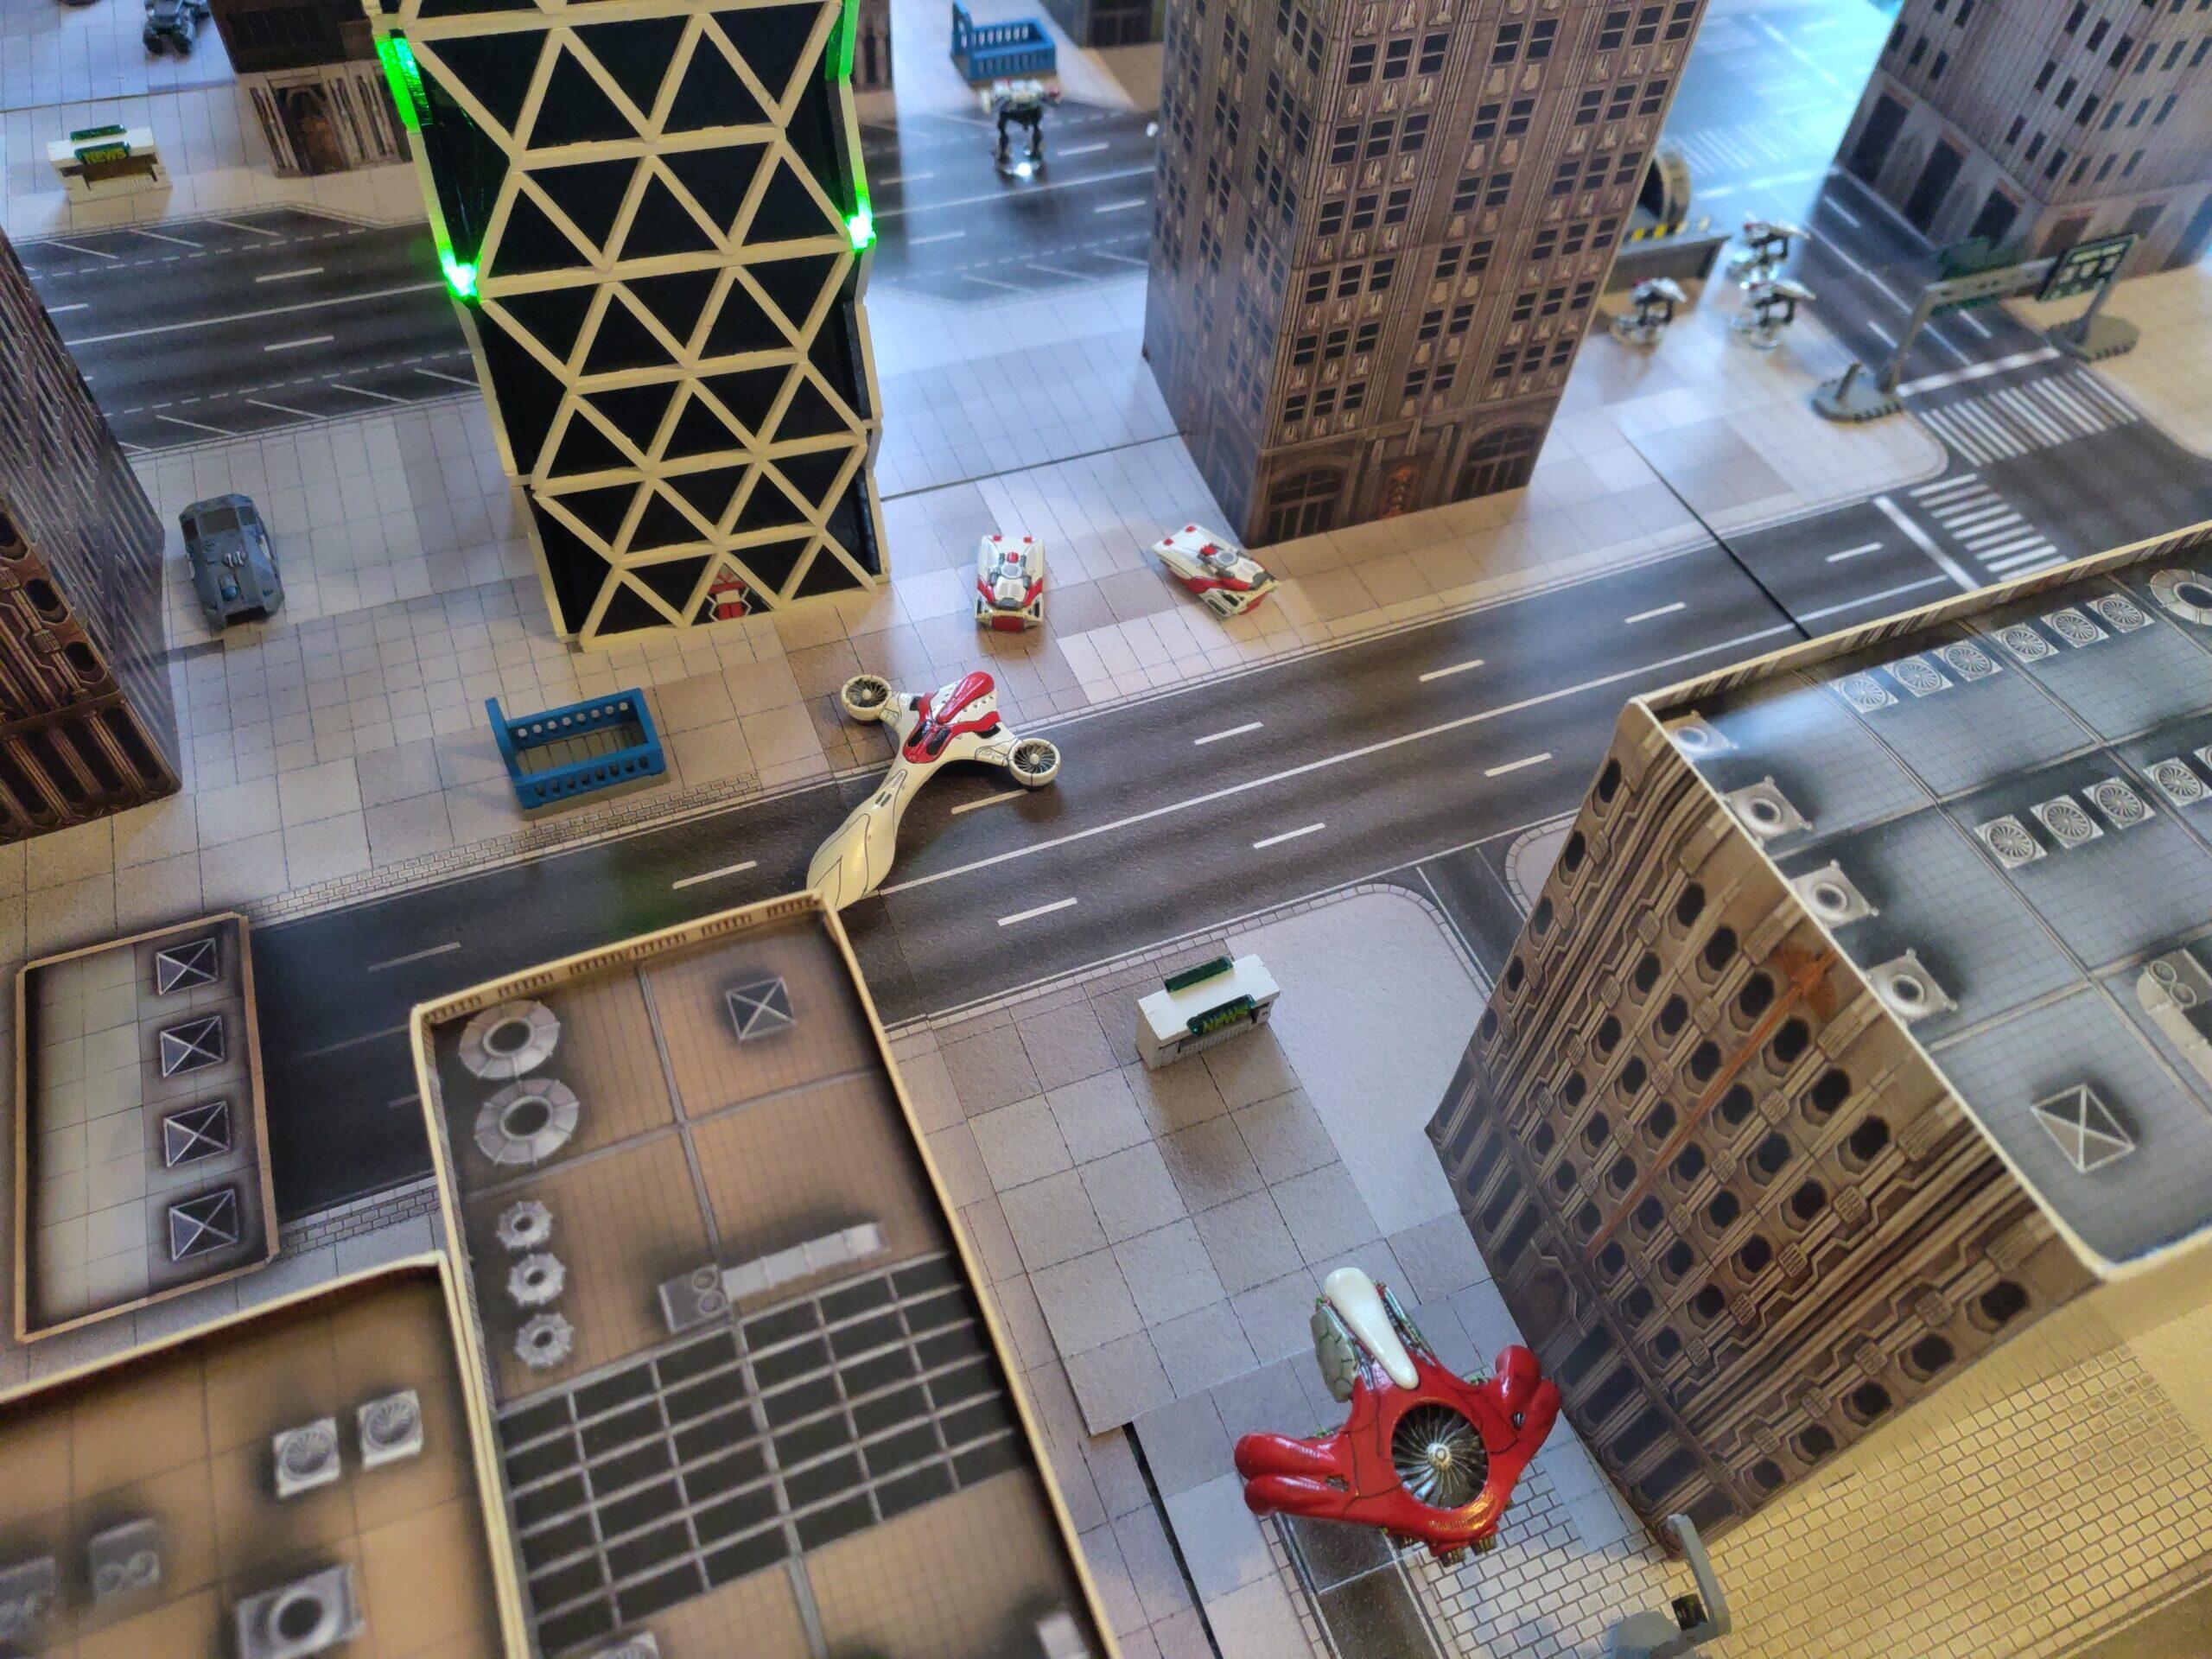
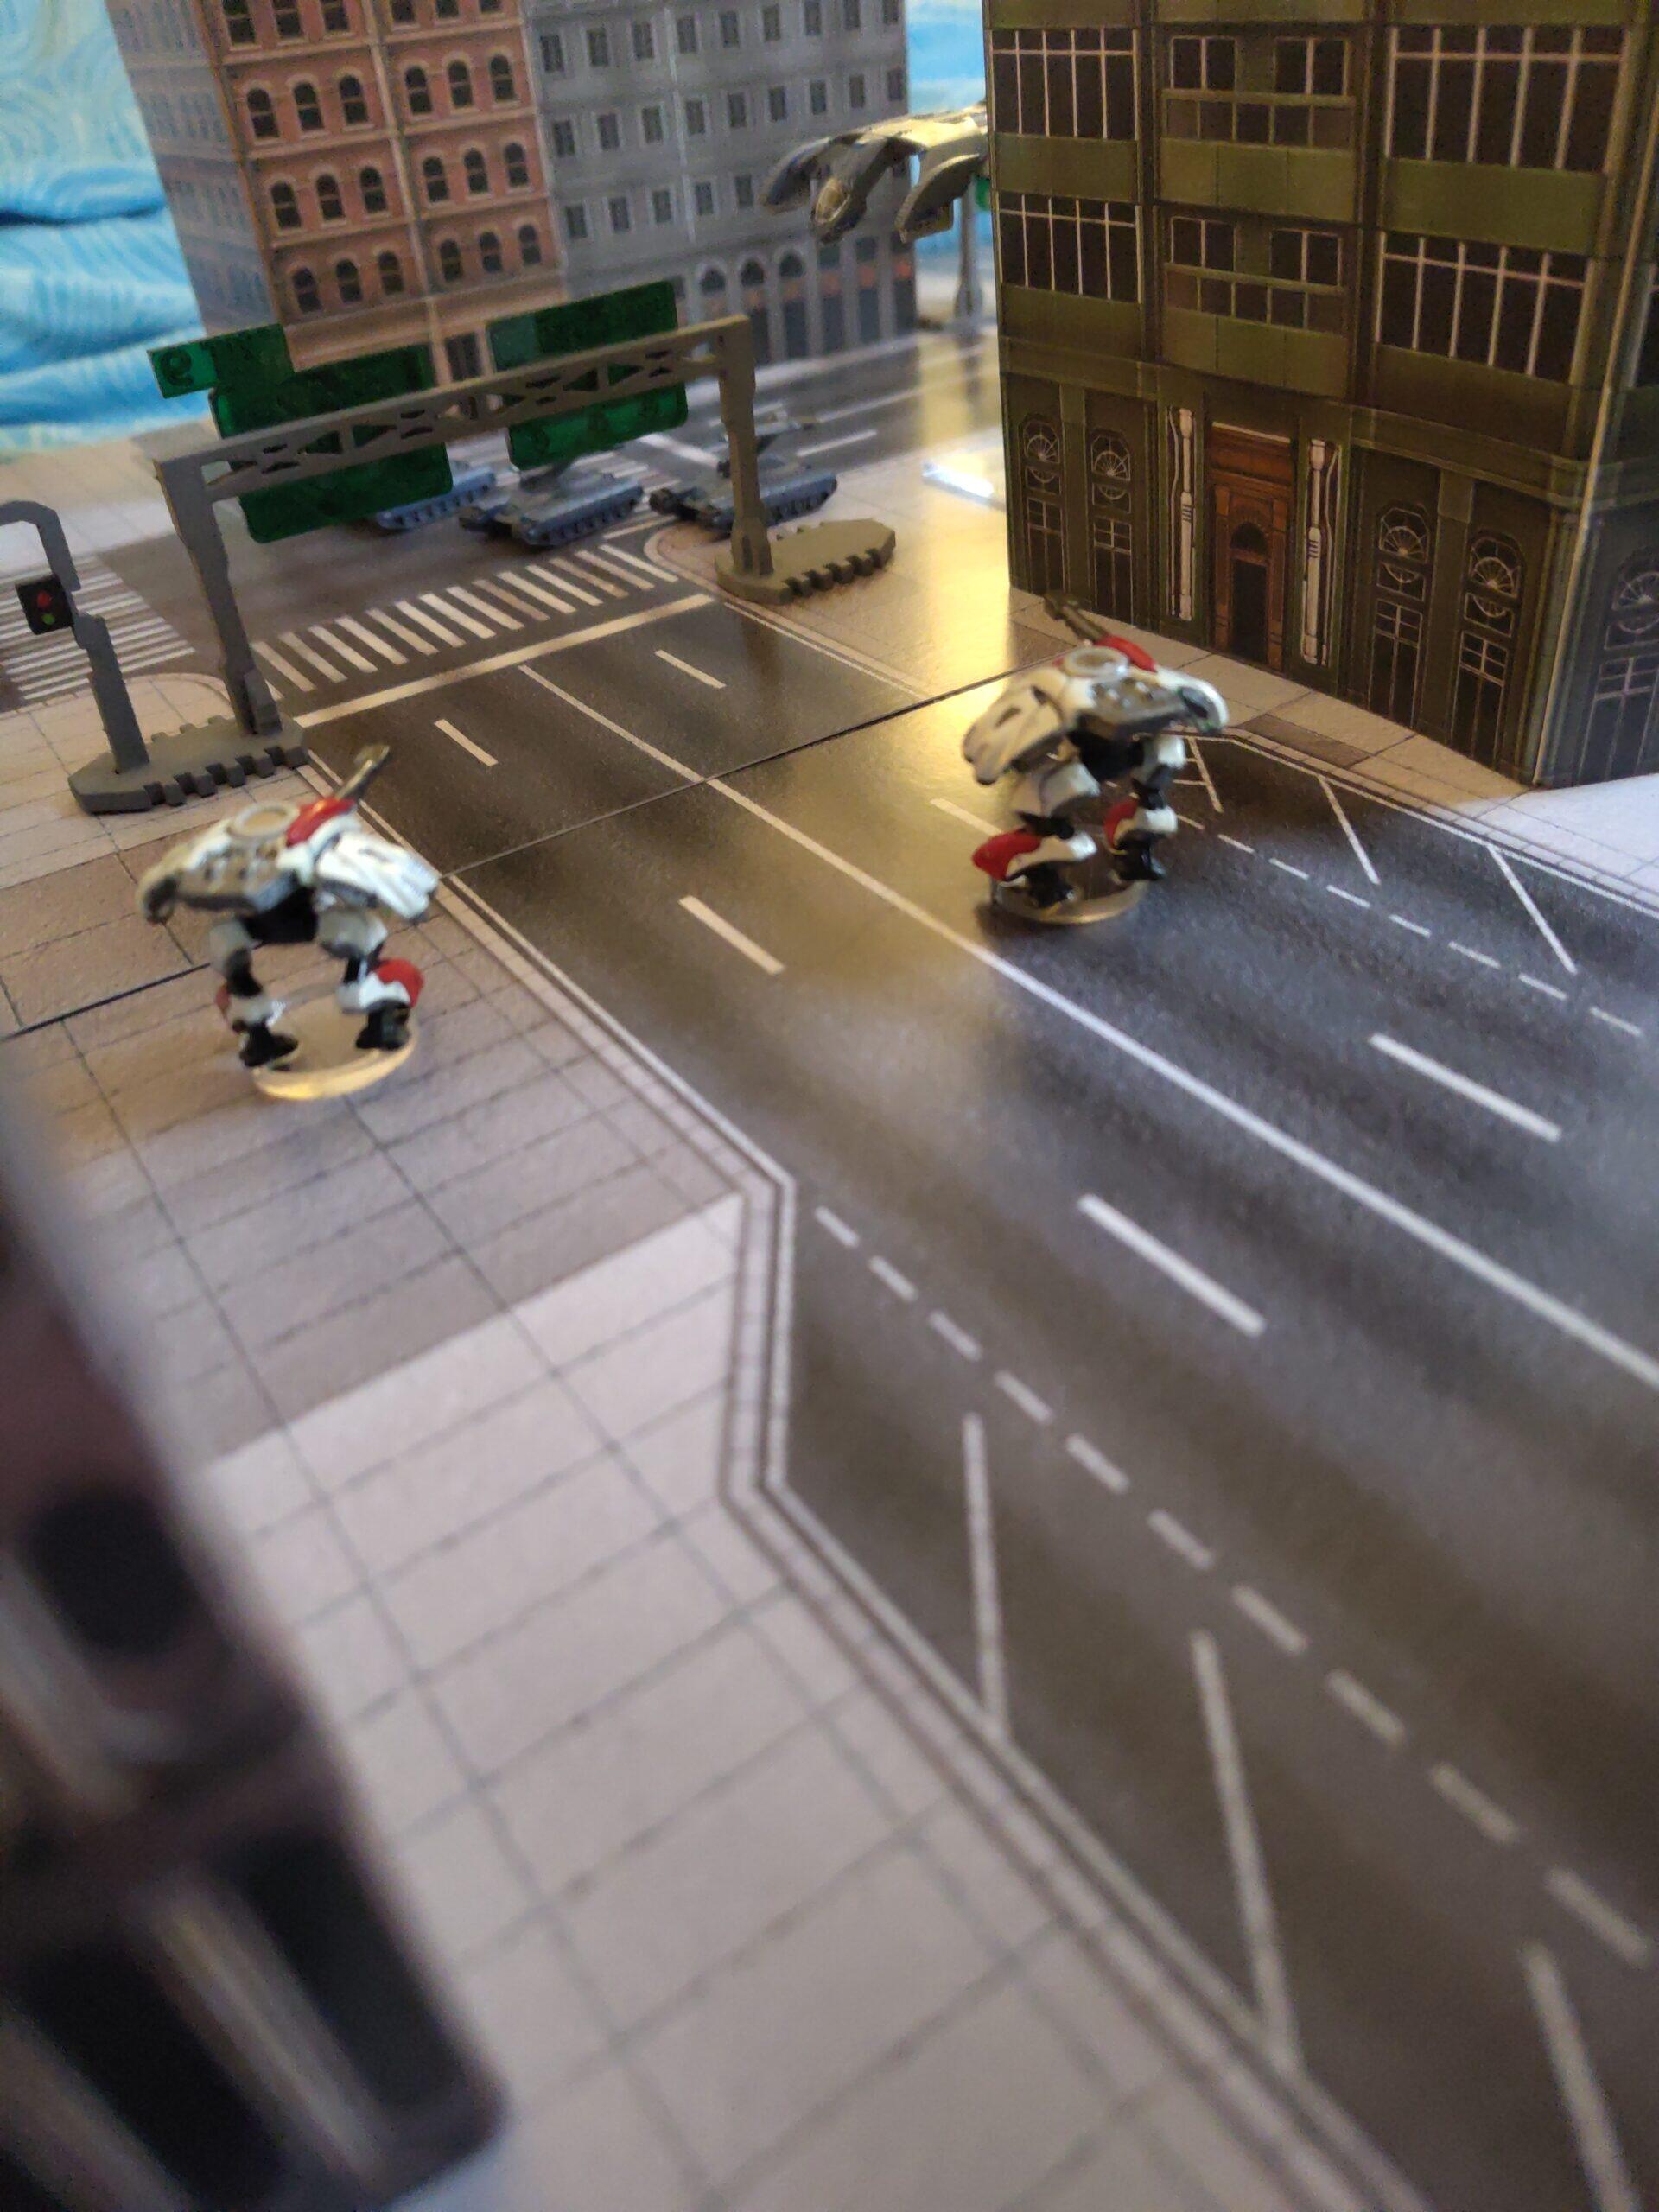
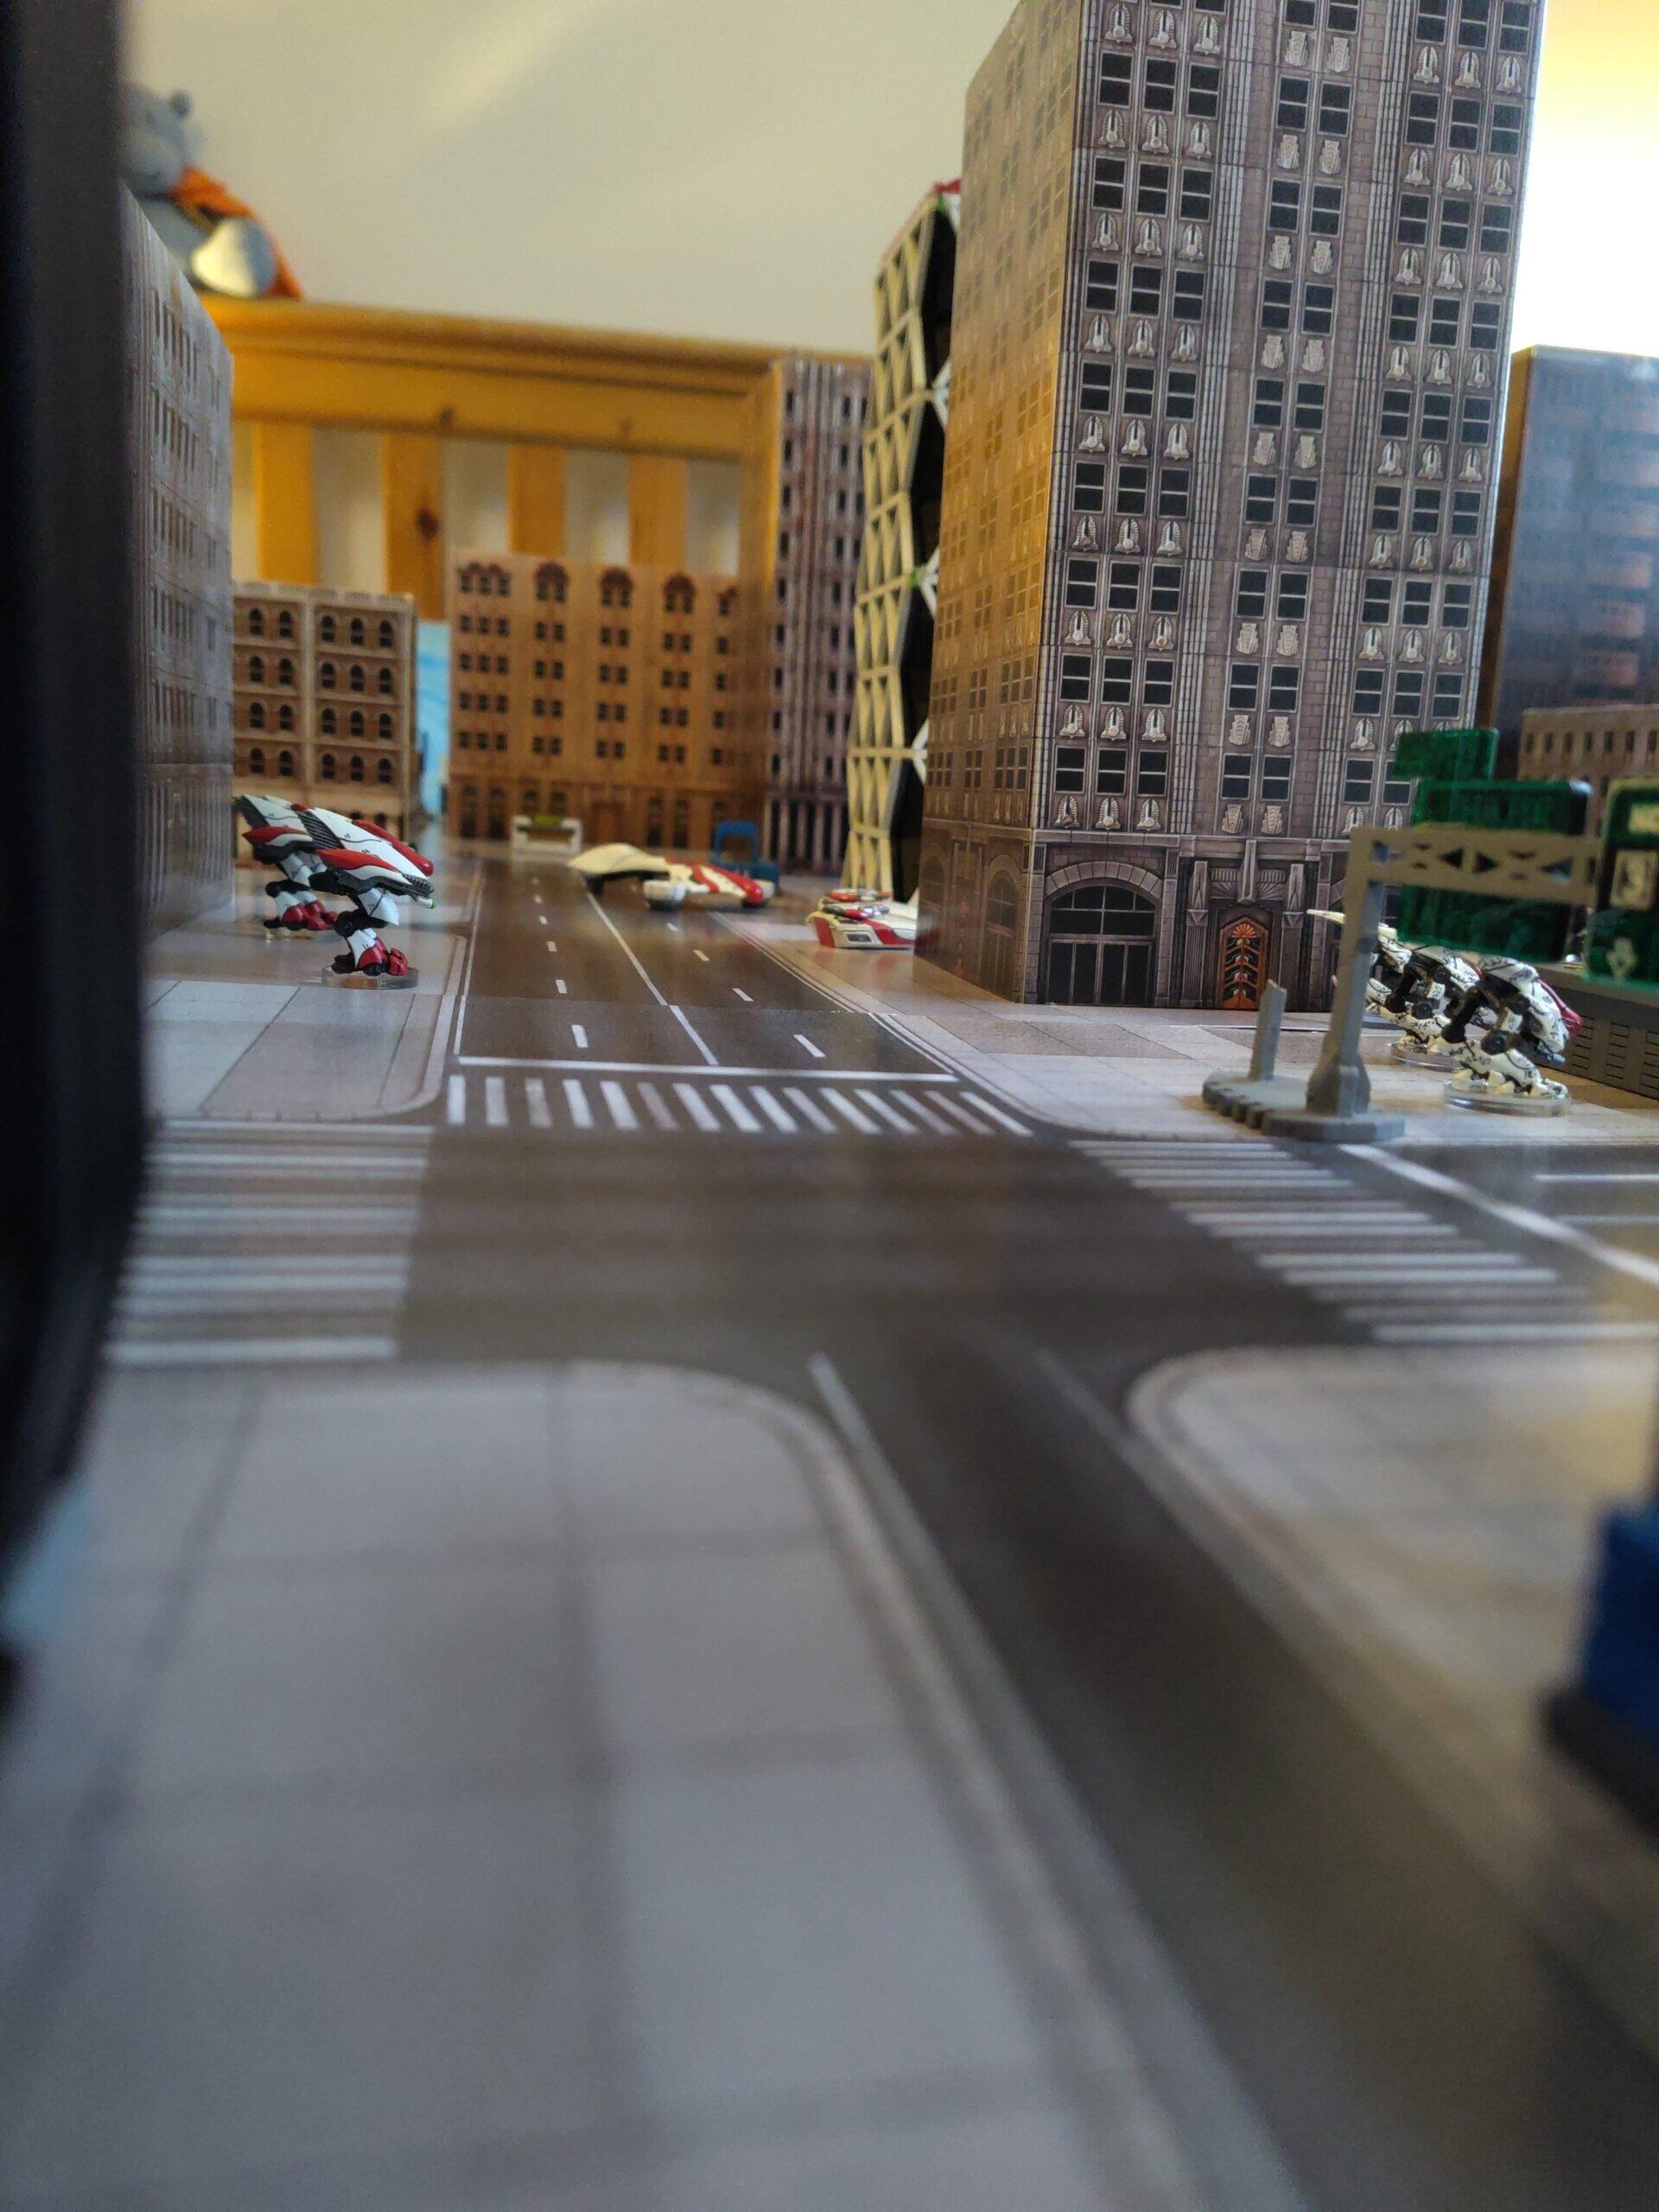
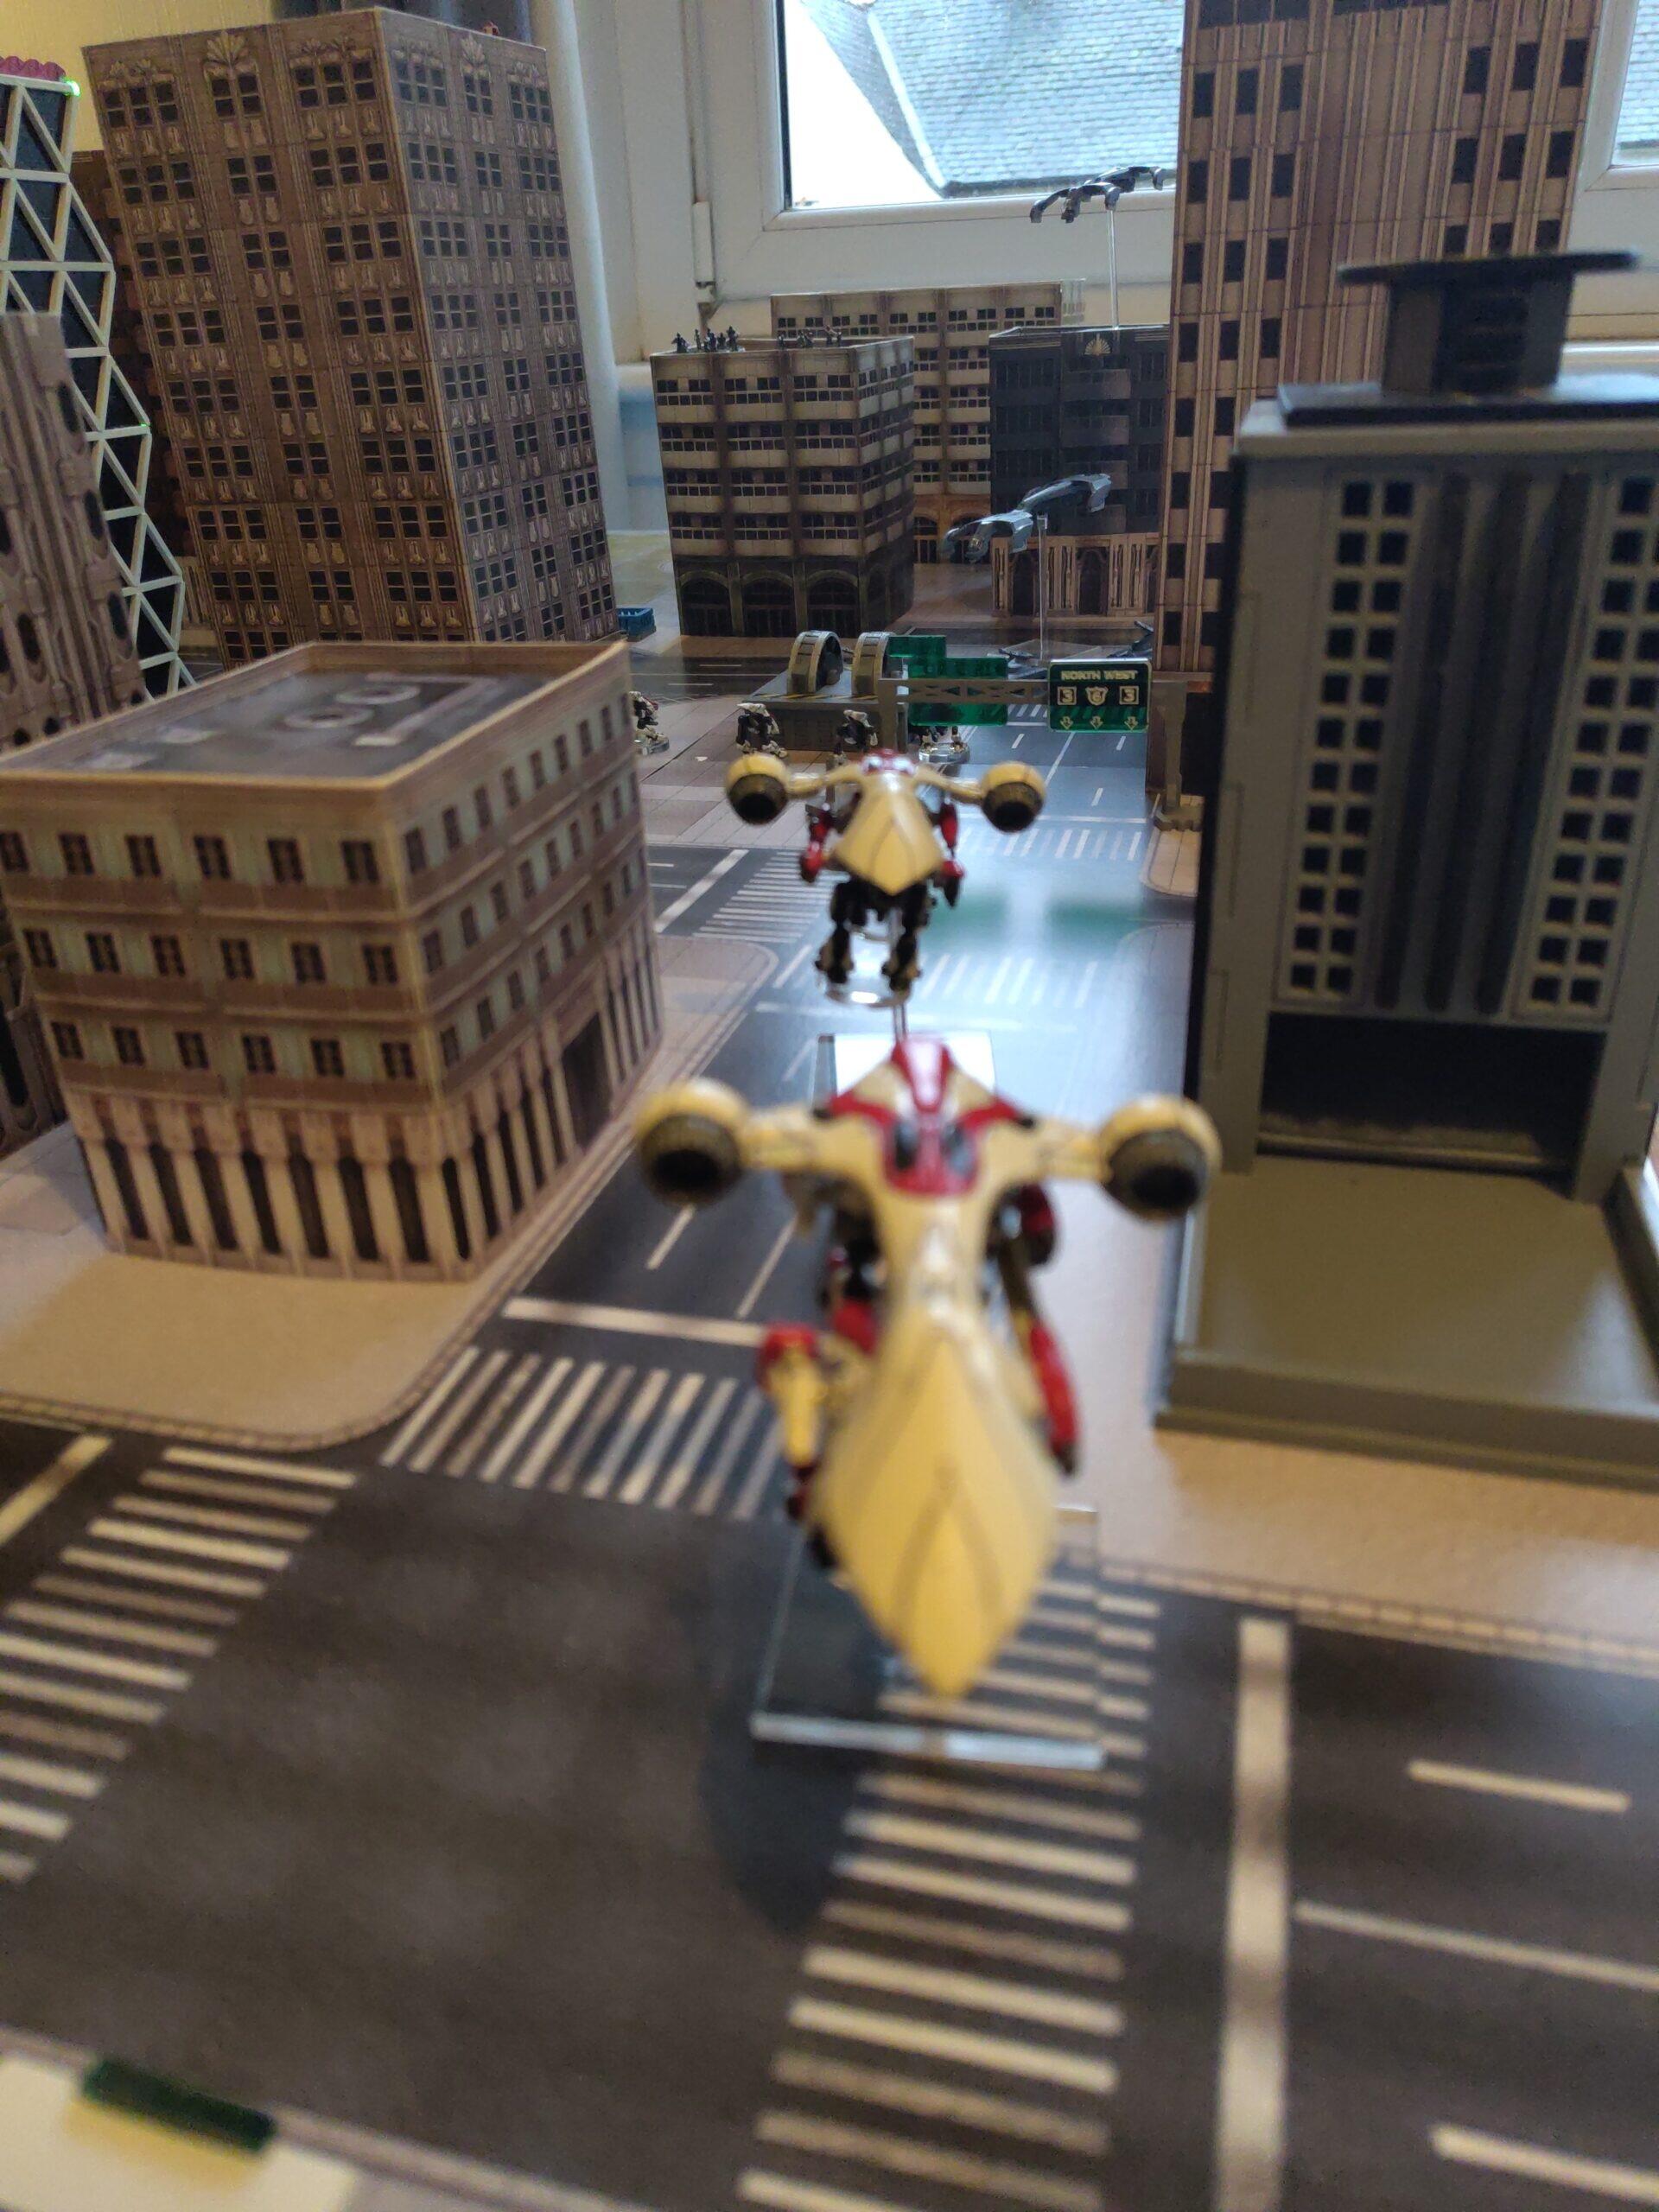
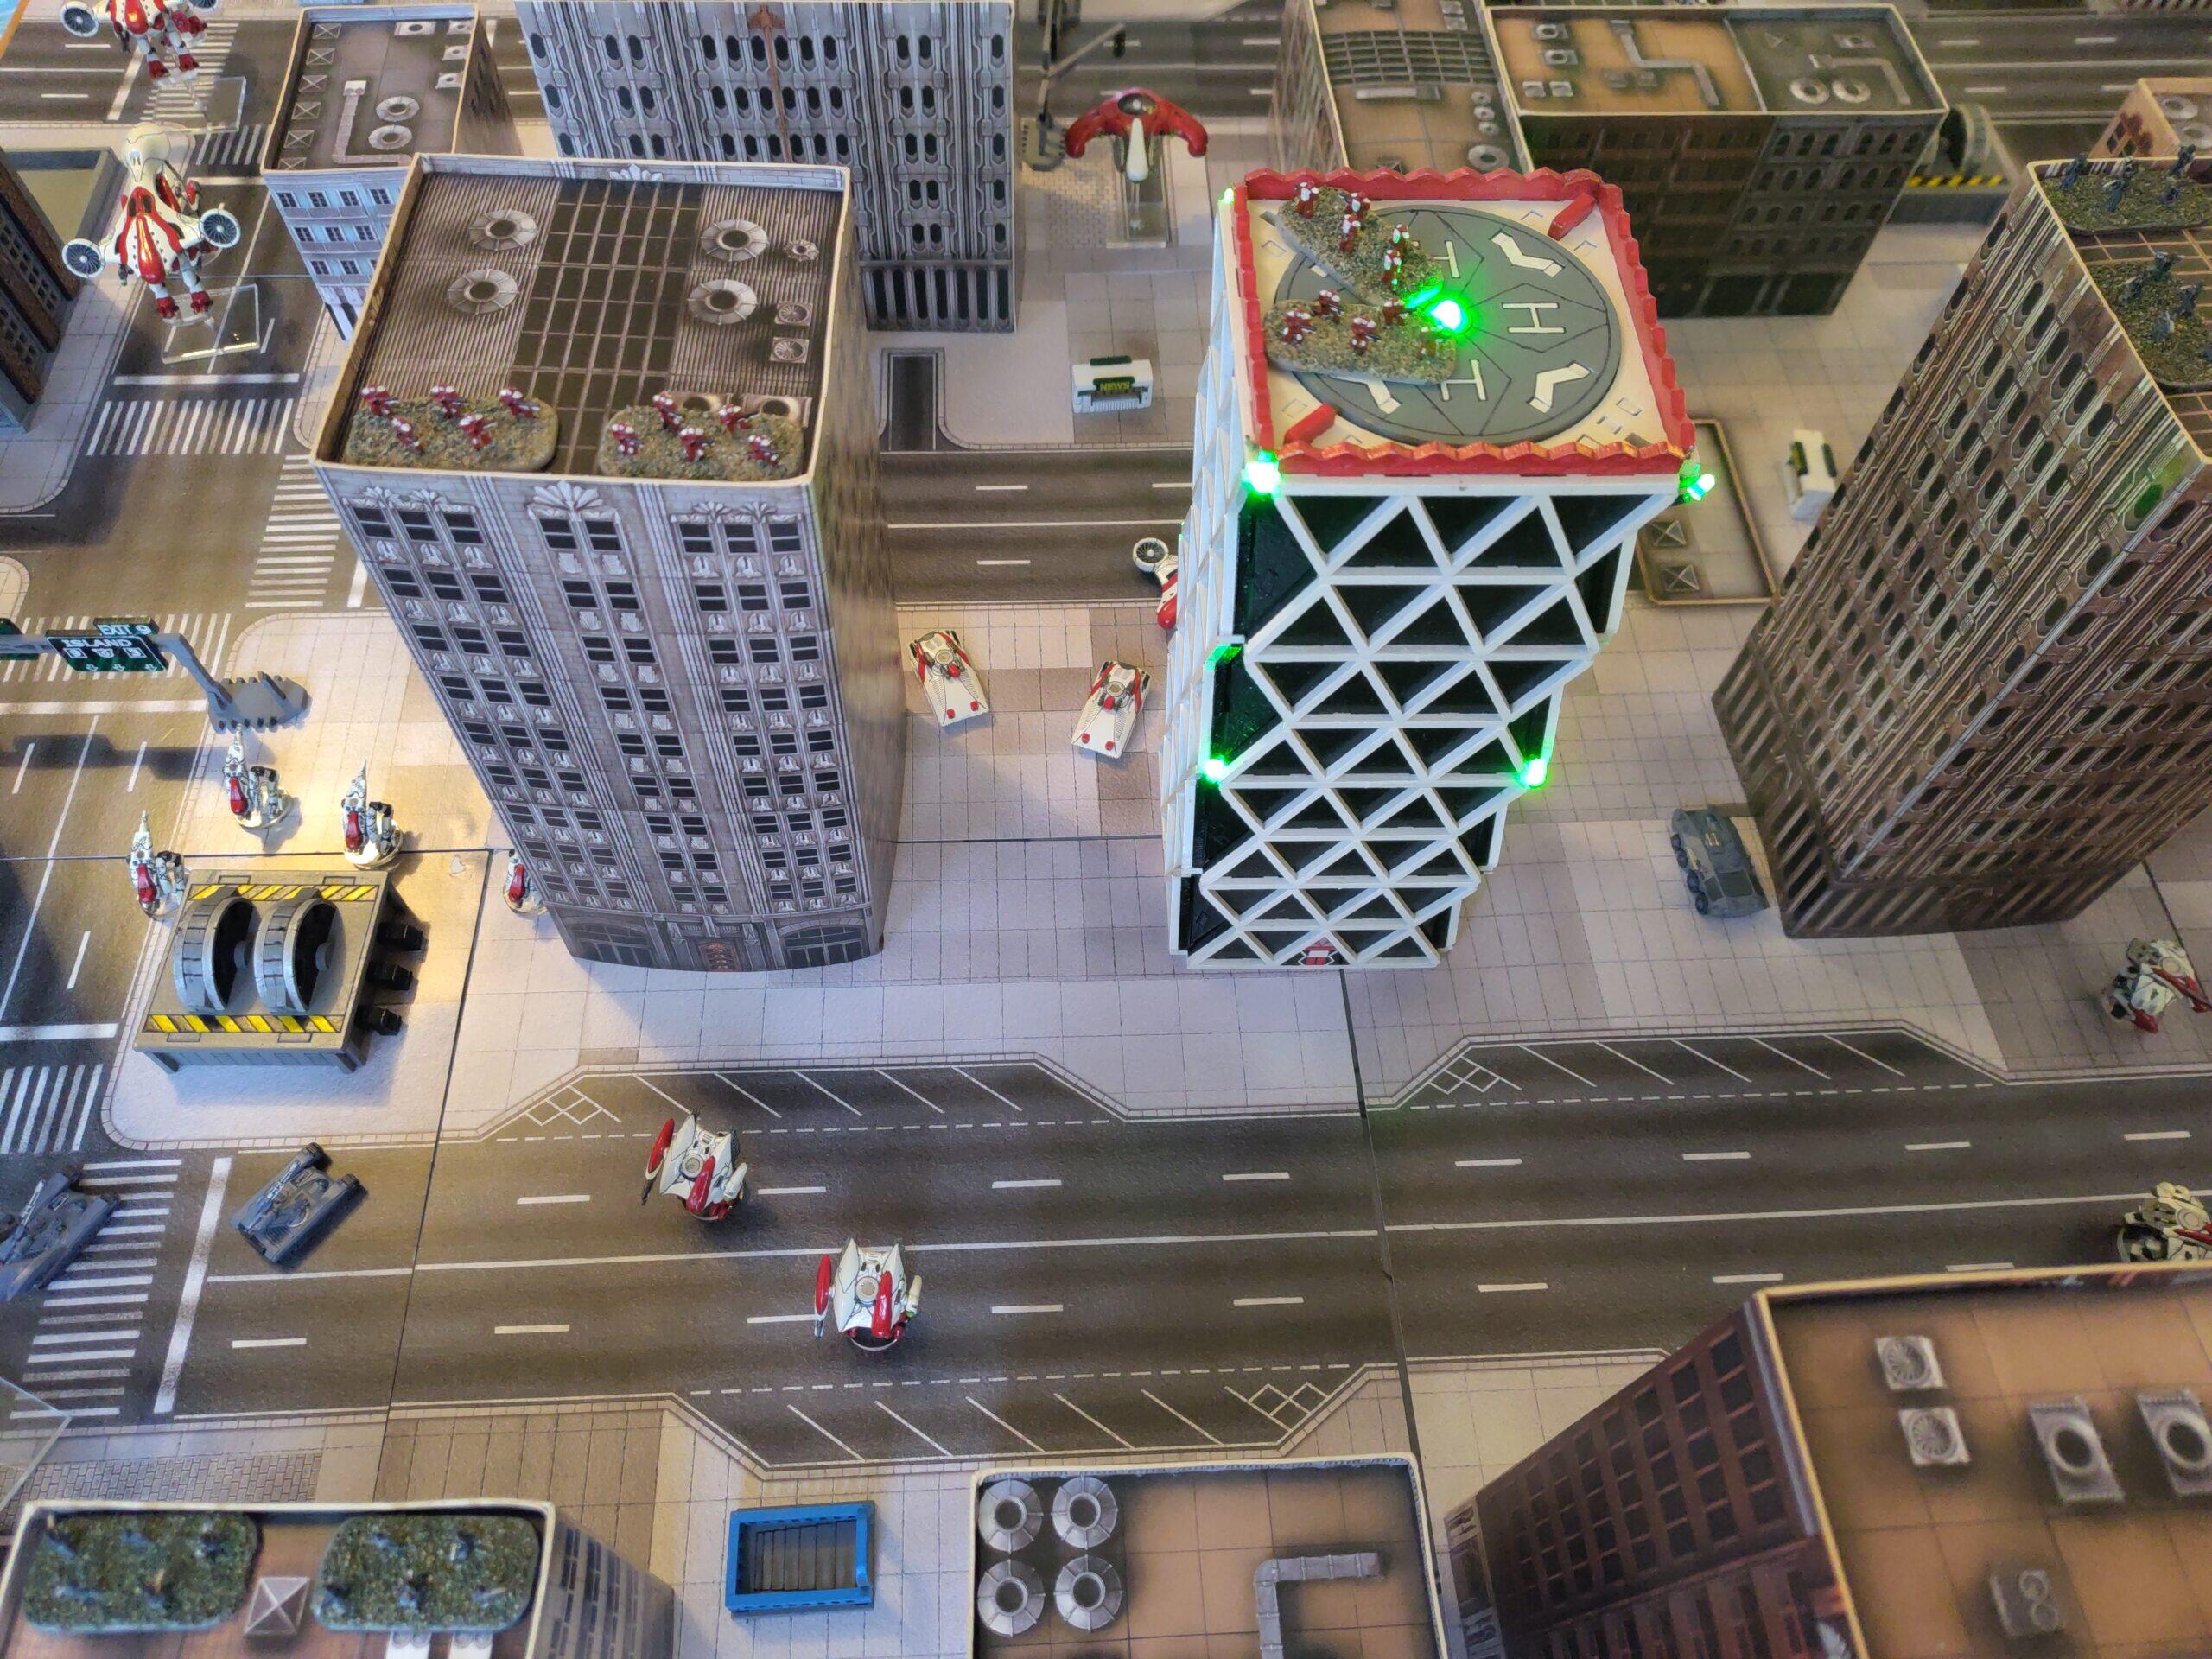
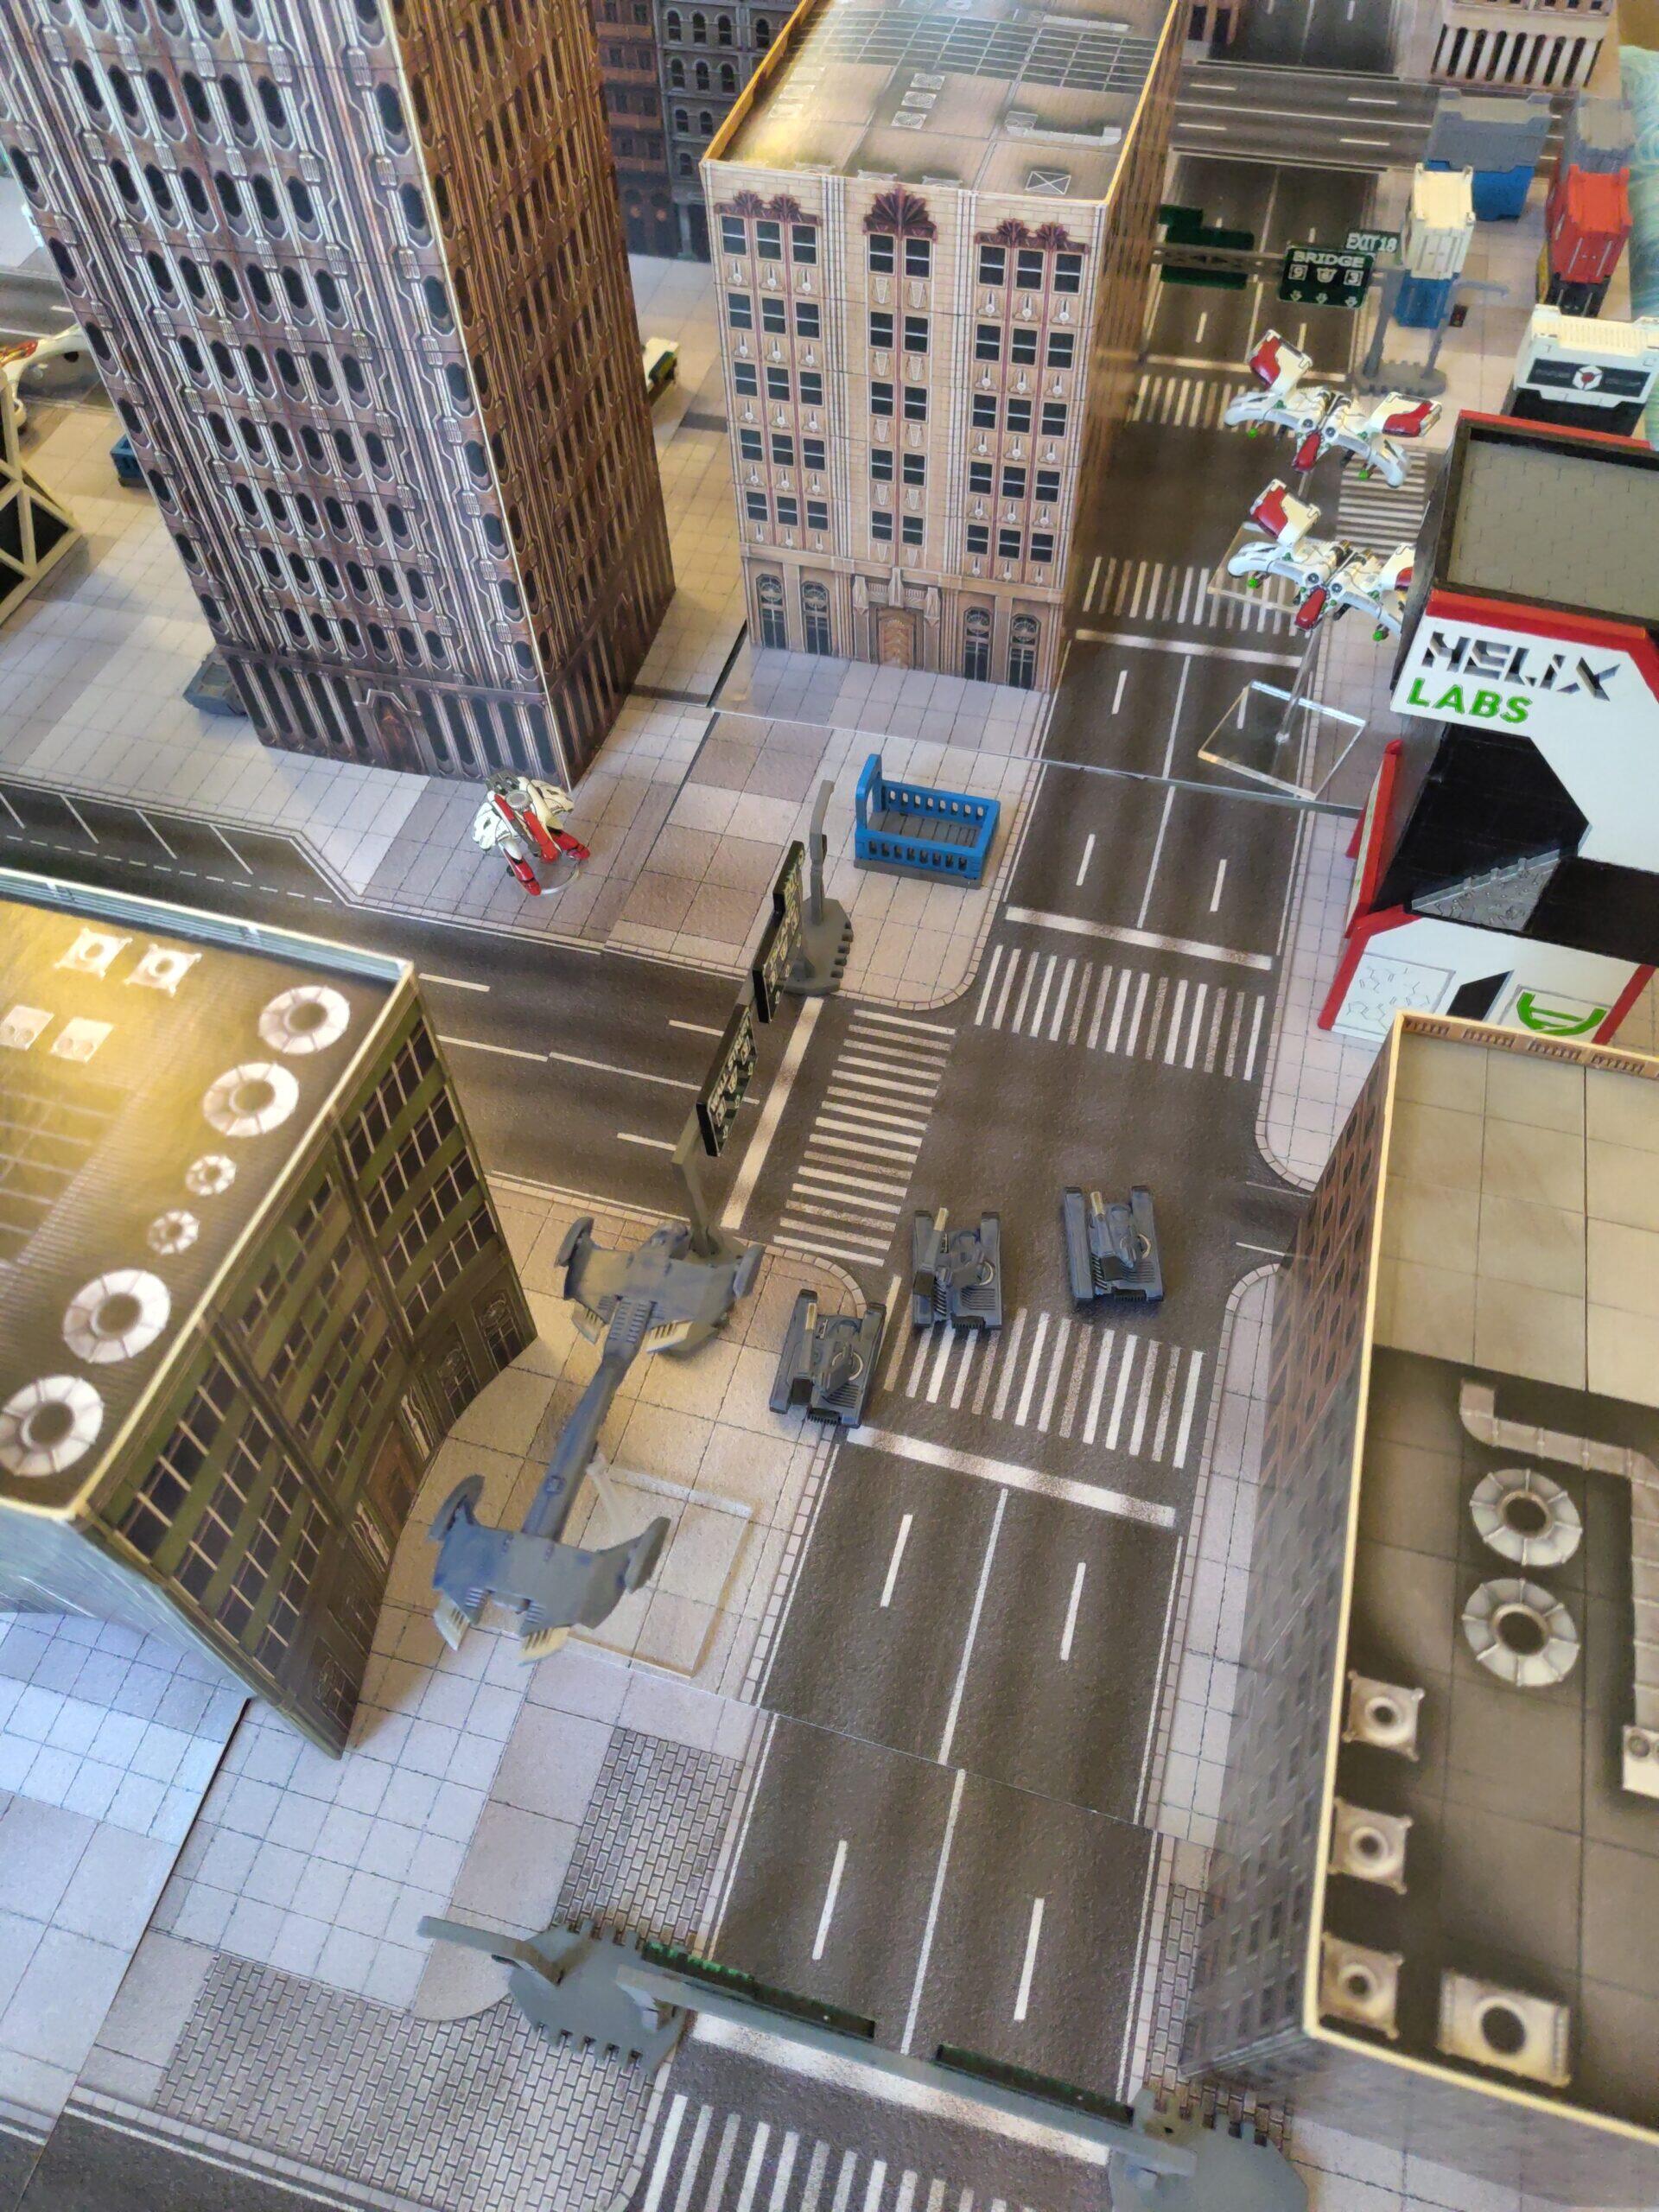
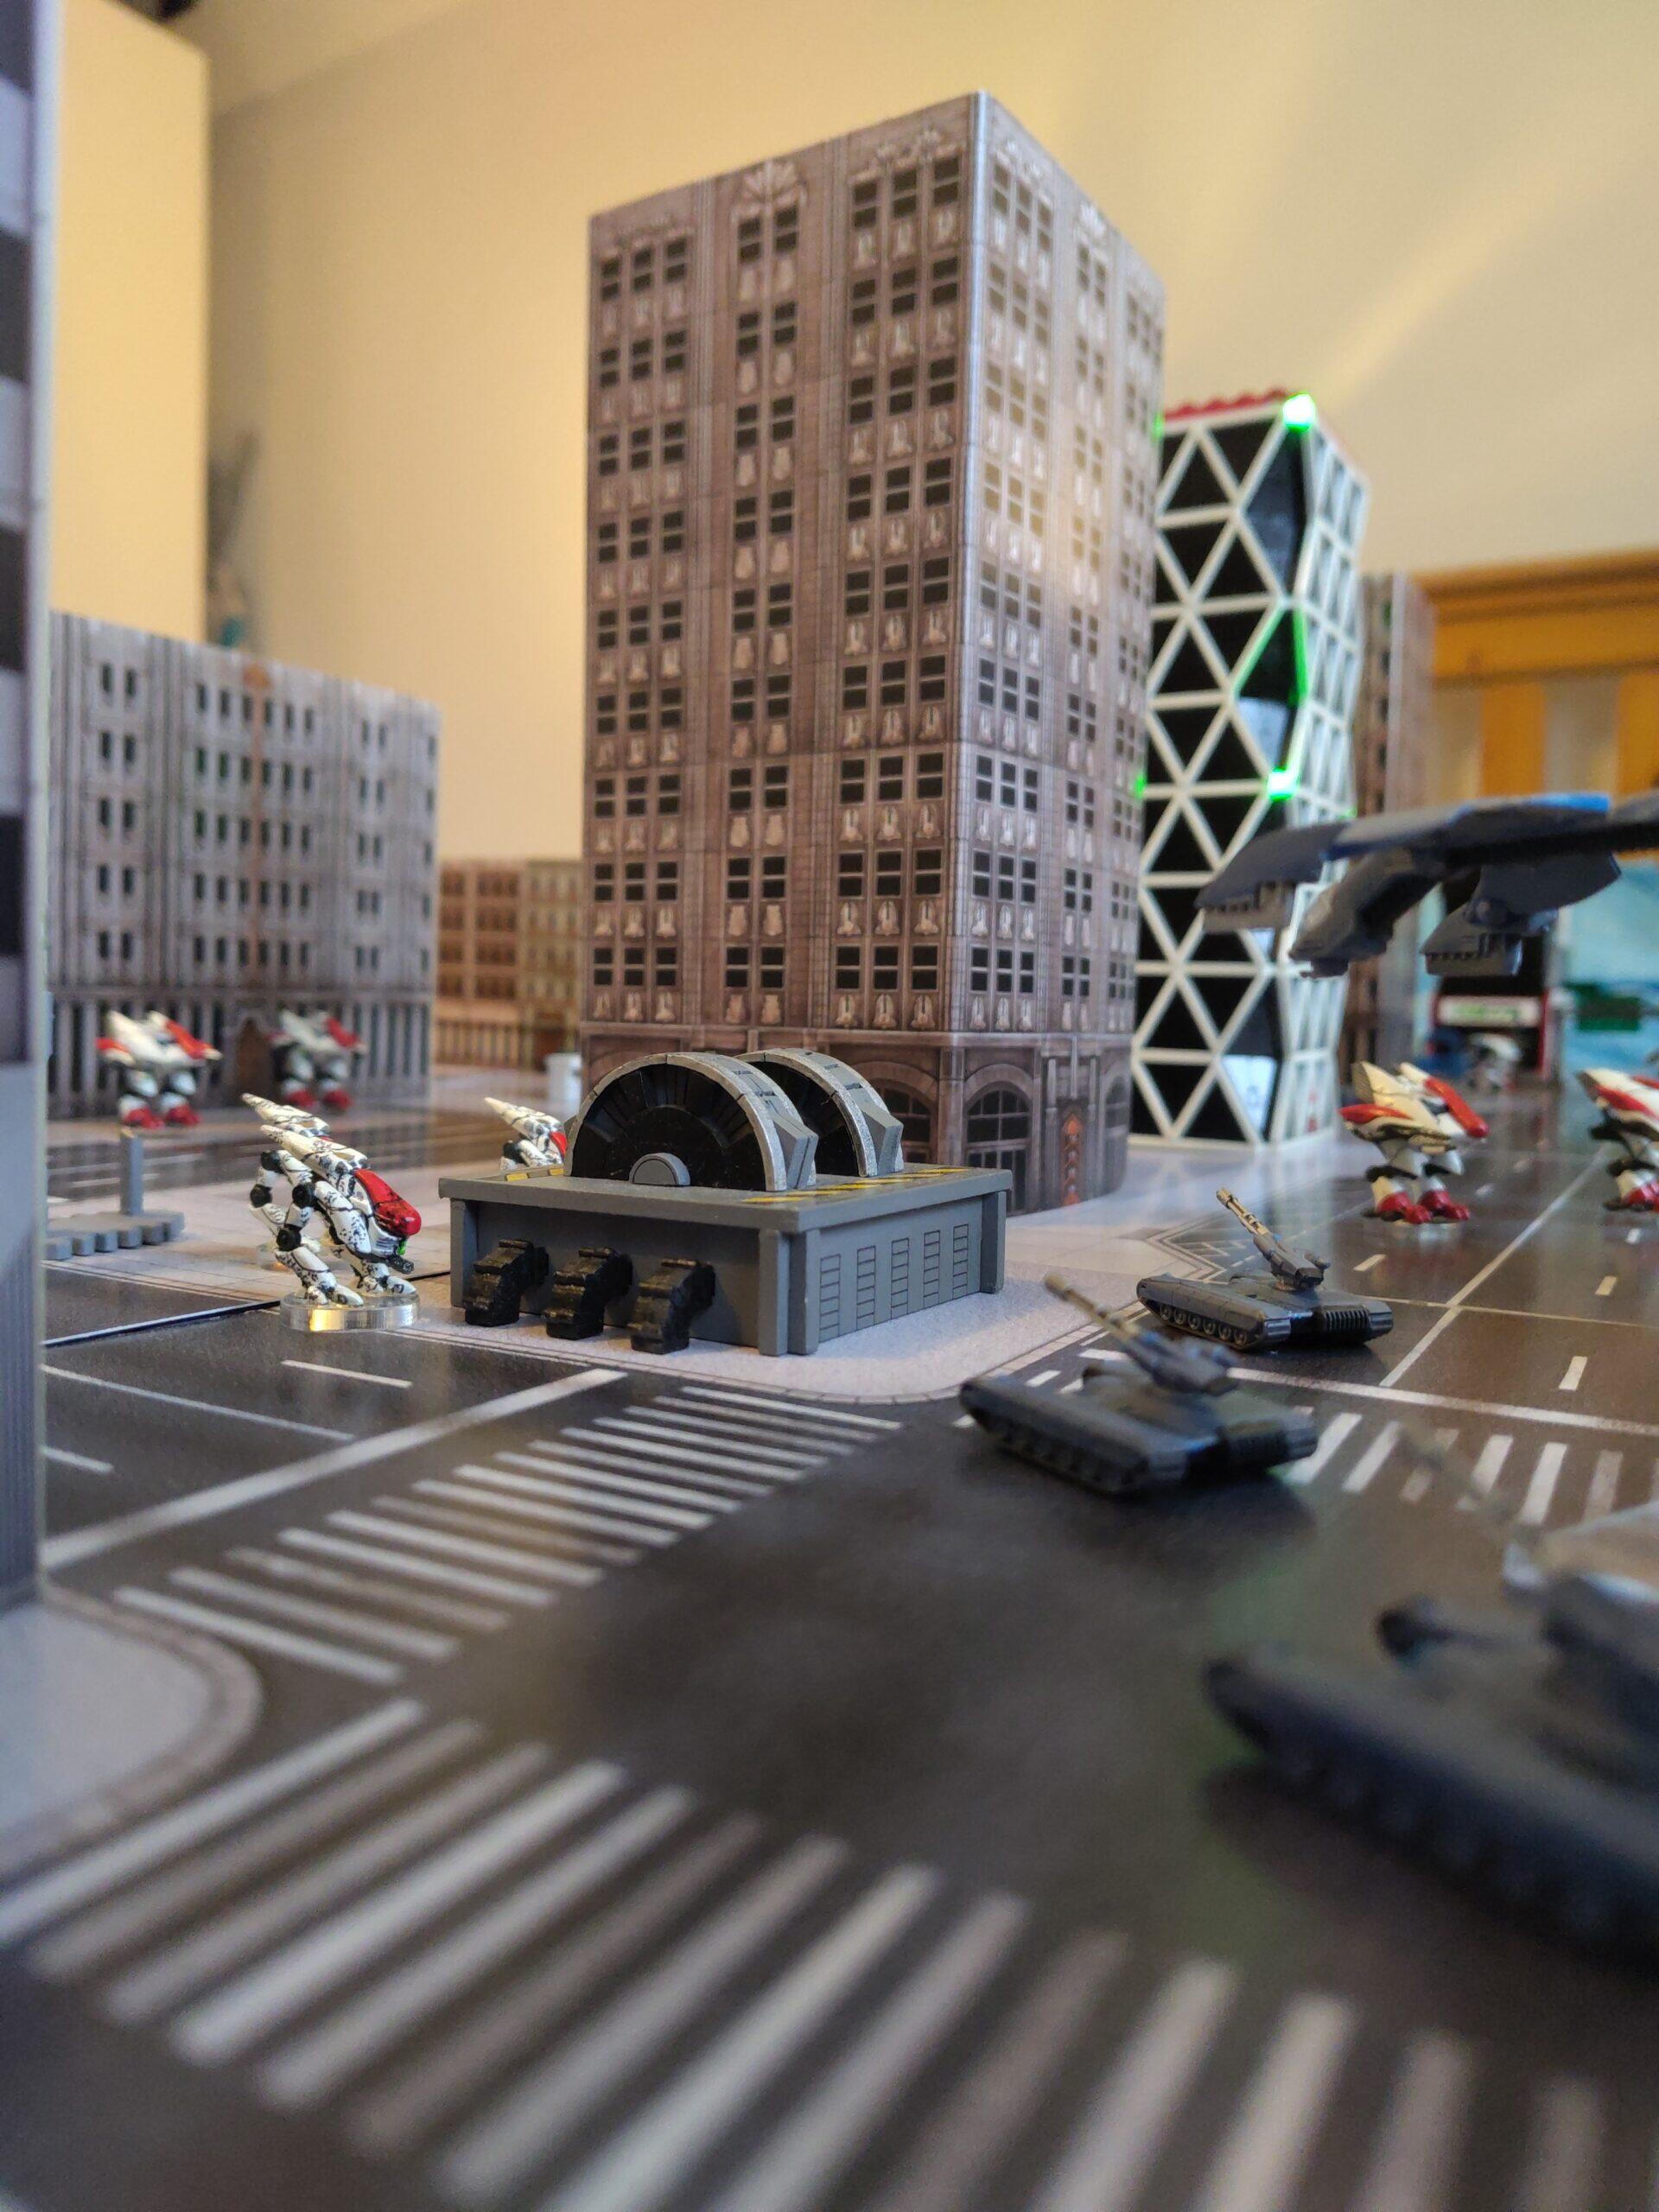
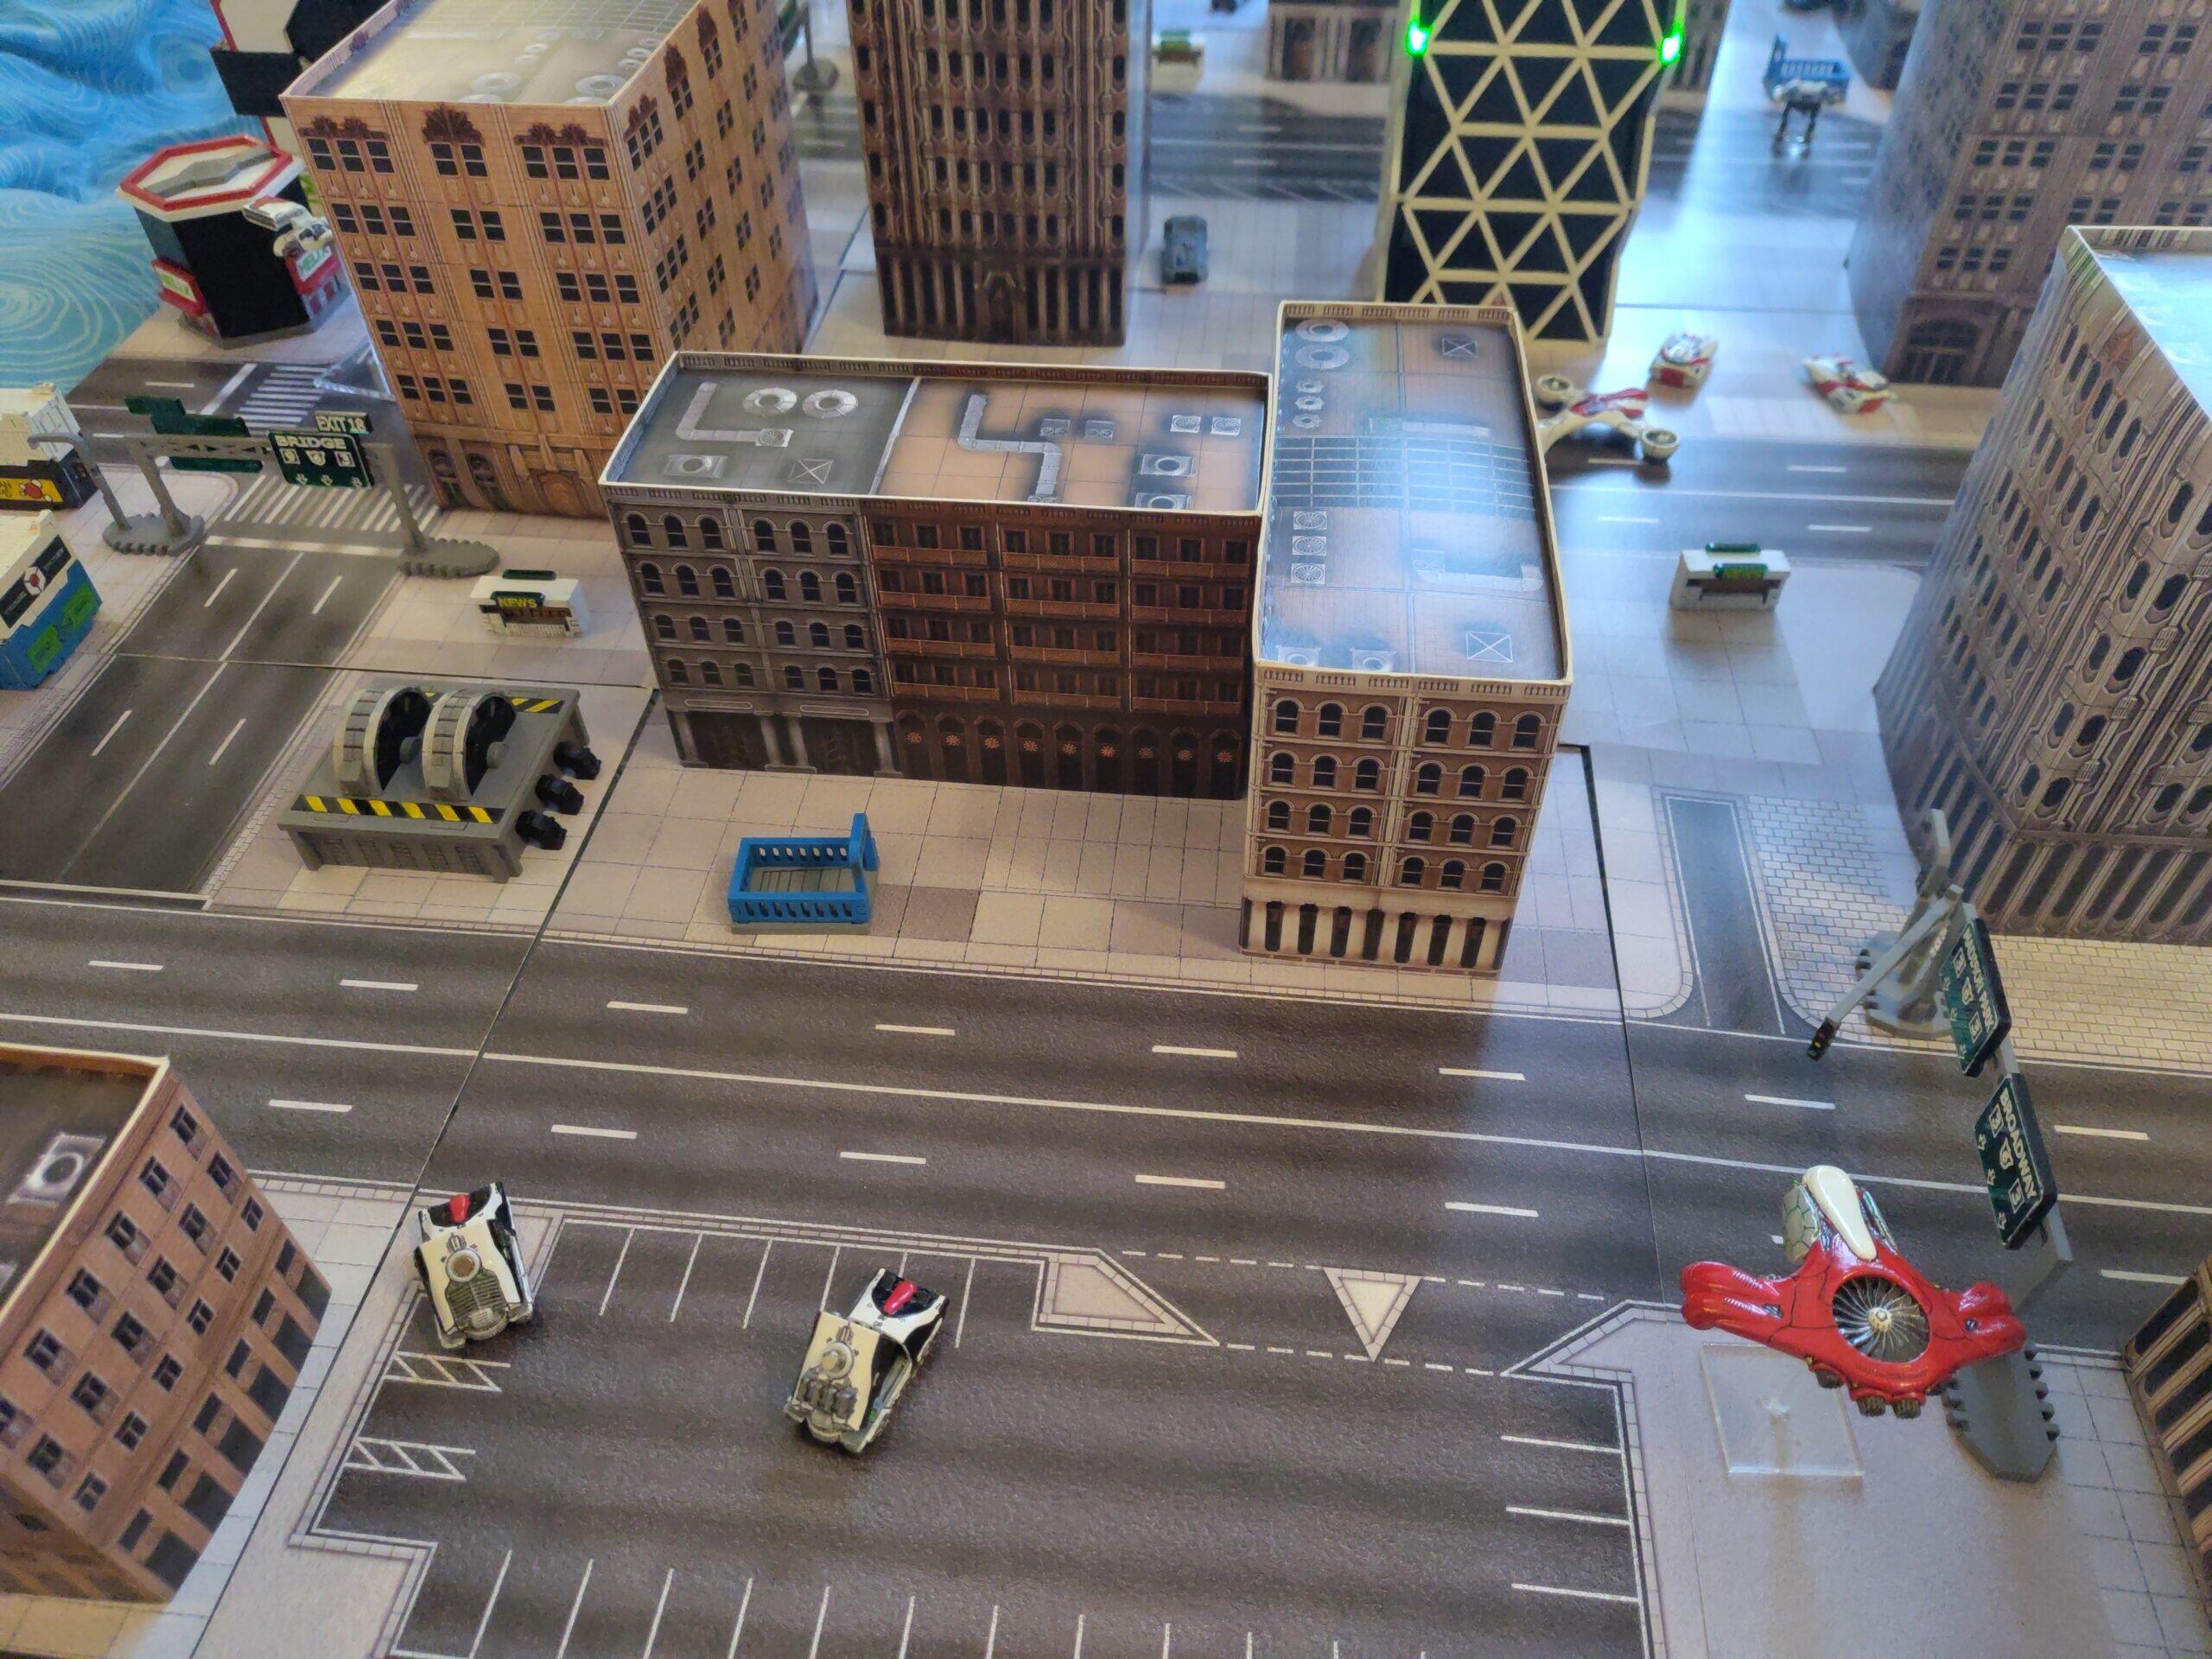
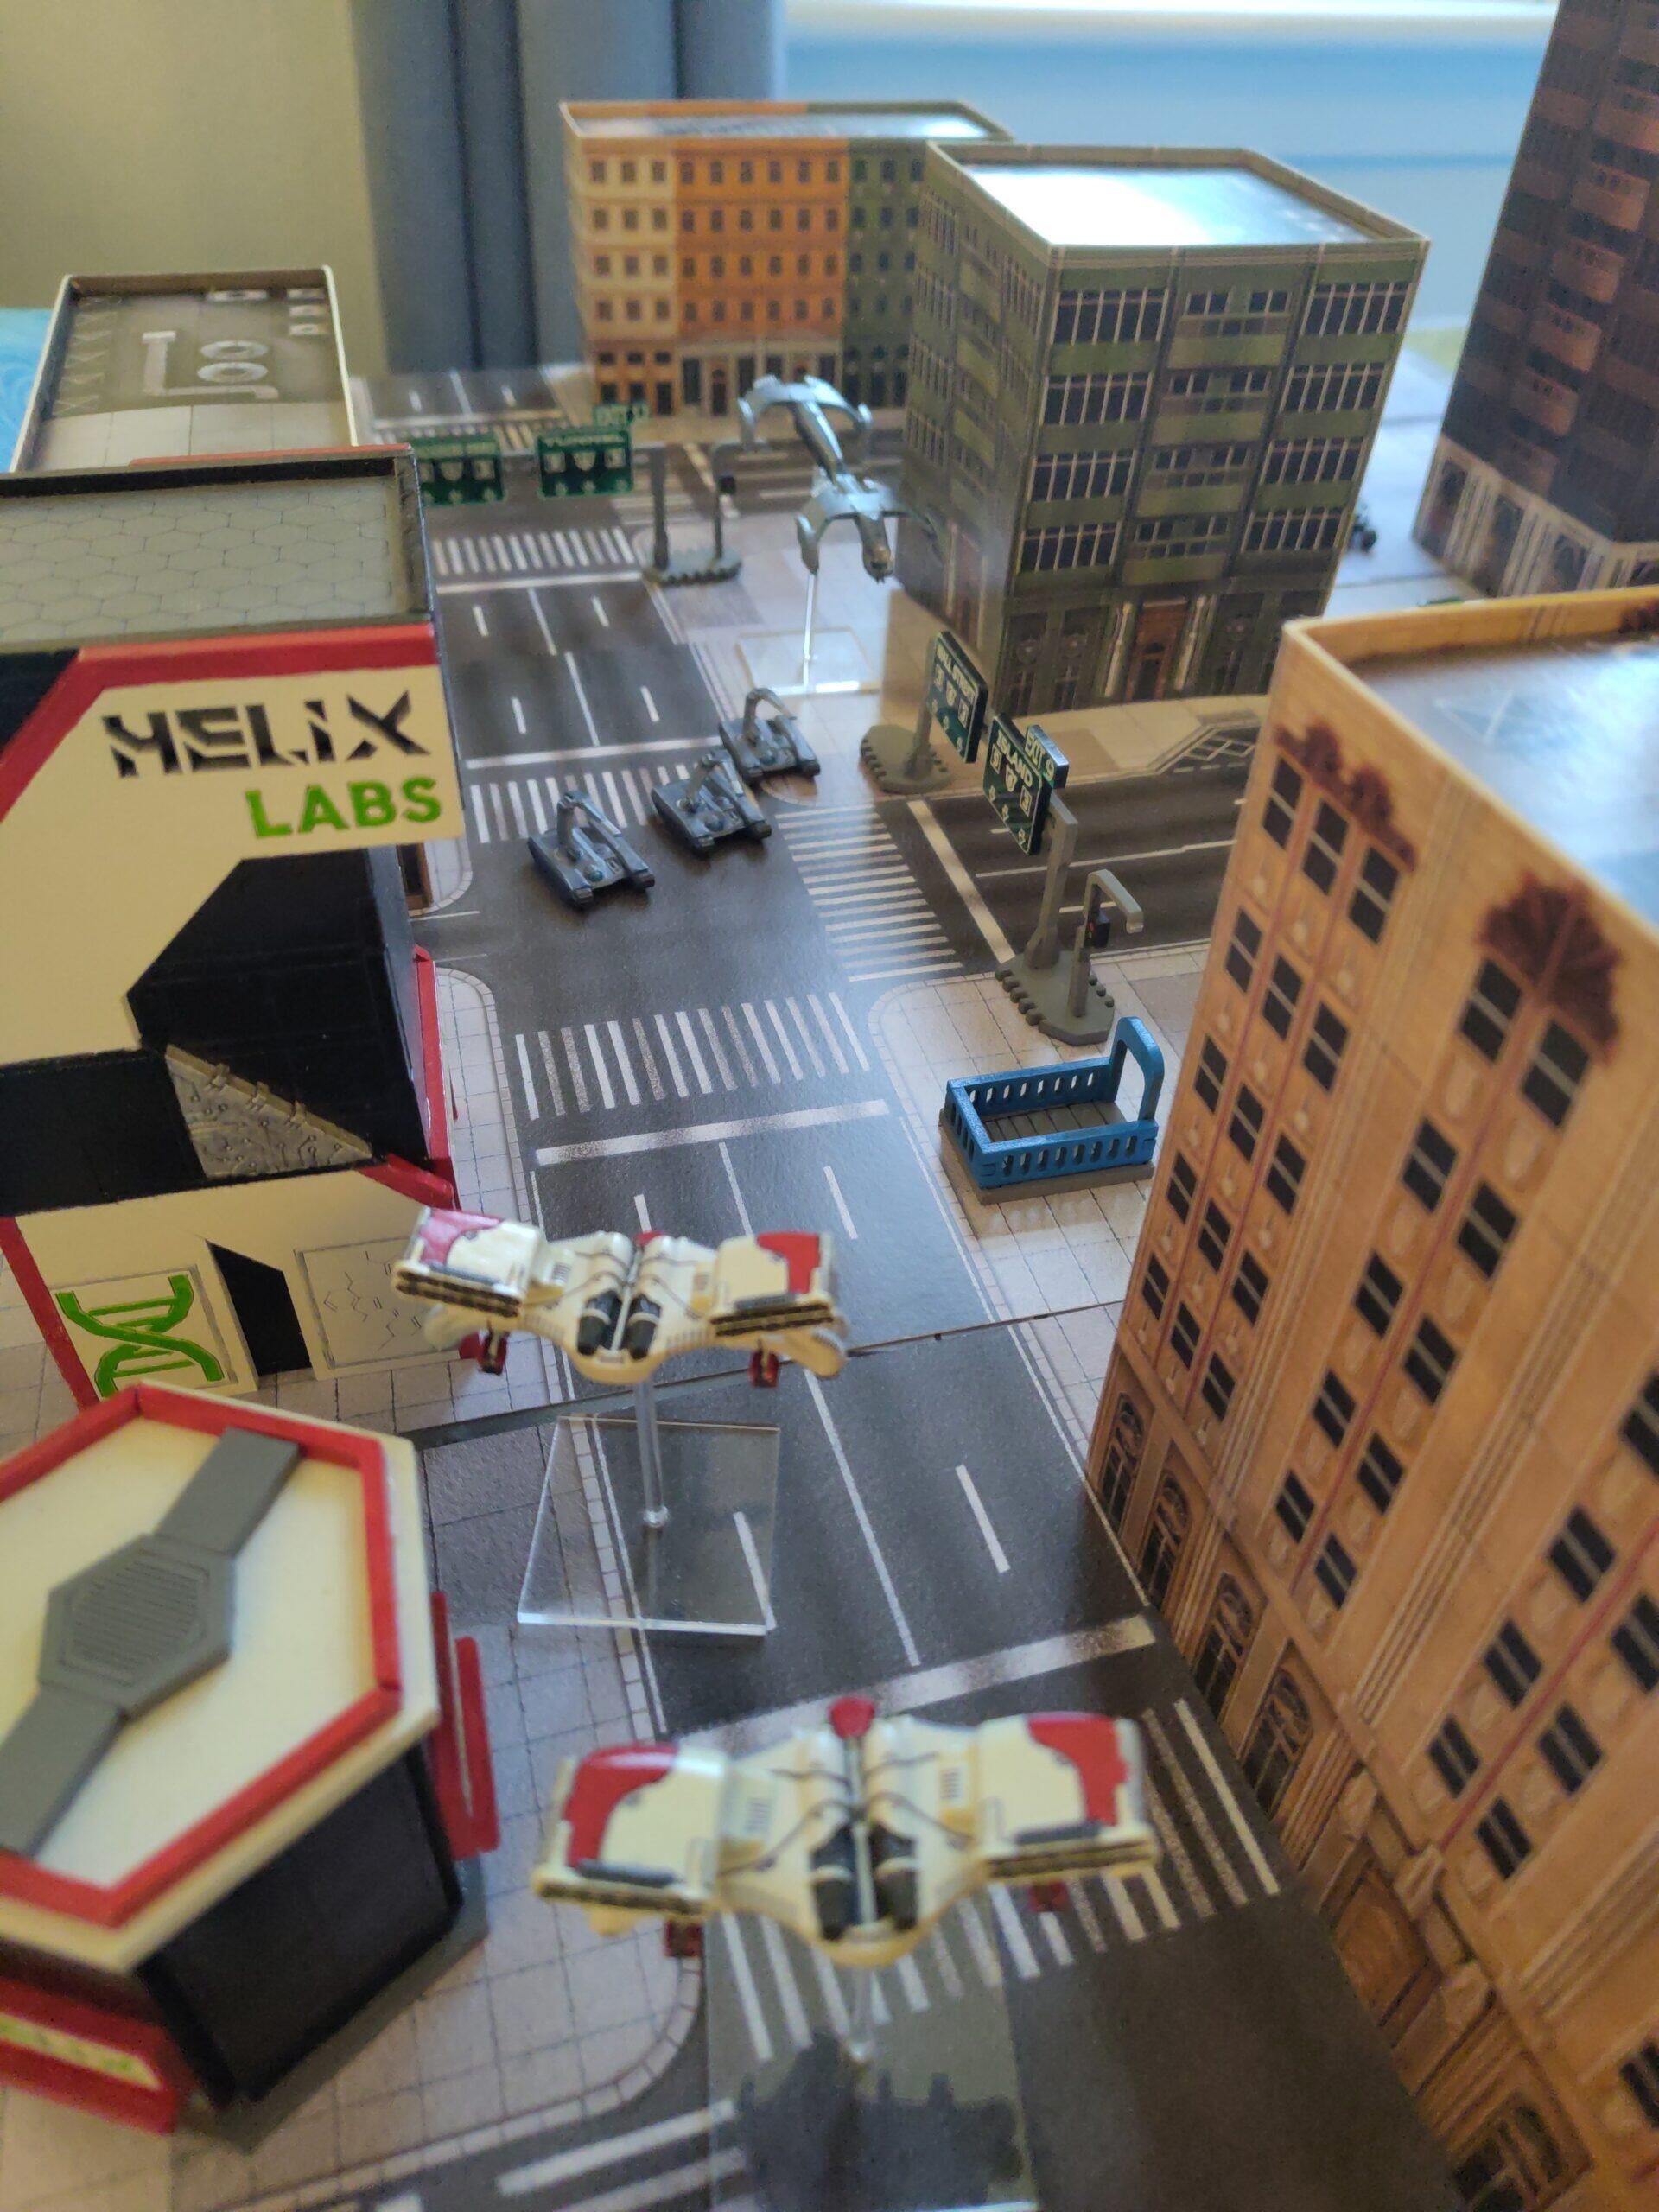
Pulled together my Dropzone Commander assets onto a table to test my setup.
PHR forces advance on the centre of the cityPHR commander in a Proteus Mobile Command Post supports a Neptune Dropship and Juno APCs whist the Immortals occupy the buidlingPHR Apollo Strike Walkers face off against UCM Sabre Tanks disembarking from a Condor DropshipPHR Ares and Janus Walkers occupy a streetPHR Phobos Walkers are brought in by Neptune DropshipsPPHR forces advance through the cityPHR Apollo Strike Walkers and Triton Light Dropships close in on UCM Sabre Tanks disembarking from a Condor DropshipPHR Janus Scout Walkers take up position behind a generator with Menchit Walkers in the background and UCM Rapier AA Tanks in the forgroundPHR Taranis Artillery Tanks provide fire support from the edge of the city with a Proteus Mobile Command Post nearbyPHR Triton Light Dropships with Aether Hive Nanomachines close in on UCM Sabre Tanks down a city street