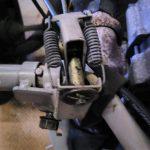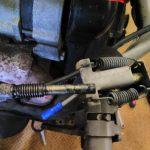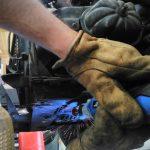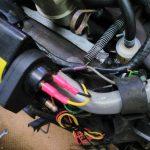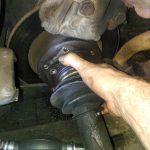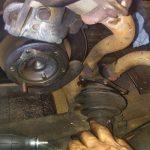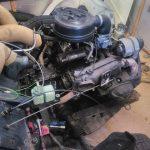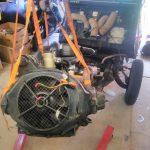
2CV cylinder head fitting

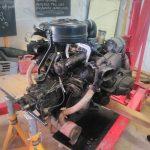
With the cylinder heads and the crank case done the next step was to put them together.

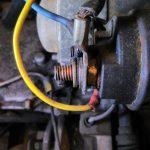
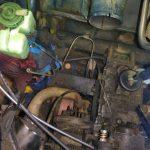
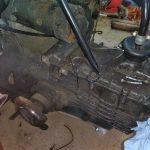
The old head studs were somewhat the worse for wear so I have got some high tensile stainless replacements.  Some blue thread lock on the crank case ends and the usual double nut technique and they were installed.  The two longer studs go on the top and the shorter one at the bottom.

Fitting 2CV cylinder head studs

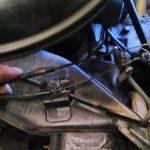
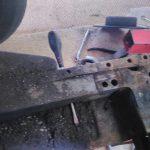
Next the valve push rods go into the head through the push rod tubes.  The more domed end goes into the rocker end and the flatter end goes into the tappets.

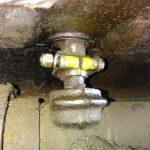
2CV pushrod ends

The adjusters should be wound fully out at this stage to make assembly easier.  Some petroleum jelly will provide additional lubrication for the first run and the surface tension will hold the push rods into the cups on the actuators.
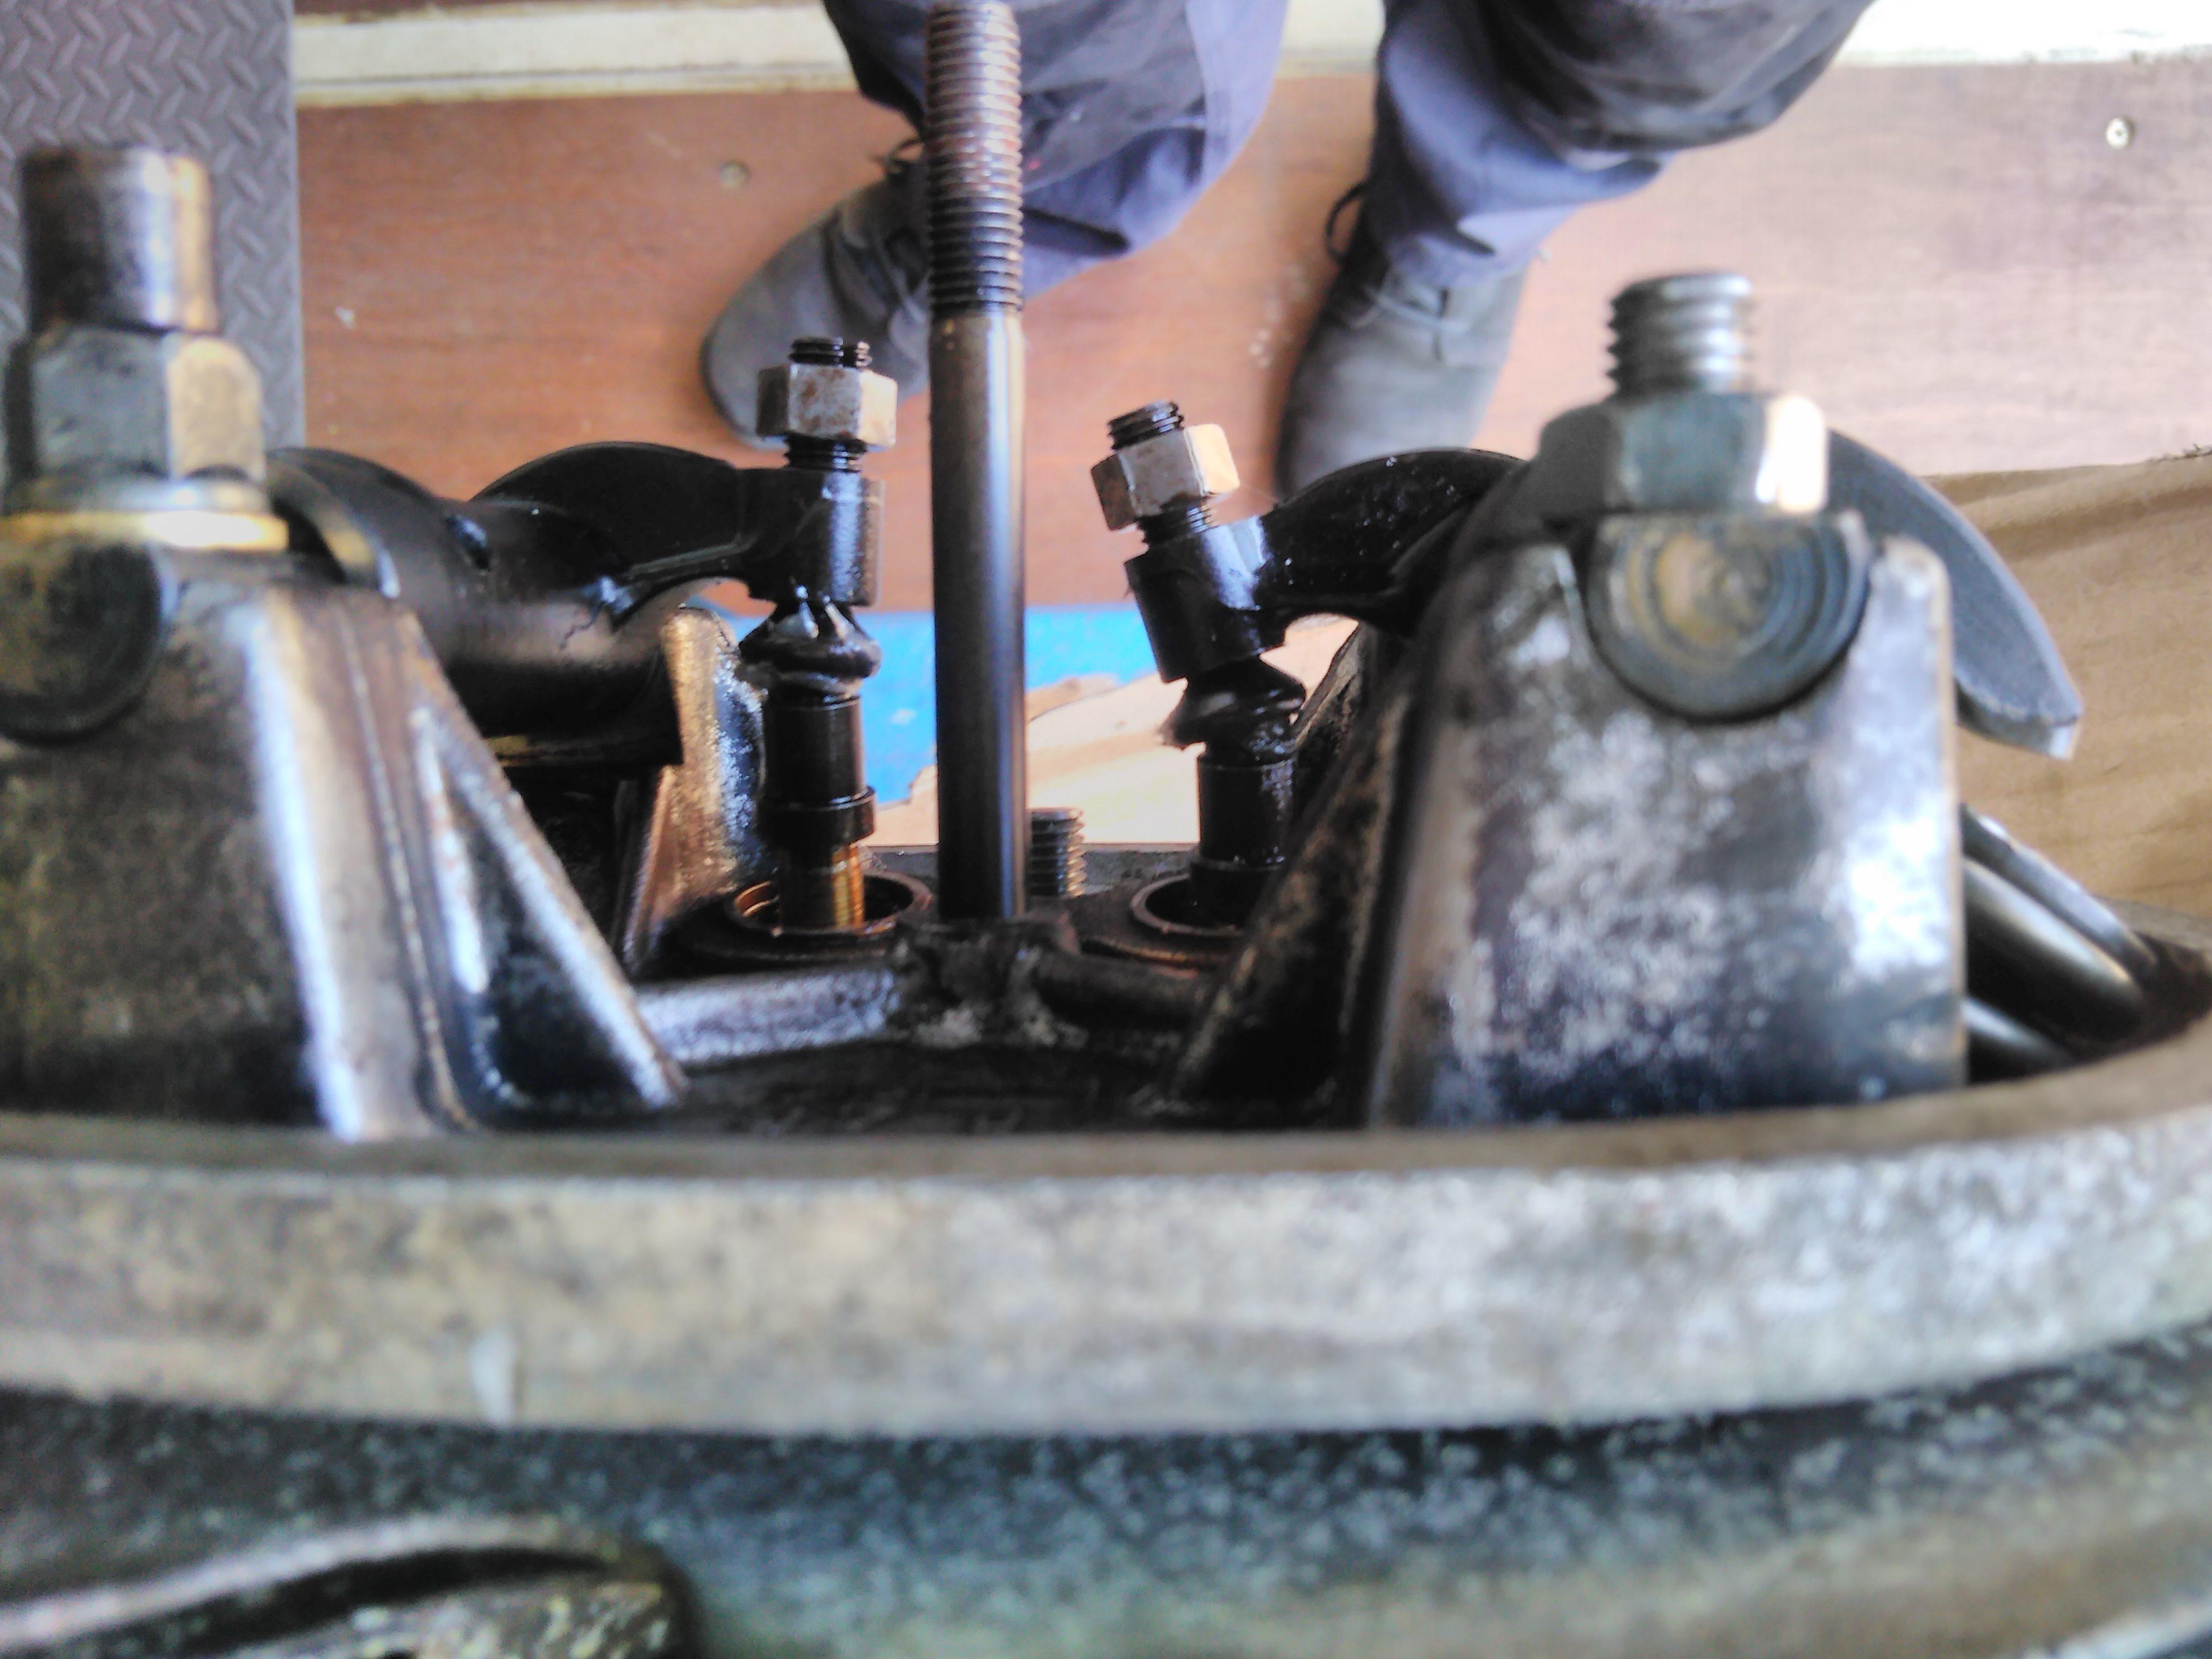
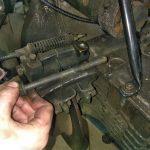
The push rod tube seals and springs need to go on – there is a right and a wrong way so check the manual to make sure you get the alignment right for the engine.

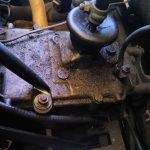
As they’re at different angles, fitting the head onto the studs and the push rods into the crank case is another three dimensional puzzle that requires some finagling before it all slots into place.

Fitting a 2CV cylinder head

Finally the head studs are done up the initial torque.  The final torquing is done once the manifolds are fitted.

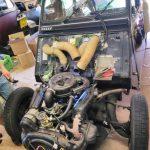
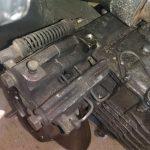
2CV cylinder head fitted

With some spark plugs in turning the engine over there was a good amount of compression so that’s an encouraging sign.

Finally the rocker clearances can be set.


Voter targeting

It wouldn’t be an election day if I didn’t remind you it’s not a secret ballot. Notice that officials record the serial number of your ballot sheet against your entry on the electoral roll so your vote can be traced. The intent of this is so an investigation can be carried out in the event of an accusation of electoral fraud.

It’s been a while since I read the letter of the law on this (and I did read the relevant act of parliament) but IIRC the protections round this are nominal. Fortunately this is one occasion that you should be thankful that the people you are electing aren’t competent enough to be using this data. (With the corollary that sufficiently advanced incompetence is indistinguishable from malice.) The one saving grace is  this is currently a paper record. However, if it was stored electronically then I’m sure by now Russia would have hacked it and leaked it to whoever they thought was most likely to destabilise the country.

If you were to combine this data with profiles from both social media and advertising data brokers you would have a perfect bubble targeting campaign. Not only can you reinforce the beliefs of your own supporters but you can also use the matches on people who voted for your opponents to spread disinformation (fake news) to discredit them. (Note that the “perfection politics” of the left’s voters are particularly susceptible to this later tactic.)

This isn’t idle speculation, all the elements of this scenario have been reported recently. Hacking aside, none of this is difficult. In fact, it’s pretty much an ideal case study in current online advertising practice. Even the online marketing Twitter bots agree with me on this:

Online marketing Twitter bot lies a tweet about online marketing

When marketing commercial tat the source data generally comes from customer databases, analytics and market sector demographics – when marketing political tat the ideal source data would be voting records which, if it were a true secret ballot, would be unavailable.

Don’t let this put you off from voting (that’s the perfection politics I mentioned earlier) but do be aware that there is plenty of credible evidence that this kind of thing is happening in world politics at the moment.


B-17 Squadron Heraldry

When initially looking at the heraldry I had left the B-17 numbering until later.  I couldn’t find any available transfers that would fit what I needed so I’ve got some transfer paper and made up my own sheet.

By the point in the war this scenario is set (11 September 1944) the majority of aircraft would have been silver (or natural metal finish as it’s sometimes known) so the markings would have been black. (There would have been a few olive drab aircraft sill in service but I’m going with 12 silver aircraft.)

The identification symbol for the 100th BG was a square with a D inside. This appeared on both sides of the tail and – in a slightly larger box – on the upper and lower surfaces of the wings.

The code for 351 squadron of 100th BG is EP and the aircraft have a single letter identification code. As for the Luftwaffe aircraft I’ve gone for an idealised/abstract sequence of A-M (missing I as it doesn’t look great). The squadron code appears on each side of the fuselage and, smaller, on both sides of the tail.

Finally there’s the individual aircraft’s serial number which appeared on both sides of the tail above its identification code. There are valid ranges for these but, for what I’m after, a set of random numbers in the 200,000 – 400,000 range is close enough.

With all that, a USAF lettering font, and some measuring of images from various sources and I’ve got enough to produce a vector image that I can print on the transfer paper:

1:300 fictional markings for 351 sqadron, 100 Bomb Group


Club run

2CVs on a club run
2CVs on a club run
GS engined Lomax
GS Palas
2CVs on a club run
2CVs on a club run
B822

Fitting a 123 electronic ignition to a 2CV

I made a concious decision not to put an electronic ignition into Judith as I wanted to keep her as original as possible.  However, the majority of the hassle I’ve had with her has been caused by the ignition.  After my first shakedown run this year she was backfiring on the way home and my first thought was the ignition.

After checking the static timing, the dynamic timing (with a strobe gun) and the points gap I couldn’t find any obvious cause.  So then I started swapping out parts of the HT system to check if anything there was out but there was no change – she was still running lumpy and backfiring at about 3/4 throttle when accelerating.

As a final, last resort, check I ran the car with the points box cover off and could see that there was significant arcing over the contact breaker.  This is a problem as it means the contact isn’t being broken properly which will lead to miss-timing and a weak spark.  This is almost certainly due to a failed condenser – apparently a fairly common occurrence with newer condensers.

By this point it was well into the evening and I’d spent the rump of a day going nowhere (well, apart from 100 yards down the road and limping back on one of the shortest test drives I’ve ever done).  I put everything back together and had a think about what to do next with a club run coming up in a week’s time.

As the title of this post suggest, my conclusion was to fit an electronic ignition.  I had already purchased a 123\TUNE+ for the pile of parts I’m intending to turn into a Burton so, a few days later, that was pressed into service.

Fitting the ignition is refreshingly simple as it sits in place of the old points box and is a fully reversible figment.

2CV points box in-situ

The starting point is removal of the old points.  The box comes off with the removal of the two 11mm nuts on either side.  After that the thin metal shield comes out which exposes the timing cam and centrifugal advance weights.  Removing the circlip that holds the timing cam onto the cam shaft allows this whole assembly to come out.

This leaves the nose of the cam shaft showing and the two pins that attached the advance weights.  In the ignition kit there are a pair of sleeved magnets that slide onto these pins, the magnets being strong enough to hold them in place.

Sensor magnets on a 2CV camshaft

The ignition itself then fits on in the same way the points box did and is retained using the old 11mm bolts.

123 electronic ignition in place of a 2CV points box

The red wire is connected to what was the positive supply for the coil, this now gives the ignition a 12v power source.  The black (-ve) and yellow (+ve) wires will be connected to the coil terminals later.

With the ignition powered up the green timing LED on the front can now be employed.  This is identical to timing with a timing light – when the flywheel is at the timing mark, rotate the box until the light goes out then back until it just goes on again.

The black and yellow wires can now be connected to the coil terminals and we’re ready to go.  The difference it made was surprising, starting from cold it caught immediately – even when warm it used to cough once or twice.  The engine note was also noticeably smoother and it needed less choke.

But the fun didn’t stop there.  One of the benefits of the 123\TUNE+ is that it comes with an app that connects to the ignition via Bluetooth and shows a glass dash.

123\TUNE+ app dasboard

This is all well and good for a cold engine idling with a bit of choke.  The problem came with any more revs than this:  the voltmeter pinned itself to the top of the dial (15v).  (Curiously, the voltmeter in the dash that uses the factory connection in the wiring loom was reading about 14-15v – a bit high but not indicative of an issue.)
This lead me to conclude that the voltage regulator was goosed.  From what I can tell, it’s the original Paris-Rhone item that was fitted to the car at the factory.  The somewhat steampunk appearance didn’t add to my confidence in it’s continued ability to function in an efficacious manner.

Steampunk appearance of an original 2CV Paris-Rhone voltage regulator

The replacement item is a fraction of the size of the old one and is a simple swap.

2CV voltage regulator

The ignition now reads a consistent 13-14v confirming that the old unit was indeed past it.*

With everything in place and a shakedown run up and down the road – more than I’d managed last time – it was time for a longer run.  When fully up to temperature and with some fresh dinosaur juice she was running really smoothly.   The accelerator response is right there (although with 29 horses it still takes a while to have an effect on the road) and, most noticeably, she’s significantly happier when coming off the throttle.

For all the trouble it has caused, I’m glad I persisted with the original system – not only do I now have a good working knowledge of how it operates but I fully appreciate the benefits provided by a modern electronic ignition!

* I think that the failed regulator was a significant contributing factor in the previous ignition issues – it will have been over loading the system and may well have over stressed the condenser, especially if it wasn’t the best quality anyway.


Bag the Hun scenario cards

One of the reasons for choosing Bag the Hun (BtH) as the rule system is that it uses a card deck for turn sequence meaning it’s ideally suited to solo play.

In the case of the scenario of a attack on a combat box of B-17s there’s not much choice in terms of actions:
  • The B-17s will fly straight and level in formation and shoot at any available target that comes into range.
  • The FW 190s will close in on the B-17s and try and shoot at any available target once they are in range.

Given the very restricted nature of this scenario there will be a number of cards that are normally included that we can discount:

  • Bogeys: This encounter takes place between two large formations within visual range so there will be no unspotted aircraft to represent.
  • Altitude bonus: This encounter takes place within one altitude band so there will never be a formation at a higher altitude.
  • Bail out: This is a one-off encounter so there is no need to track crew survival.
  • The Blank card: The purpose of this card is to mark scenario specific events and, in this case, there are none.

In BtH cards for movement and shooting are allocated on a formation basis: one each for each formation.  Normally formations are considered to be in the region of three or four aircraft but in this scenario we have two special case formations – the B-17 combat box and the FW 190 Sturmgruppe – both of 12 aircraft.  Let’s look at these individually:

B-17 Combat Box

Whilst the combat box consists of four flights of three aircraft, the 12 aircraft formation is the be-all-and-end-all of the B-17s – so much so that forcing an aircraft out of formation ( Herausschuss) was the primary goal of the FW 190s.  So, in this scenario, the box will never break down into individual flights meaning only one formation move card is needed.

When it comes to shooting, the B-17s don’t have any pilot controlled guns so they don’t need a formation shoot card.  The B-17s will therefore be entirely reliant on air gunner cards which are allocated at the rate of one per four aircraft (rounded up).  With a starting compliment of 12 aircraft that gives three air gunner cards.

Normally each side would receive a formation bonus move card but, as the B-17s are size six aircraft they cannot use this card so it won’t be included.

FW 190 Sturmgruppe

The Sturmgruppe would approach the combat box in a single line abreast formation before, as late as possible, breaking up to attack the individual flights of the combat box.  As the basic formation of the Luftwaffe was the four aircraft Schwarm three formation move cards are needed.  Following the formation rules in BtH this means the Sturmgruppe can move as a single formation on Schwarm one’s move card and ignore Schwarm two and three’s move cards until such time as they choose to break formation.  (This break formation could be handled with a scenario specific card but this keeps it simple and gives the FW 190s the edge in terms of tactical manoeuvrability which is appropriate.)

As the FW 190 has pilot controlled guns, each formation will need a shoot card meaning three formation shoot cards are needed – matching the move cards.

There will be one formation move card for the FW 190s.

Conclusion

Whilst this may well be adjusted later based on experience, the starting card deck will be:

  • B-17 combat box move
  • B-17 gunners fire
  • B-17 gunners fire
  • B-17 gunners fire
  • FW 190 Schwarm one move
  • FW 190 Schwarm one fire
  • FW 190 Schwarm two move
  • FW 190 Schwarm two fire
  • FW 190 Schwarm three move
  • FW 190 Schwarm three fire
  • FW 190 formation bonus move

As a thought exercise this seems right:  the FW 190s have the tactical advantage in terms of manoeuvrability but the B-17s will still get plenty of chances to return fire.  (The way the rules work, it will only be a shot at a single FW 190 with each card but, with the combined bonuses granted by the interlocking fields of fire of a combat box, it’s got a very good chance of doing serious damage.)