


Nothing to see here.

I made a concious decision not to put an electronic ignition into Judith as I wanted to keep her as original as possible. However, the majority of the hassle I’ve had with her has been caused by the ignition. After my first shakedown run this year she was backfiring on the way home and my first thought was the ignition.
After checking the static timing, the dynamic timing (with a strobe gun) and the points gap I couldn’t find any obvious cause. So then I started swapping out parts of the HT system to check if anything there was out but there was no change – she was still running lumpy and backfiring at about 3/4 throttle when accelerating.
As a final, last resort, check I ran the car with the points box cover off and could see that there was significant arcing over the contact breaker. This is a problem as it means the contact isn’t being broken properly which will lead to miss-timing and a weak spark. This is almost certainly due to a failed condenser – apparently a fairly common occurrence with newer condensers.
By this point it was well into the evening and I’d spent the rump of a day going nowhere (well, apart from 100 yards down the road and limping back on one of the shortest test drives I’ve ever done). I put everything back together and had a think about what to do next with a club run coming up in a week’s time.
As the title of this post suggest, my conclusion was to fit an electronic ignition. I had already purchased a 123\TUNE+ for the pile of parts I’m intending to turn into a Burton so, a few days later, that was pressed into service.
Fitting the ignition is refreshingly simple as it sits in place of the old points box and is a fully reversible figment.
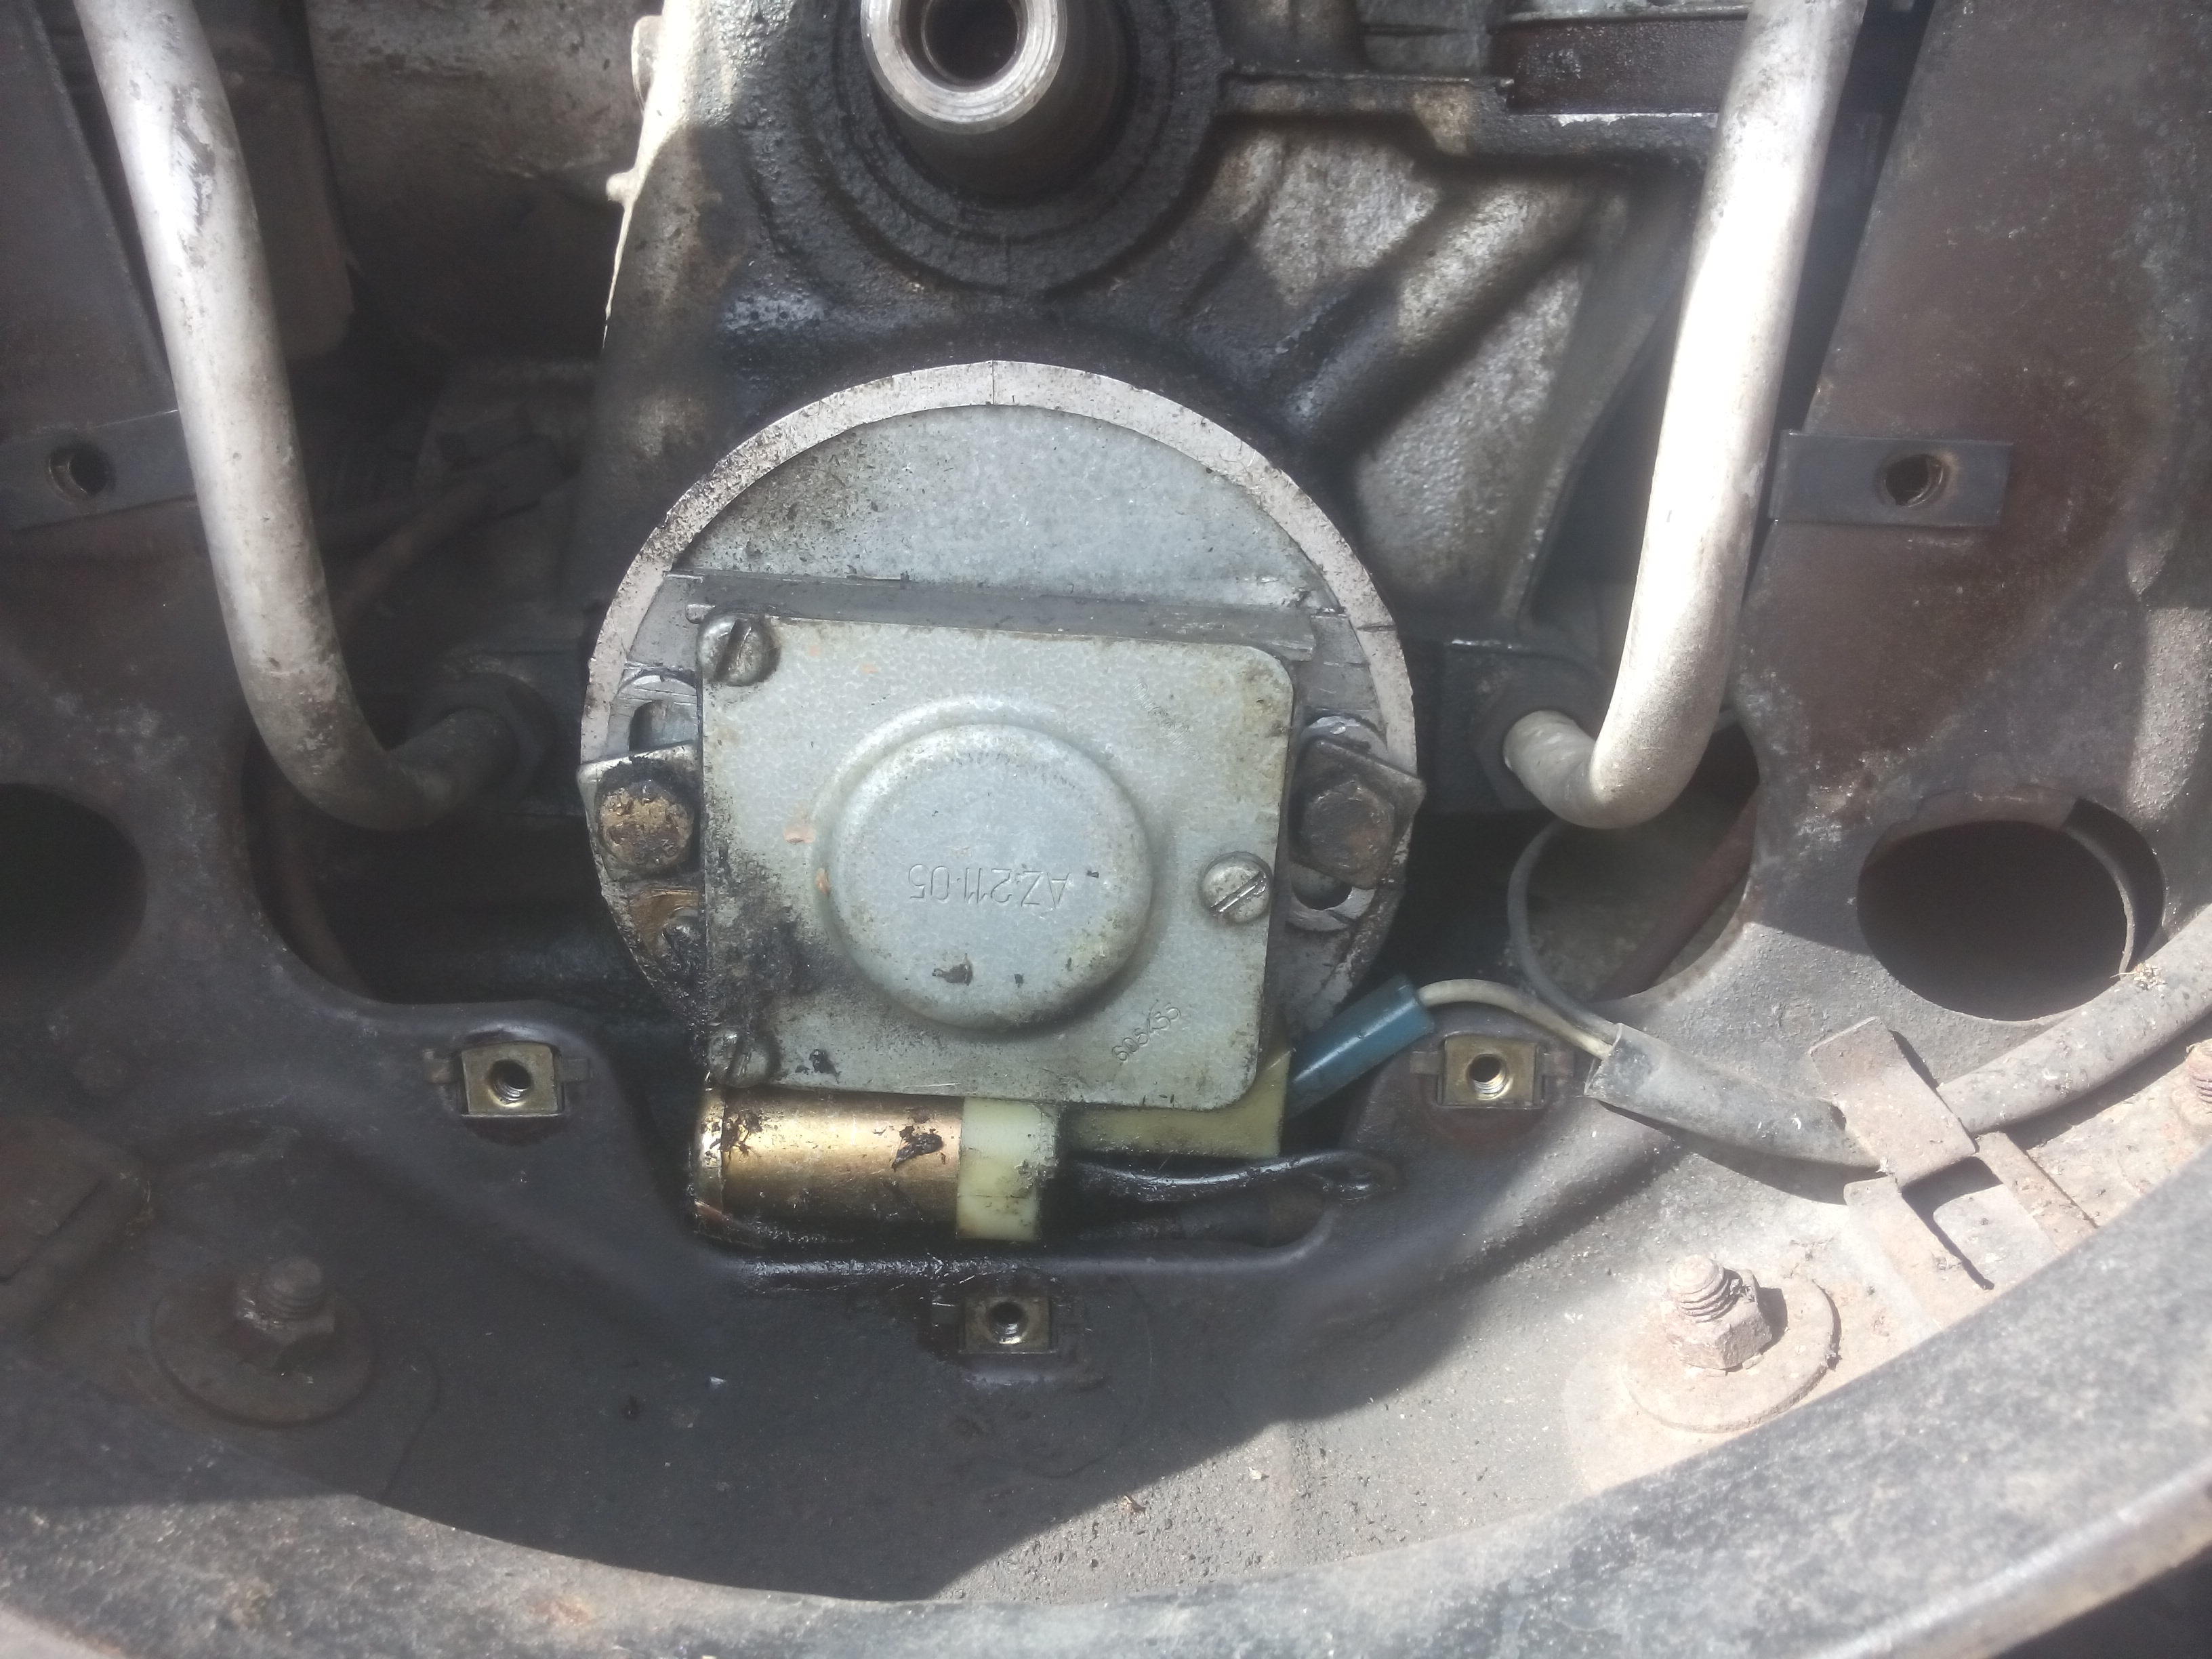
The starting point is removal of the old points. The box comes off with the removal of the two 11mm nuts on either side. After that the thin metal shield comes out which exposes the timing cam and centrifugal advance weights. Removing the circlip that holds the timing cam onto the cam shaft allows this whole assembly to come out.
This leaves the nose of the cam shaft showing and the two pins that attached the advance weights. In the ignition kit there are a pair of sleeved magnets that slide onto these pins, the magnets being strong enough to hold them in place.

The ignition itself then fits on in the same way the points box did and is retained using the old 11mm bolts.

The red wire is connected to what was the positive supply for the coil, this now gives the ignition a 12v power source. The black (-ve) and yellow (+ve) wires will be connected to the coil terminals later.
With the ignition powered up the green timing LED on the front can now be employed. This is identical to timing with a timing light – when the flywheel is at the timing mark, rotate the box until the light goes out then back until it just goes on again.
The black and yellow wires can now be connected to the coil terminals and we’re ready to go. The difference it made was surprising, starting from cold it caught immediately – even when warm it used to cough once or twice. The engine note was also noticeably smoother and it needed less choke.
But the fun didn’t stop there. One of the benefits of the 123\TUNE+ is that it comes with an app that connects to the ignition via Bluetooth and shows a glass dash.
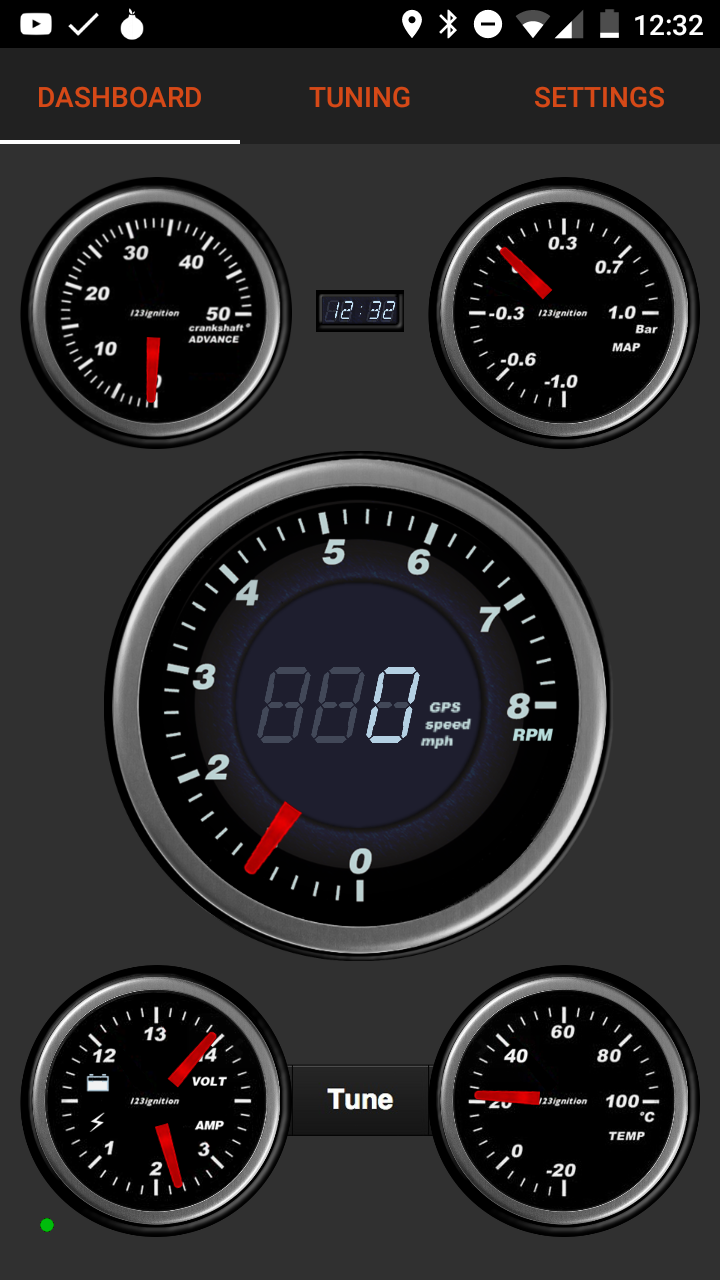
This is all well and good for a cold engine idling with a bit of choke. The problem came with any more revs than this: the voltmeter pinned itself to the top of the dial (15v). (Curiously, the voltmeter in the dash that uses the factory connection in the wiring loom was reading about 14-15v – a bit high but not indicative of an issue.)
This lead me to conclude that the voltage regulator was goosed. From what I can tell, it’s the original Paris-Rhone item that was fitted to the car at the factory. The somewhat steampunk appearance didn’t add to my confidence in it’s continued ability to function in an efficacious manner.

The replacement item is a fraction of the size of the old one and is a simple swap.

The ignition now reads a consistent 13-14v confirming that the old unit was indeed past it.*
With everything in place and a shakedown run up and down the road – more than I’d managed last time – it was time for a longer run. When fully up to temperature and with some fresh dinosaur juice she was running really smoothly. The accelerator response is right there (although with 29 horses it still takes a while to have an effect on the road) and, most noticeably, she’s significantly happier when coming off the throttle.
For all the trouble it has caused, I’m glad I persisted with the original system – not only do I now have a good working knowledge of how it operates but I fully appreciate the benefits provided by a modern electronic ignition!
* I think that the failed regulator was a significant contributing factor in the previous ignition issues – it will have been over loading the system and may well have over stressed the condenser, especially if it wasn’t the best quality anyway.

Initial test fit of the B-17s to the stands.
Never do today what you can put off untill tomorrow.

One of the reasons for choosing Bag the Hun (BtH) as the rule system is that it uses a card deck for turn sequence meaning it’s ideally suited to solo play.
In the case of the scenario of a attack on a combat box of B-17s there’s not much choice in terms of actions:
Given the very restricted nature of this scenario there will be a number of cards that are normally included that we can discount:
In BtH cards for movement and shooting are allocated on a formation basis: one each for each formation. Normally formations are considered to be in the region of three or four aircraft but in this scenario we have two special case formations – the B-17 combat box and the FW 190 Sturmgruppe – both of 12 aircraft. Let’s look at these individually:
Whilst the combat box consists of four flights of three aircraft, the 12 aircraft formation is the be-all-and-end-all of the B-17s – so much so that forcing an aircraft out of formation (Herausschuss) was the primary goal of the FW 190s. So, in this scenario, the box will never break down into individual flights meaning only one formation move card is needed.
When it comes to shooting, the B-17s don’t have any pilot controlled guns so they don’t need a formation shoot card. The B-17s will therefore be entirely reliant on air gunner cards which are allocated at the rate of one per four aircraft (rounded up). With a starting compliment of 12 aircraft that gives three air gunner cards.
Normally each side would receive a formation bonus move card but, as the B-17s are size six aircraft they cannot use this card so it won’t be included.
The Sturmgruppe would approach the combat box in a single line abreast formation before, as late as possible, breaking up to attack the individual flights of the combat box. As the basic formation of the Luftwaffe was the four aircraft Schwarm three formation move cards are needed. Following the formation rules in BtH this means the Sturmgruppe can move as a single formation on Schwarm one’s move card and ignore Schwarm two and three’s move cards until such time as they choose to break formation. (This break formation could be handled with a scenario specific card but this keeps it simple and gives the FW 190s the edge in terms of tactical manoeuvrability which is appropriate.)
As the FW 190 has pilot controlled guns, each formation will need a shoot card meaning three formation shoot cards are needed – matching the move cards.
There will be one formation move card for the FW 190s.
Whilst this may well be adjusted later based on experience, the starting card deck will be:
As a thought exercise this seems right: the FW 190s have the tactical advantage in terms of manoeuvrability but the B-17s will still get plenty of chances to return fire. (The way the rules work, it will only be a shot at a single FW 190 with each card but, with the combined bonuses granted by the interlocking fields of fire of a combat box, it’s got a very good chance of doing serious damage.)
Whilst Bag the Hun comes with stats for a huge variety of aircraft, it doesn’t come with the FW 190A-8/R8, Sturmböcke. However, it does have the 190A-8 so one less point of move (SPD), one more of armour (ROB) and four more of fire-power (FRO) seems about right.
The B-17G is, unsurprisingly, represented so the stats for that are as per the book.
| Name | SPD | MAN | ALT | ROC | ROB | SIZ | FRO | RIG | LEF | REA | AMO |
|---|---|---|---|---|---|---|---|---|---|---|---|
| FW 190A-8/R2 | 8 | 5* | 6 | 2 | 2 | 1 | 16 | 0 | 0 | 0 | 12 |
| B-17G | 6 | 1 | 6 | 1 | 6 | 6 | 6 | 6 | 6 | 6 | N/A |
It’s been 17 years since I last had this, still love the taste but now find it a bit too sweet so I think I’ll get diet next time.

I have picked up some flight stands from Figures in Comfort, 25 with 50mm pegs and 10 extra 100mm pegs.

By cutting down pegs, this gives the ability to mount up to 10 aircraft on 50-100mm pegs and – as I have 24 aircraft in total – any number on 50mm or shorter pegs. (In game mechanical terms the hight of the aircraft doesn’t make a difference, this is purely for visual effect on the table.)
As there are 12 FW 190s I’ll mount them on the stock 50mm pegs as that will save work.
The 12 aircraft B1-17 combat box consists of four flights of three, each at different heights (medium, high, low and low-low). Discounting the 50mm height – as that’s been taken by the FW 190s – four equally spaced heights are now needed.
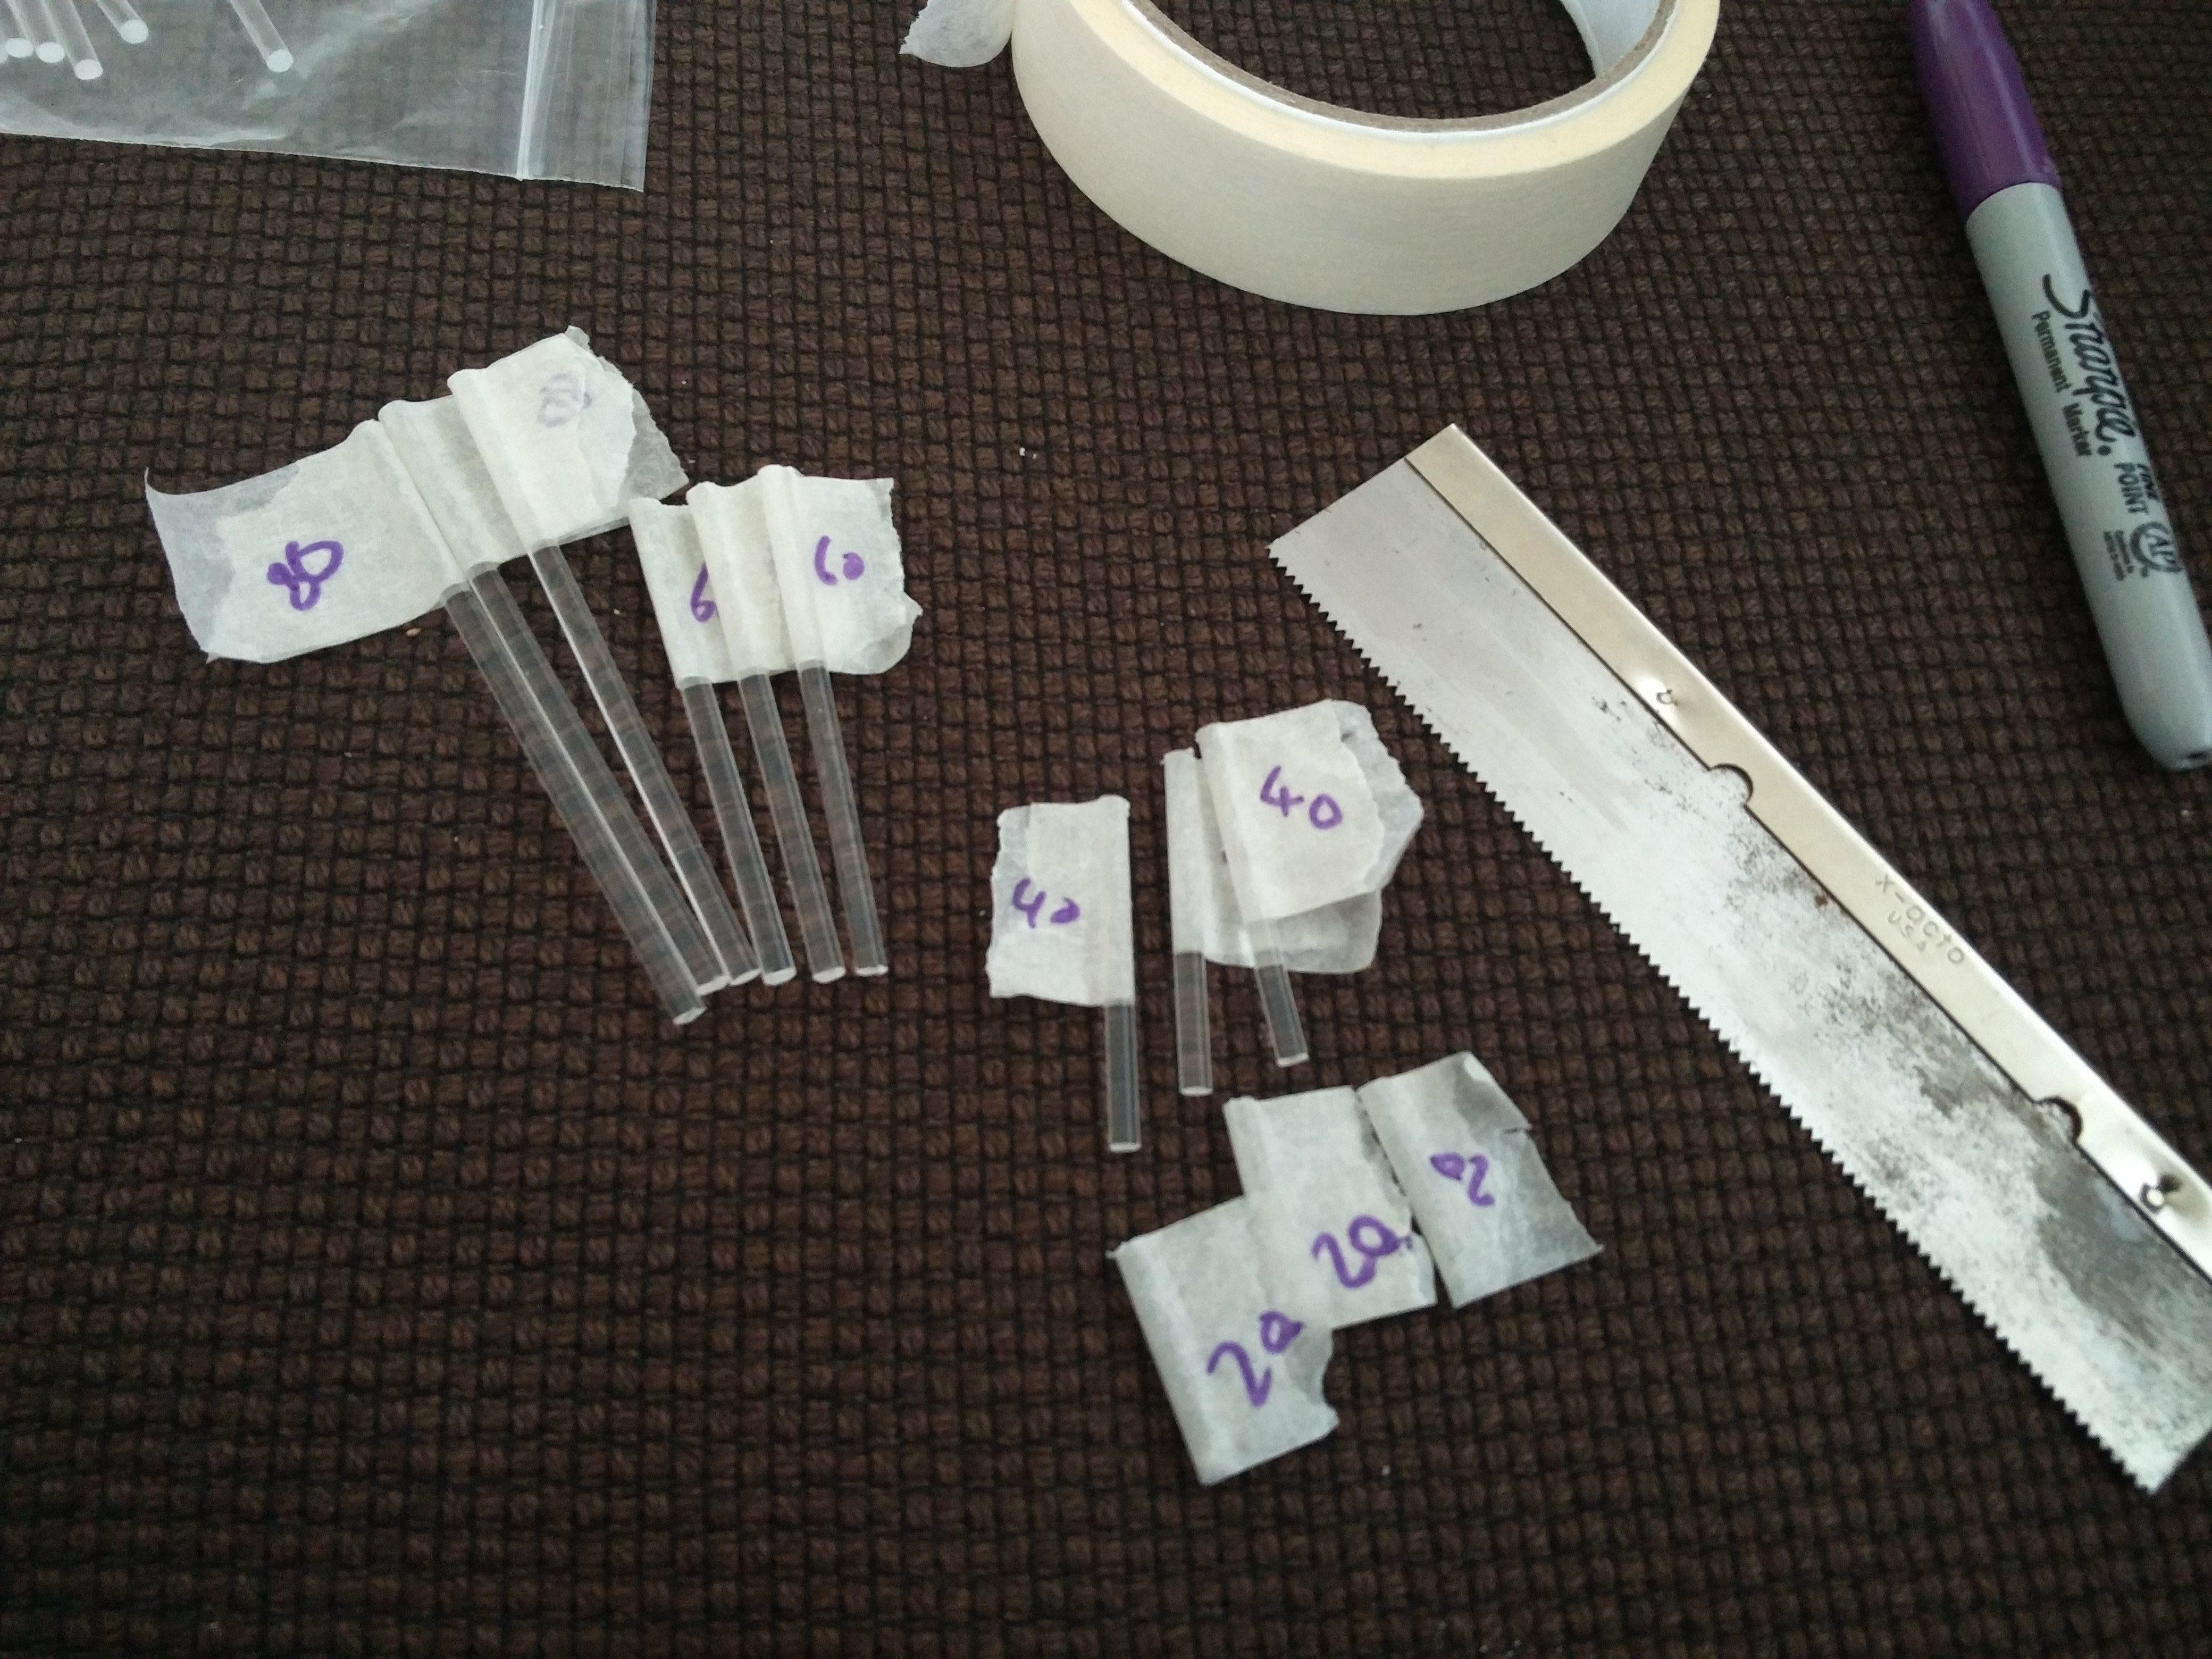
Taking 50mm as our mid point between the levels, a 10mm spacing would work (35mm, 45mm, 55mm, 65mm) but doens’t have much visual impact. A 30mm spacing would still fit within our available range (5mm, 35mm, 65mm, 95mm) and provide a good visual impact but leaves the low-low flight on 5mm posts. So I’ve settled on a 20mm spacing:
| B-17 | FW 190 |
|---|---|
| 80mm (high) | 50mm |
| 60mm (mid) | |
| 40mm (low) | |
| 20mm (low-low) |
This gives the necessary flight levels for the B-17 combat box and also doesn’t line the FW 190s up on the level of one specific flight, which is something I was trying to avoid.

Finished reading Alan Moore’s Providence. I see the big picture but I still don’t fully understand the angles of the geometry.