
Nothing to see here.

Setting up for my next Lego project, something that could have rolled out of Granville Brothers former dance hall in Springfield. Ideally I’d like to get as close to a Model R as possible but it’s not an easy shape to reproduce in Lego.
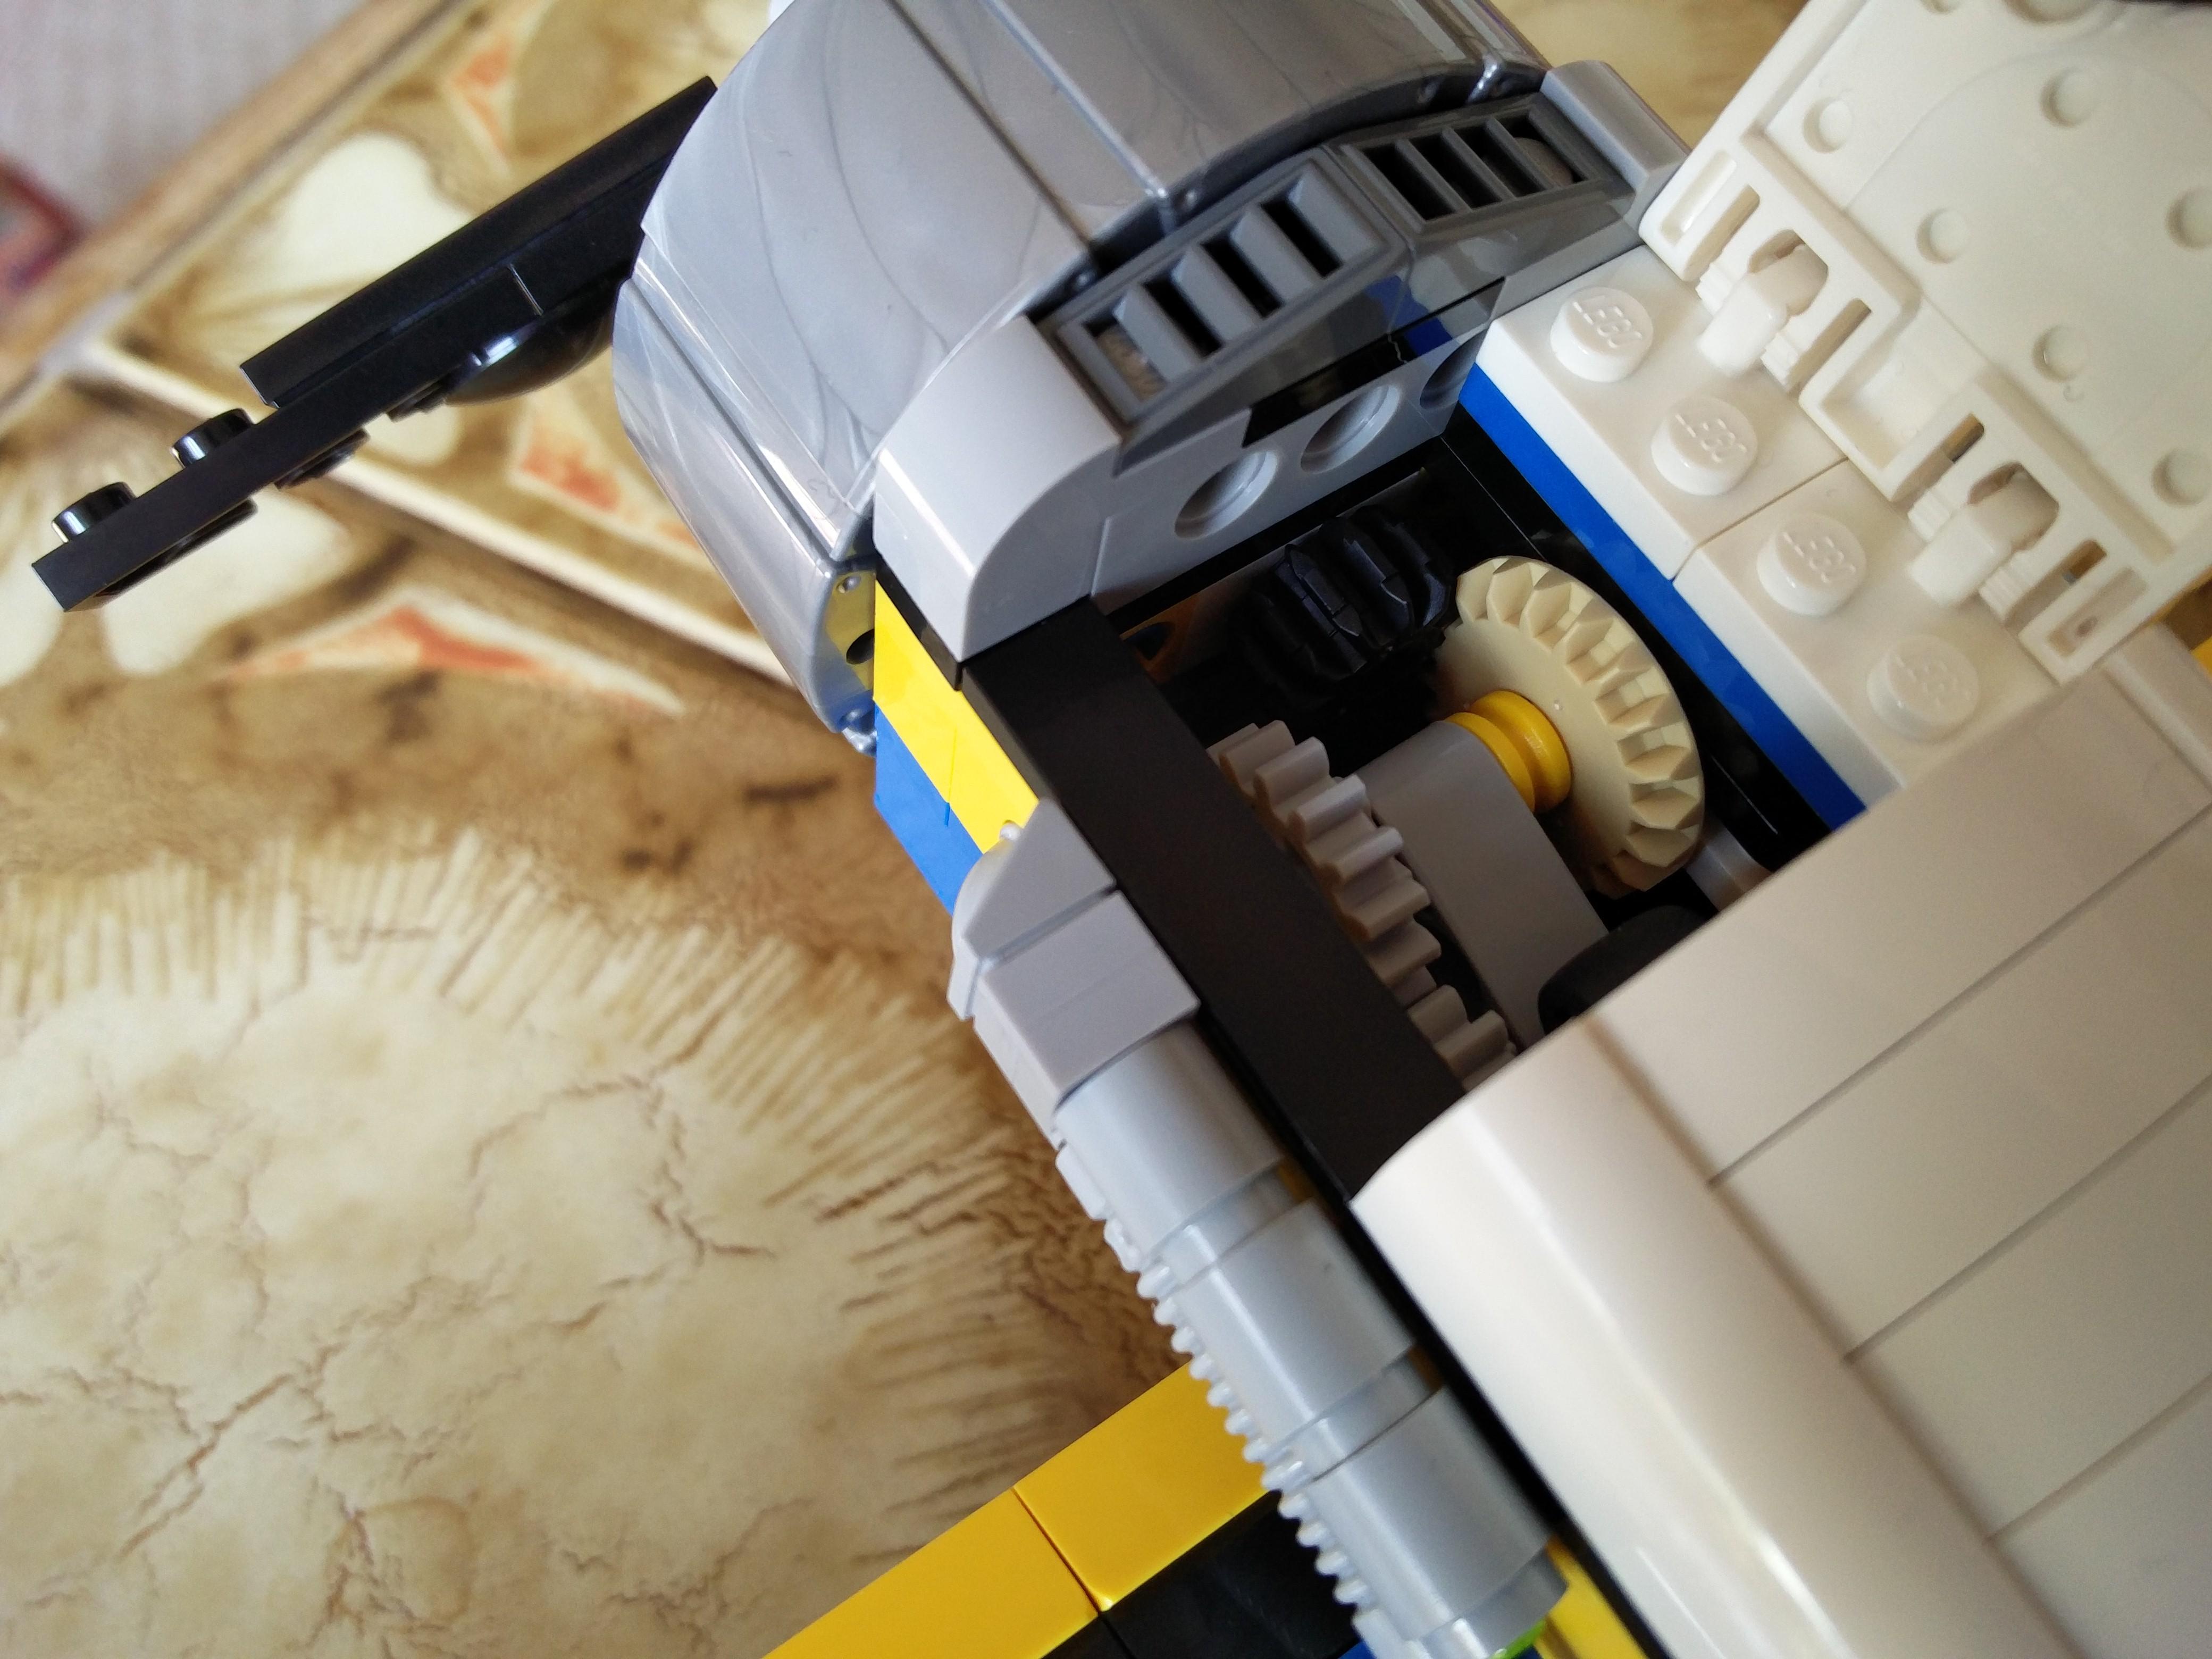
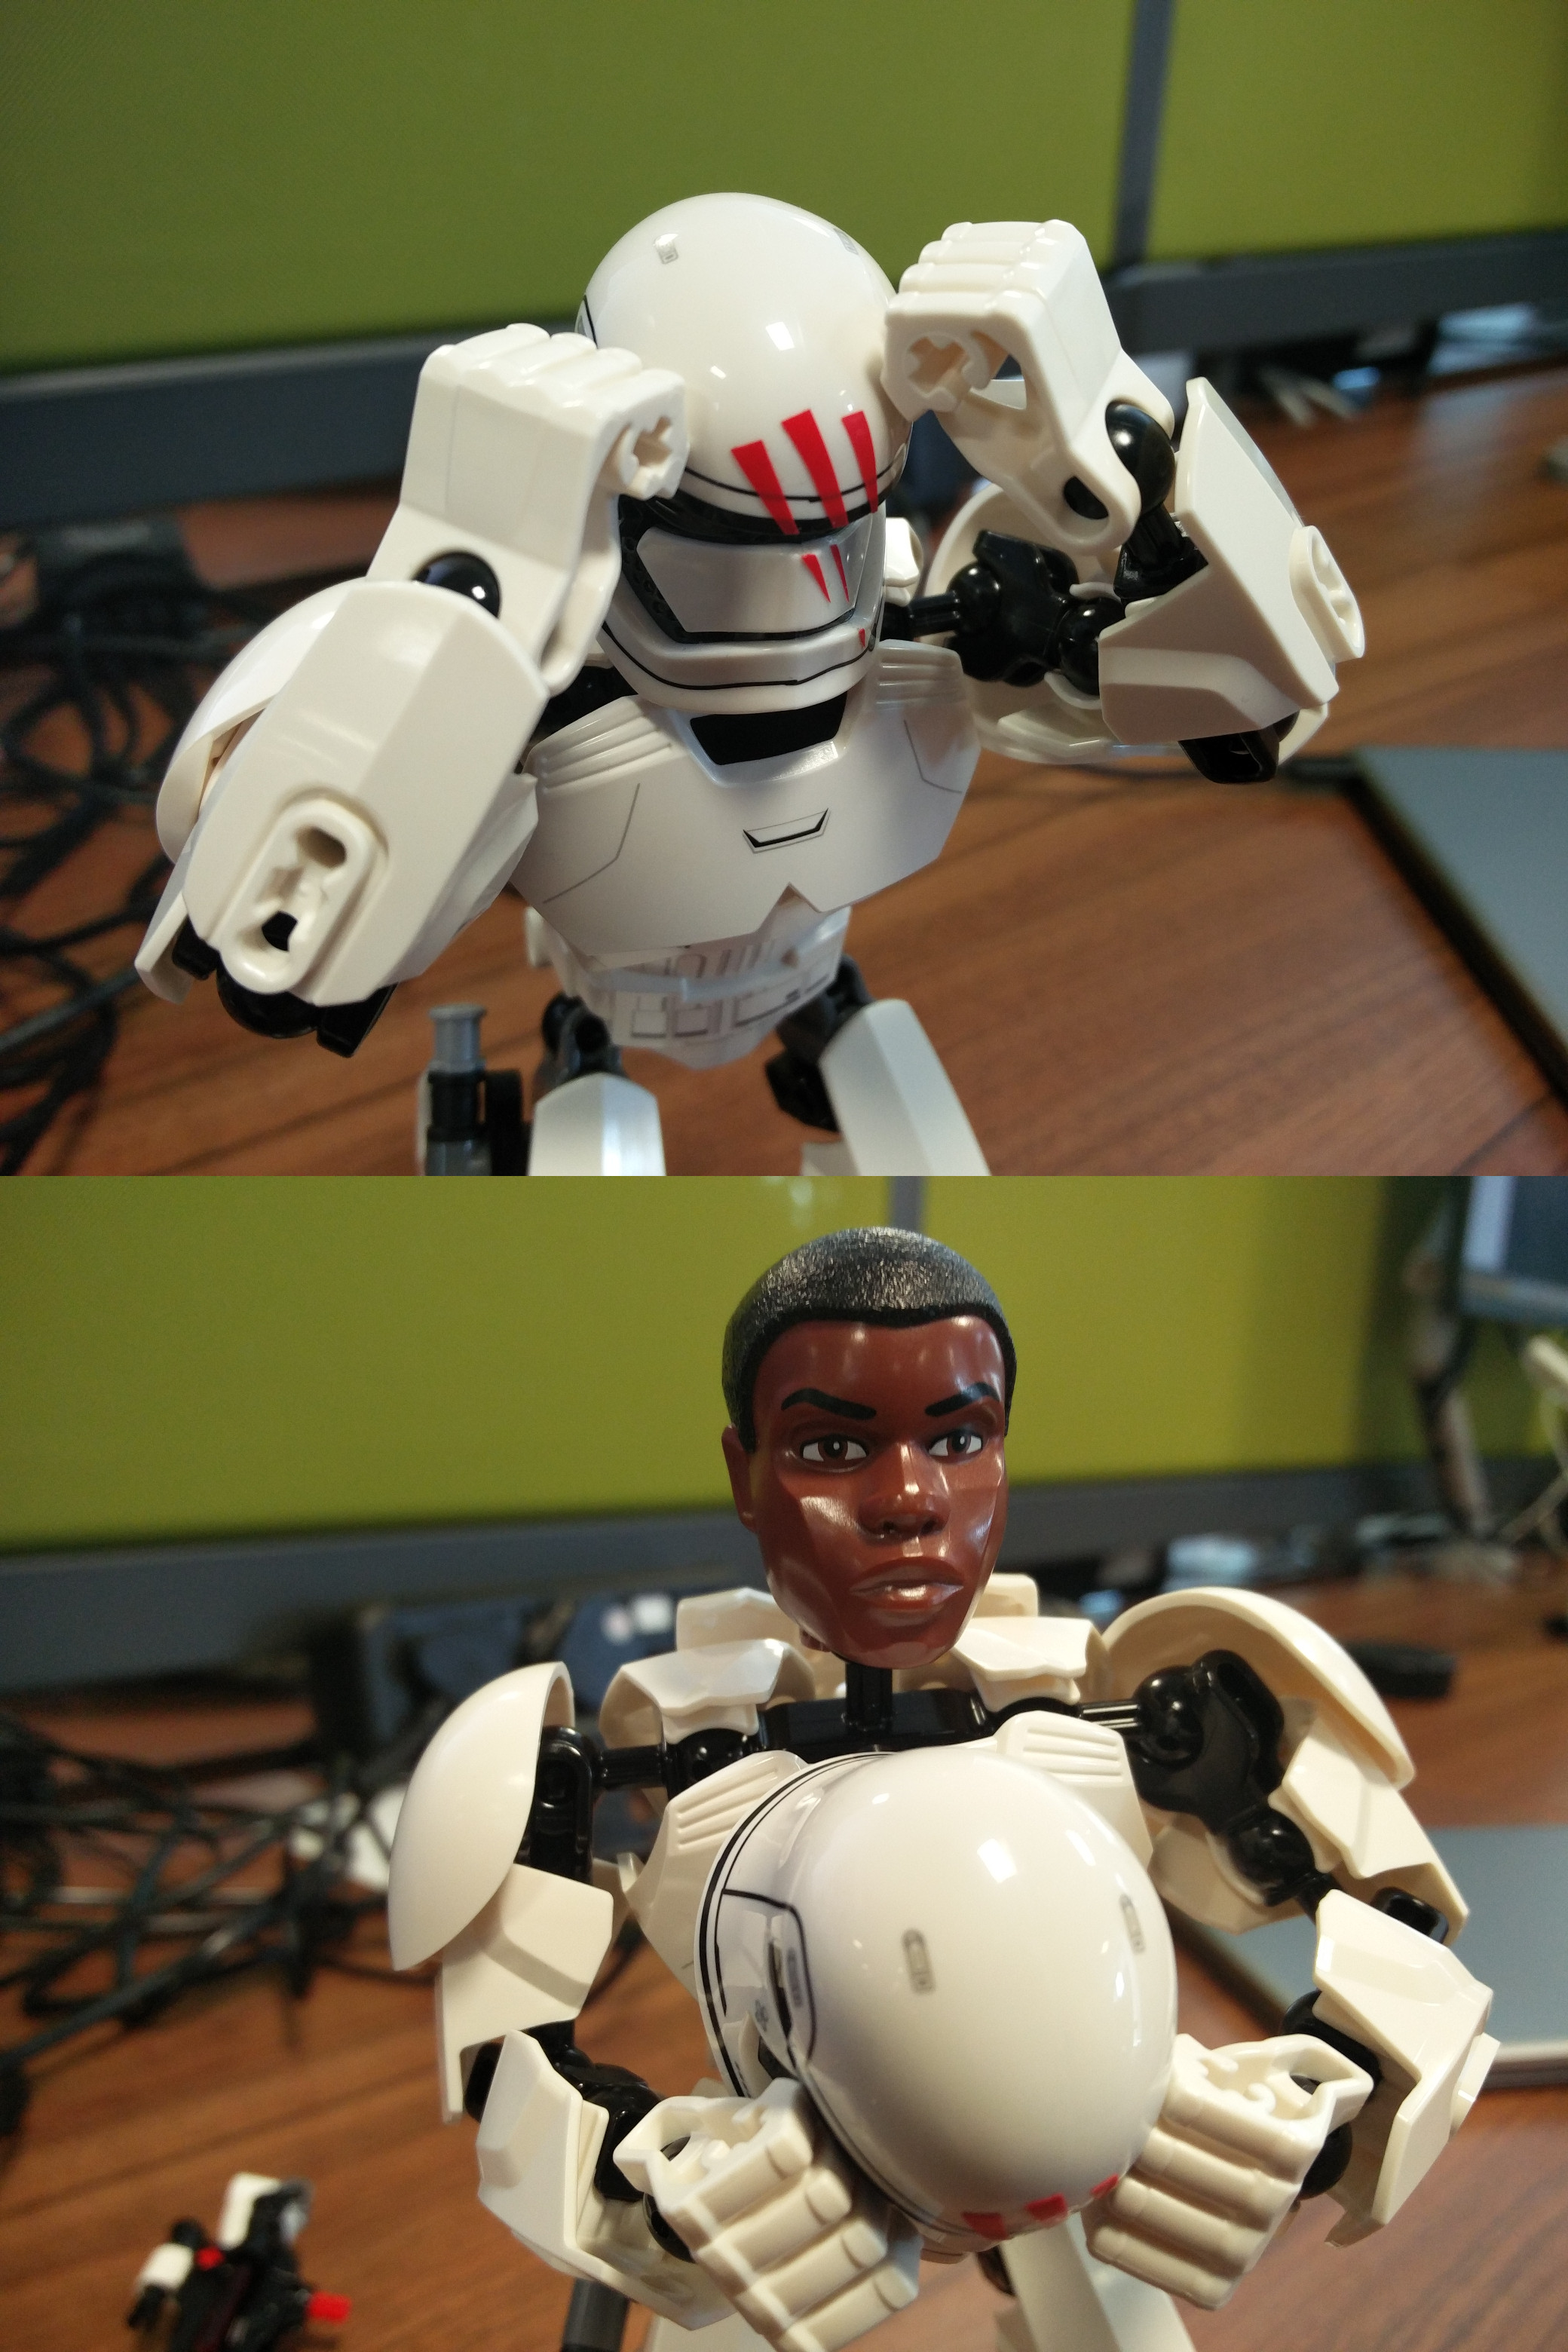
For the starting point I’ve used an off-the-shelf kit, Aviation Adventures which has a plane as the featured build. With the big rotary engine and the rounded wings it’s got two elements that are a key part of the Gee Bee designs.


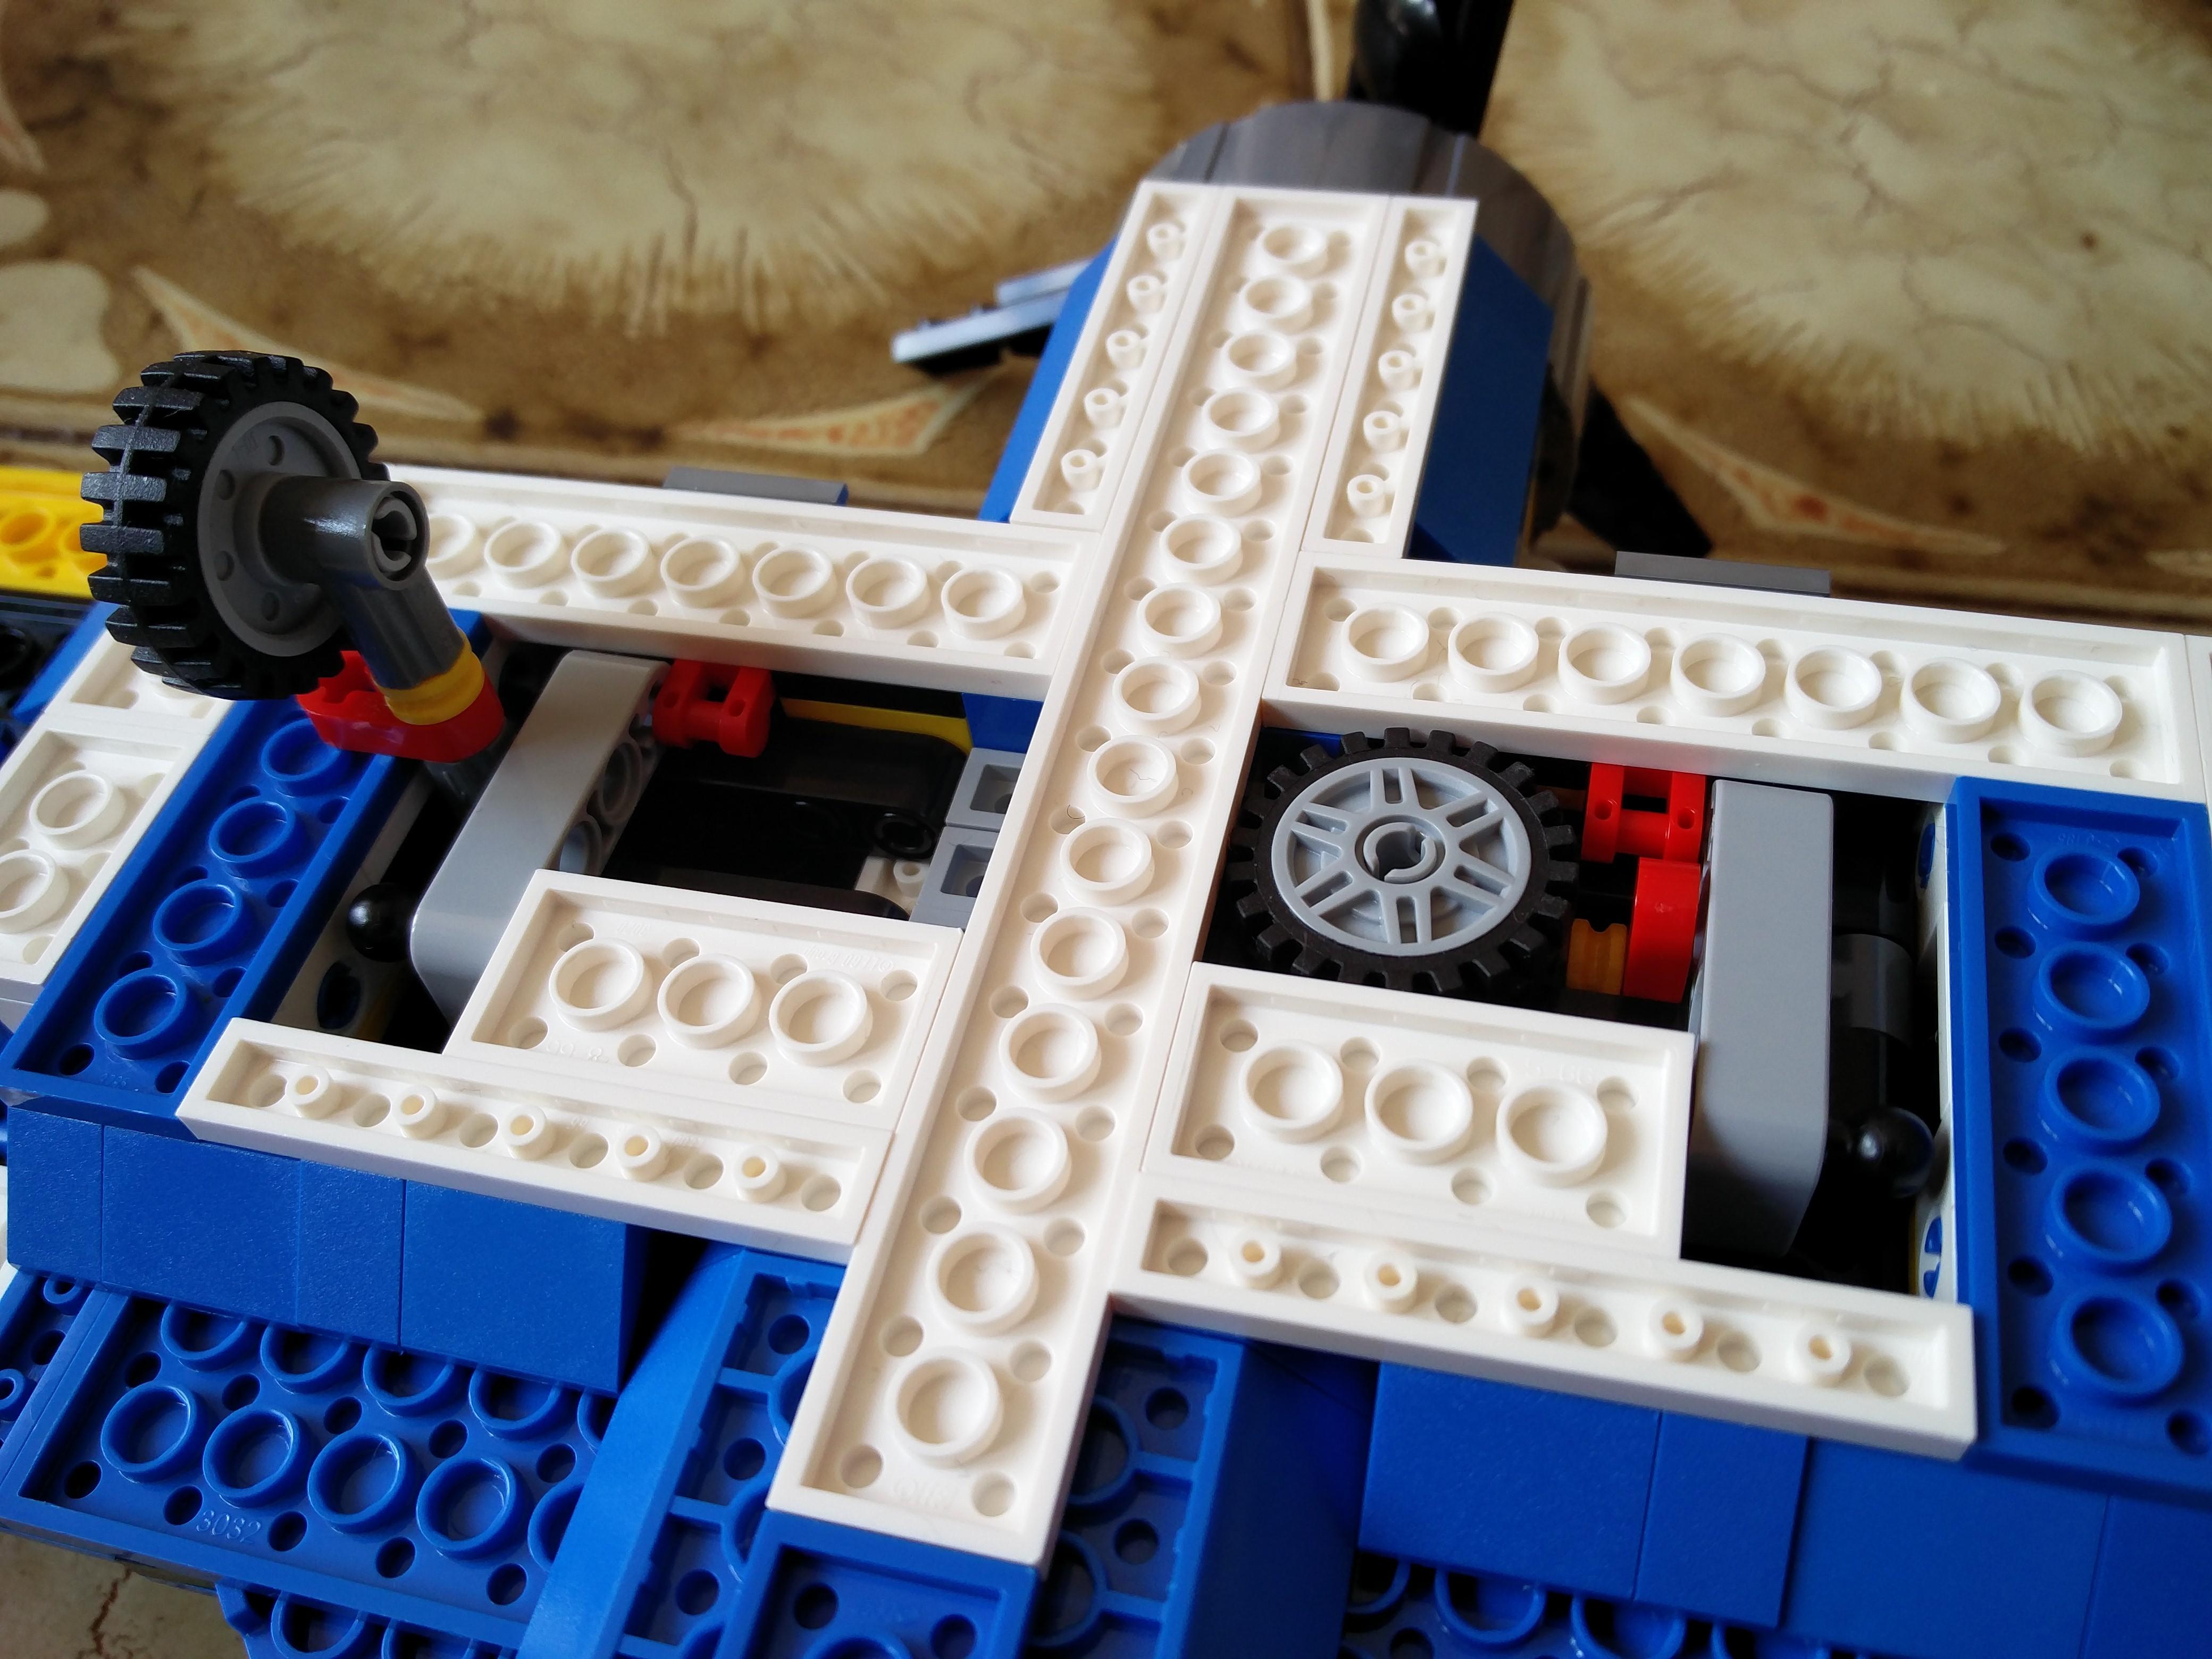
There are some nice features of the model that I won’t be retaining, first is when you slide the tail wheel backwards and forwards it works a bi-directional gear assembly that turns the propeller. It’s nice but it’s going to be to restrictive to retain.
The other is the retractable undercarriage, again a nicely implemented feature but the Gee Bees had fixed, spatted, undercarriage and housing it makes the wing more restrictive.

A while back I replaced a missing bolt for the rear door retaining strap. Also missing was the strap that holds the rear seat belt away from the door opening1 as that’s held in by the bolt that had departed. After obtaining a replacement strap (they’re the same as the door handle straps) I set about restoring everything.
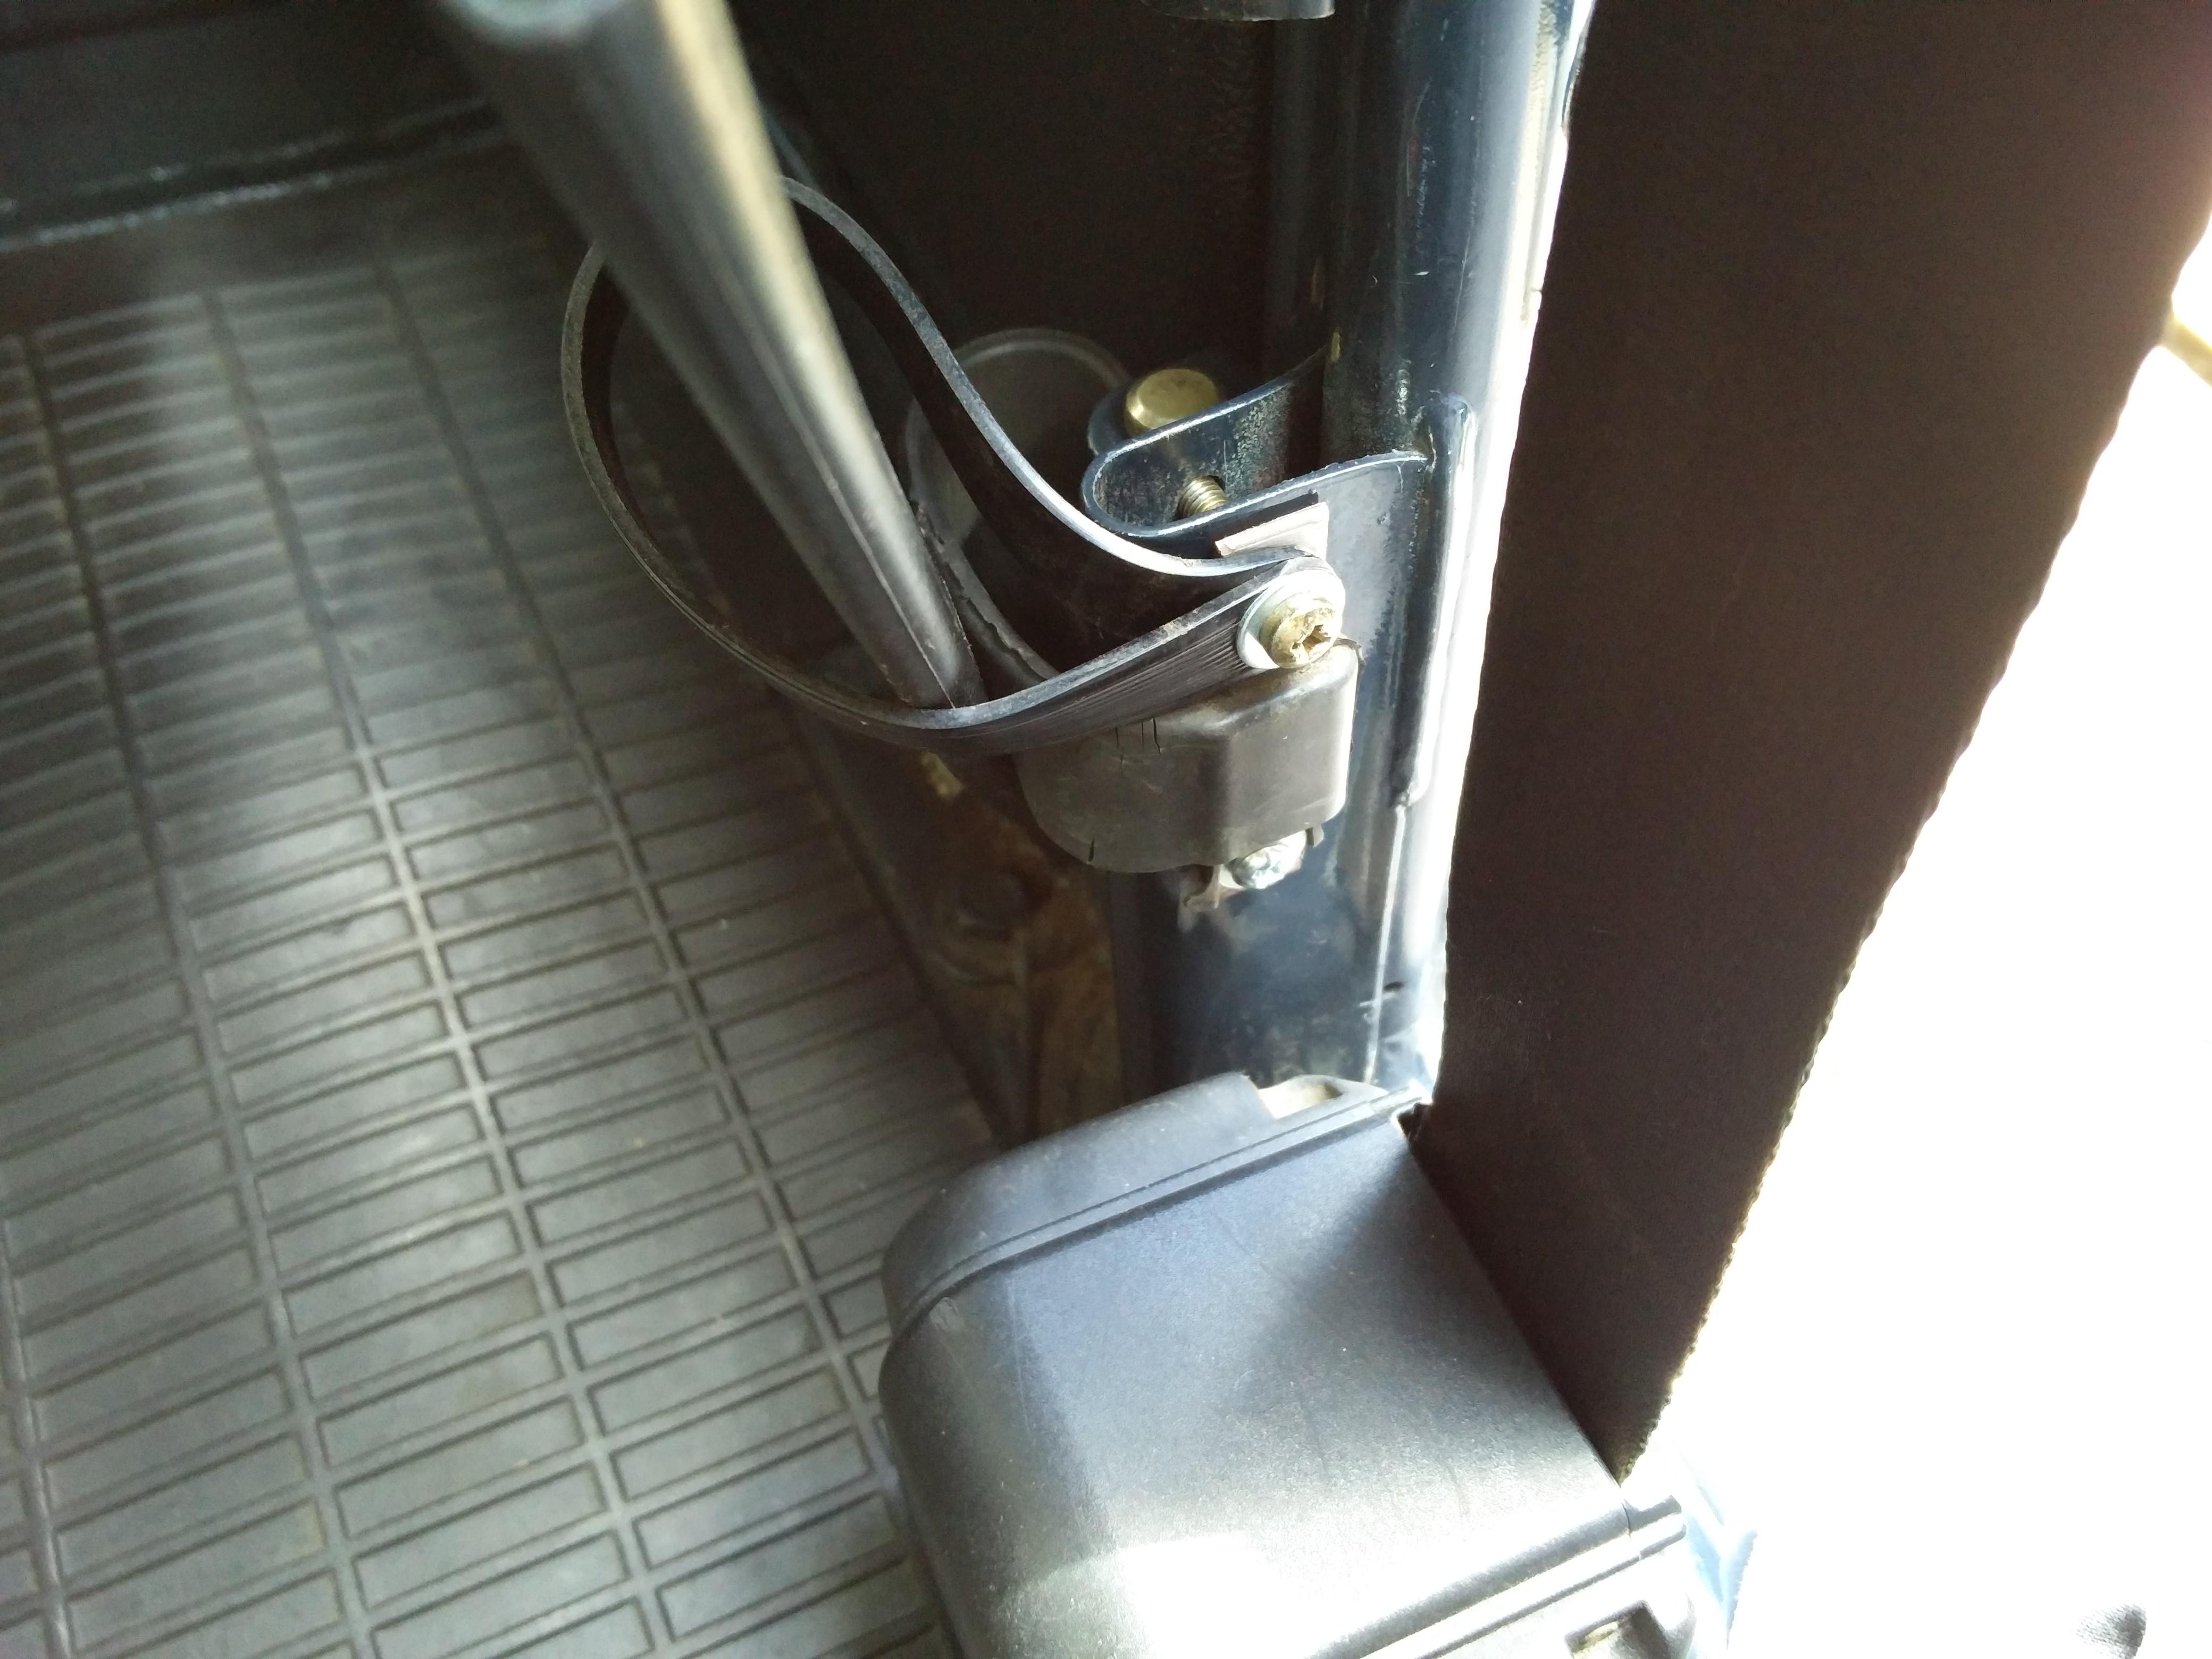
Unfortunately I managed to drop the nut from the surviving original bolt down into the mounting bracket for the rear door strap, this being nothing more than a curved piece of metal welded onto the B pillar.
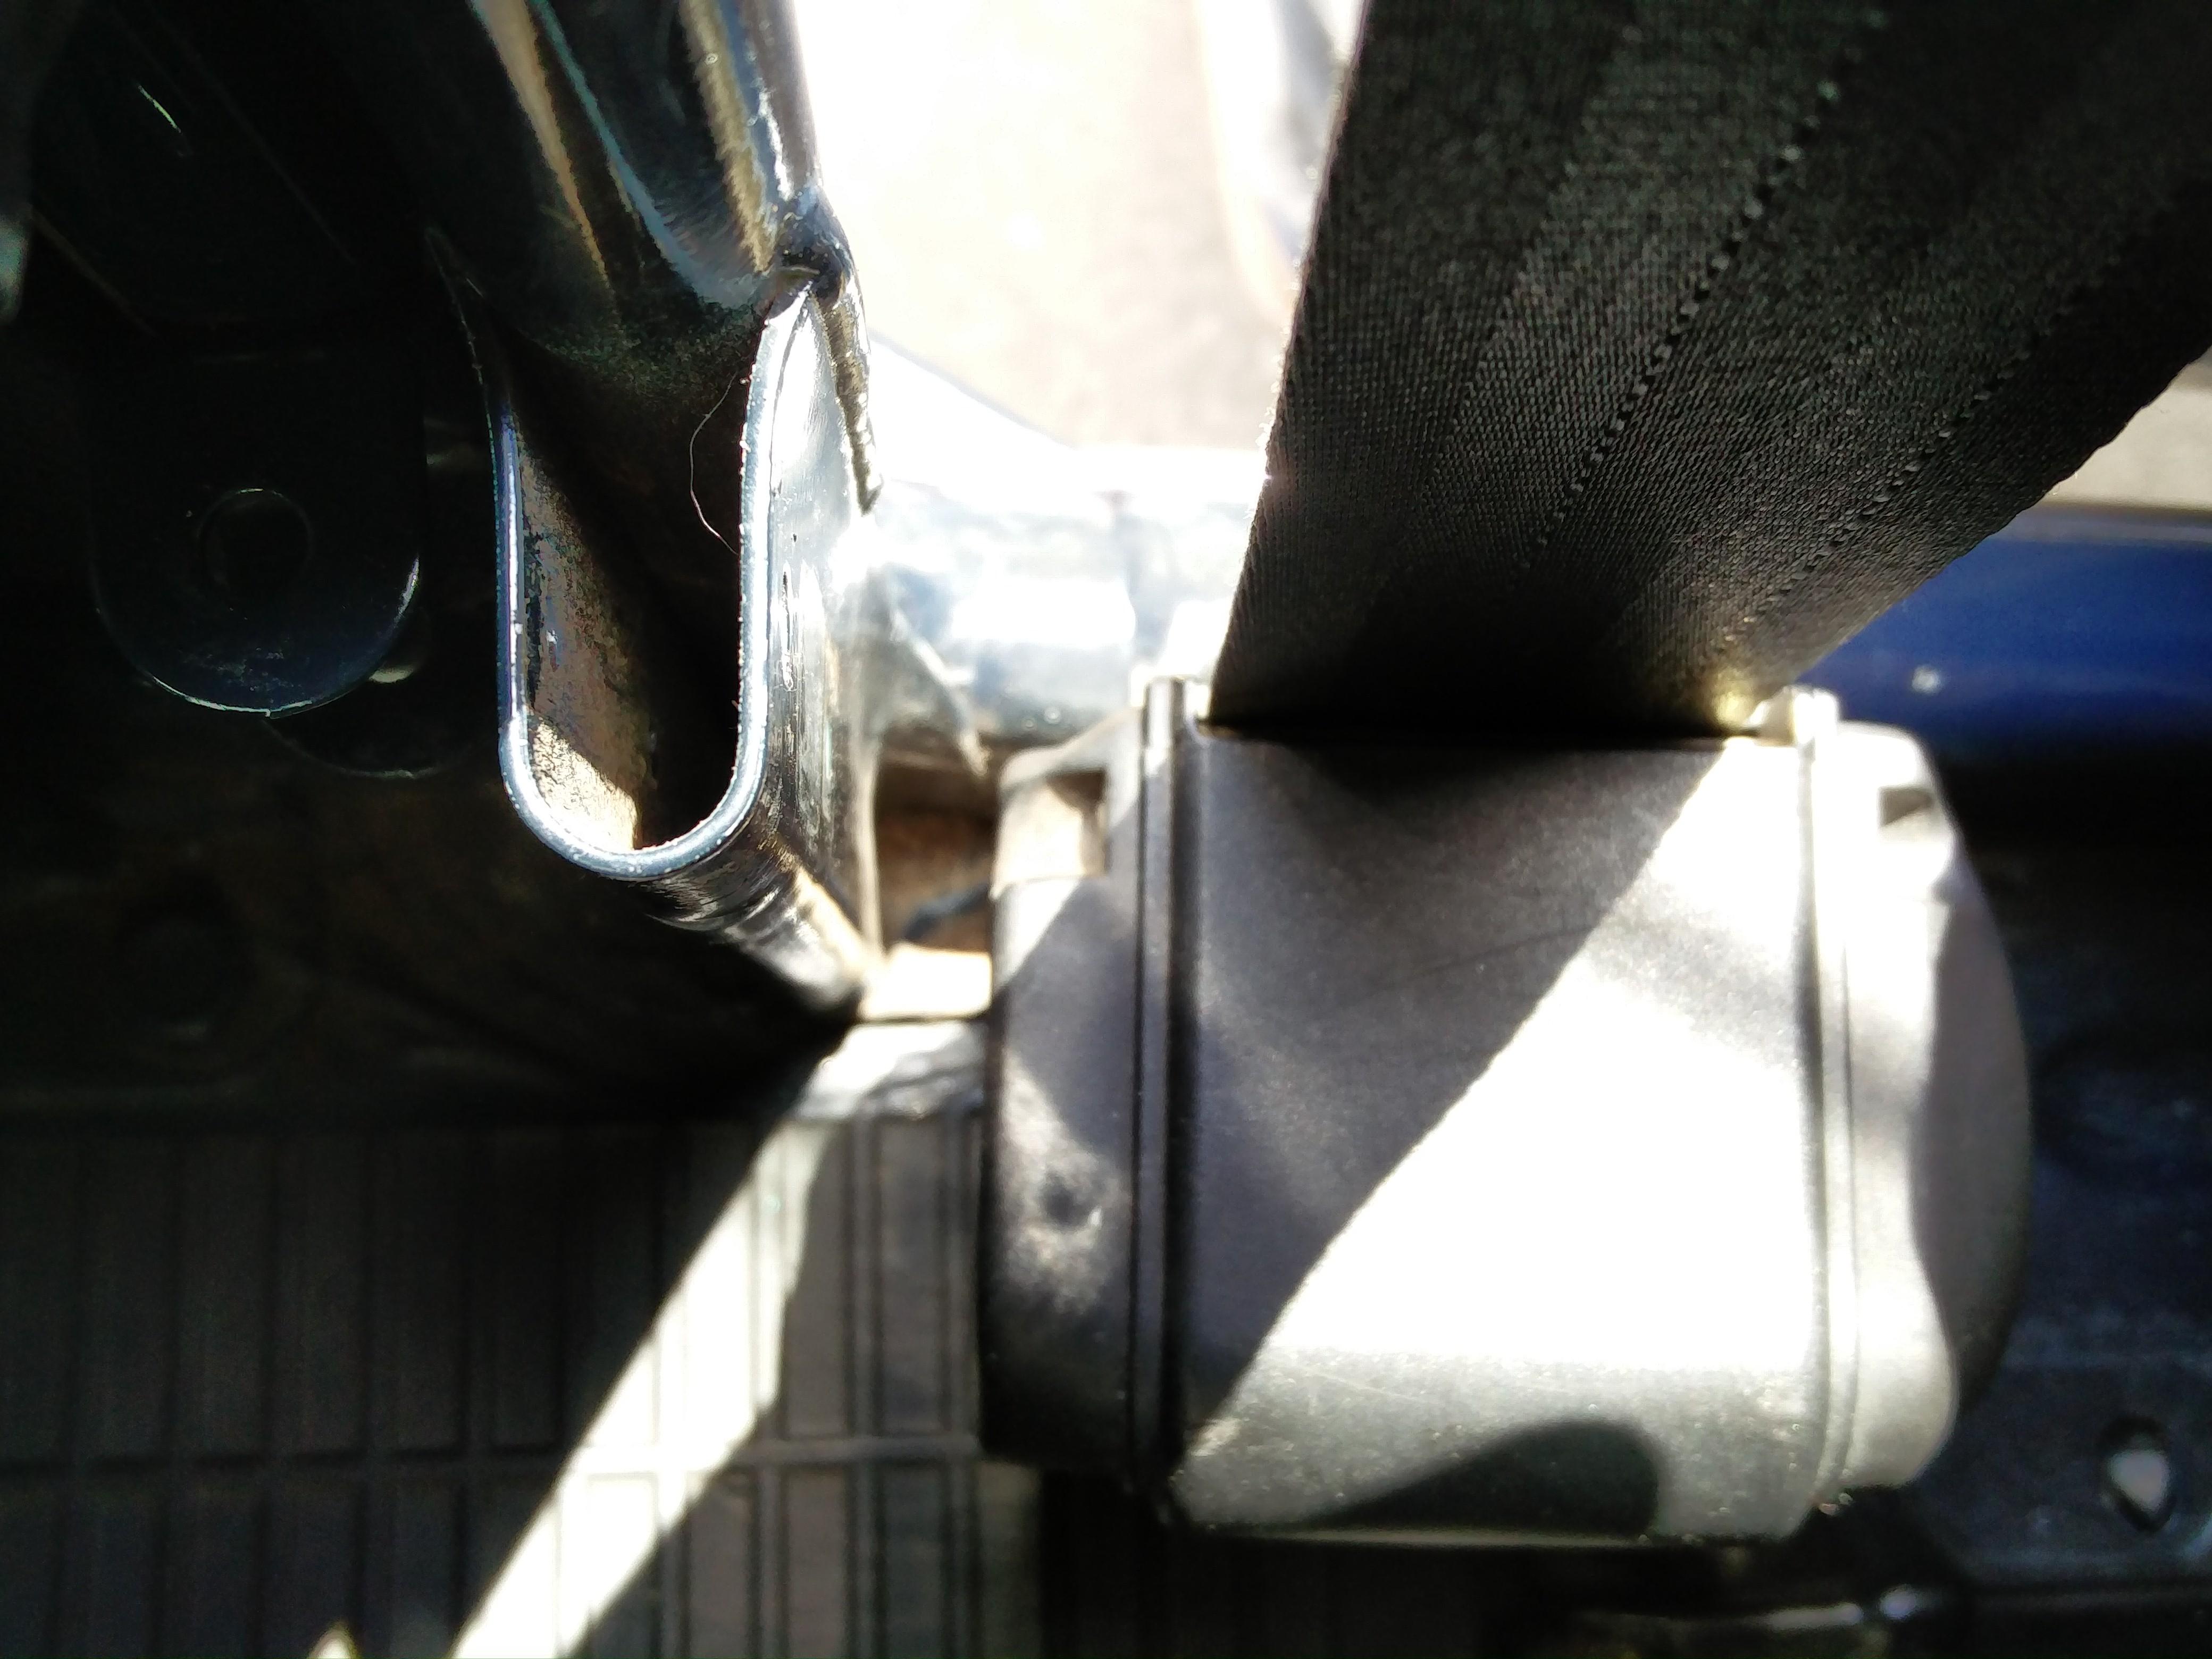
To give you and idea of the restricted access, the above photo is the best I could get with phone camera – the Mk. 1 eyeball can get a slightly better vantage point. It’s too narrow for either of my magnetic pick-ups and too deep for most of my tools – about the only thing that would get down there was a pick. I tried to magnetise the pick but it really wasn’t going to cut it so time for plan B: more magnets.
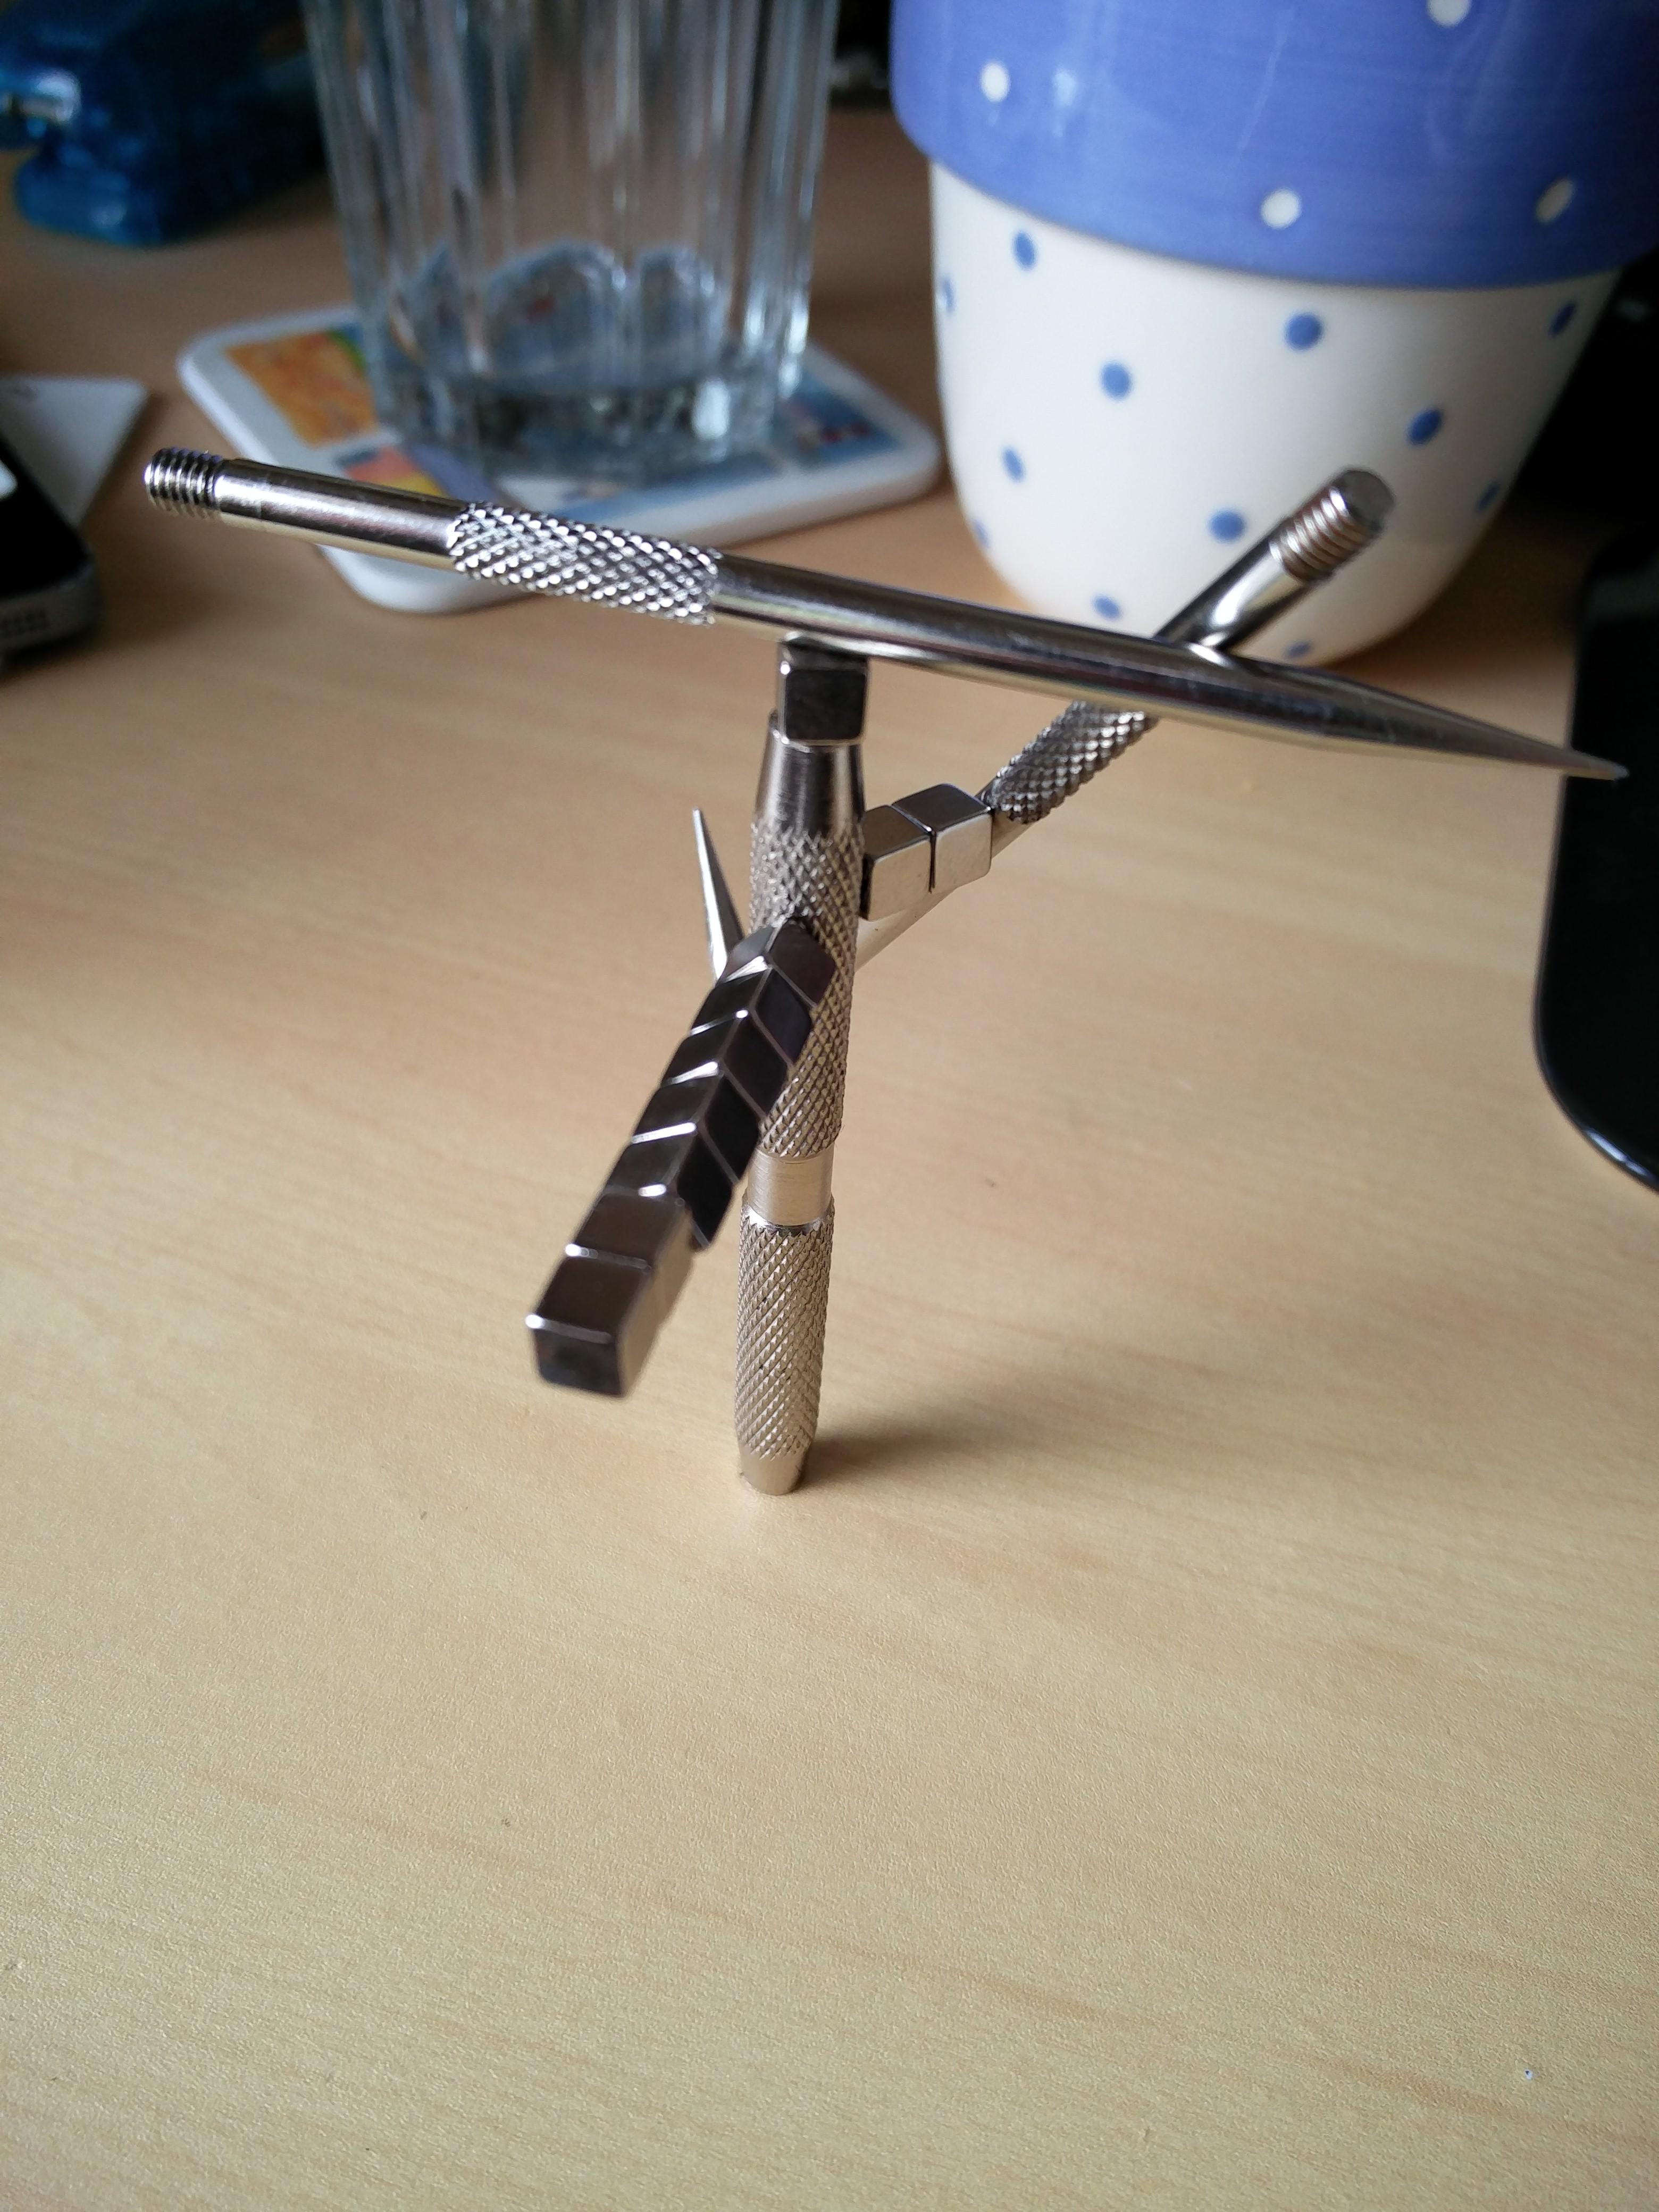
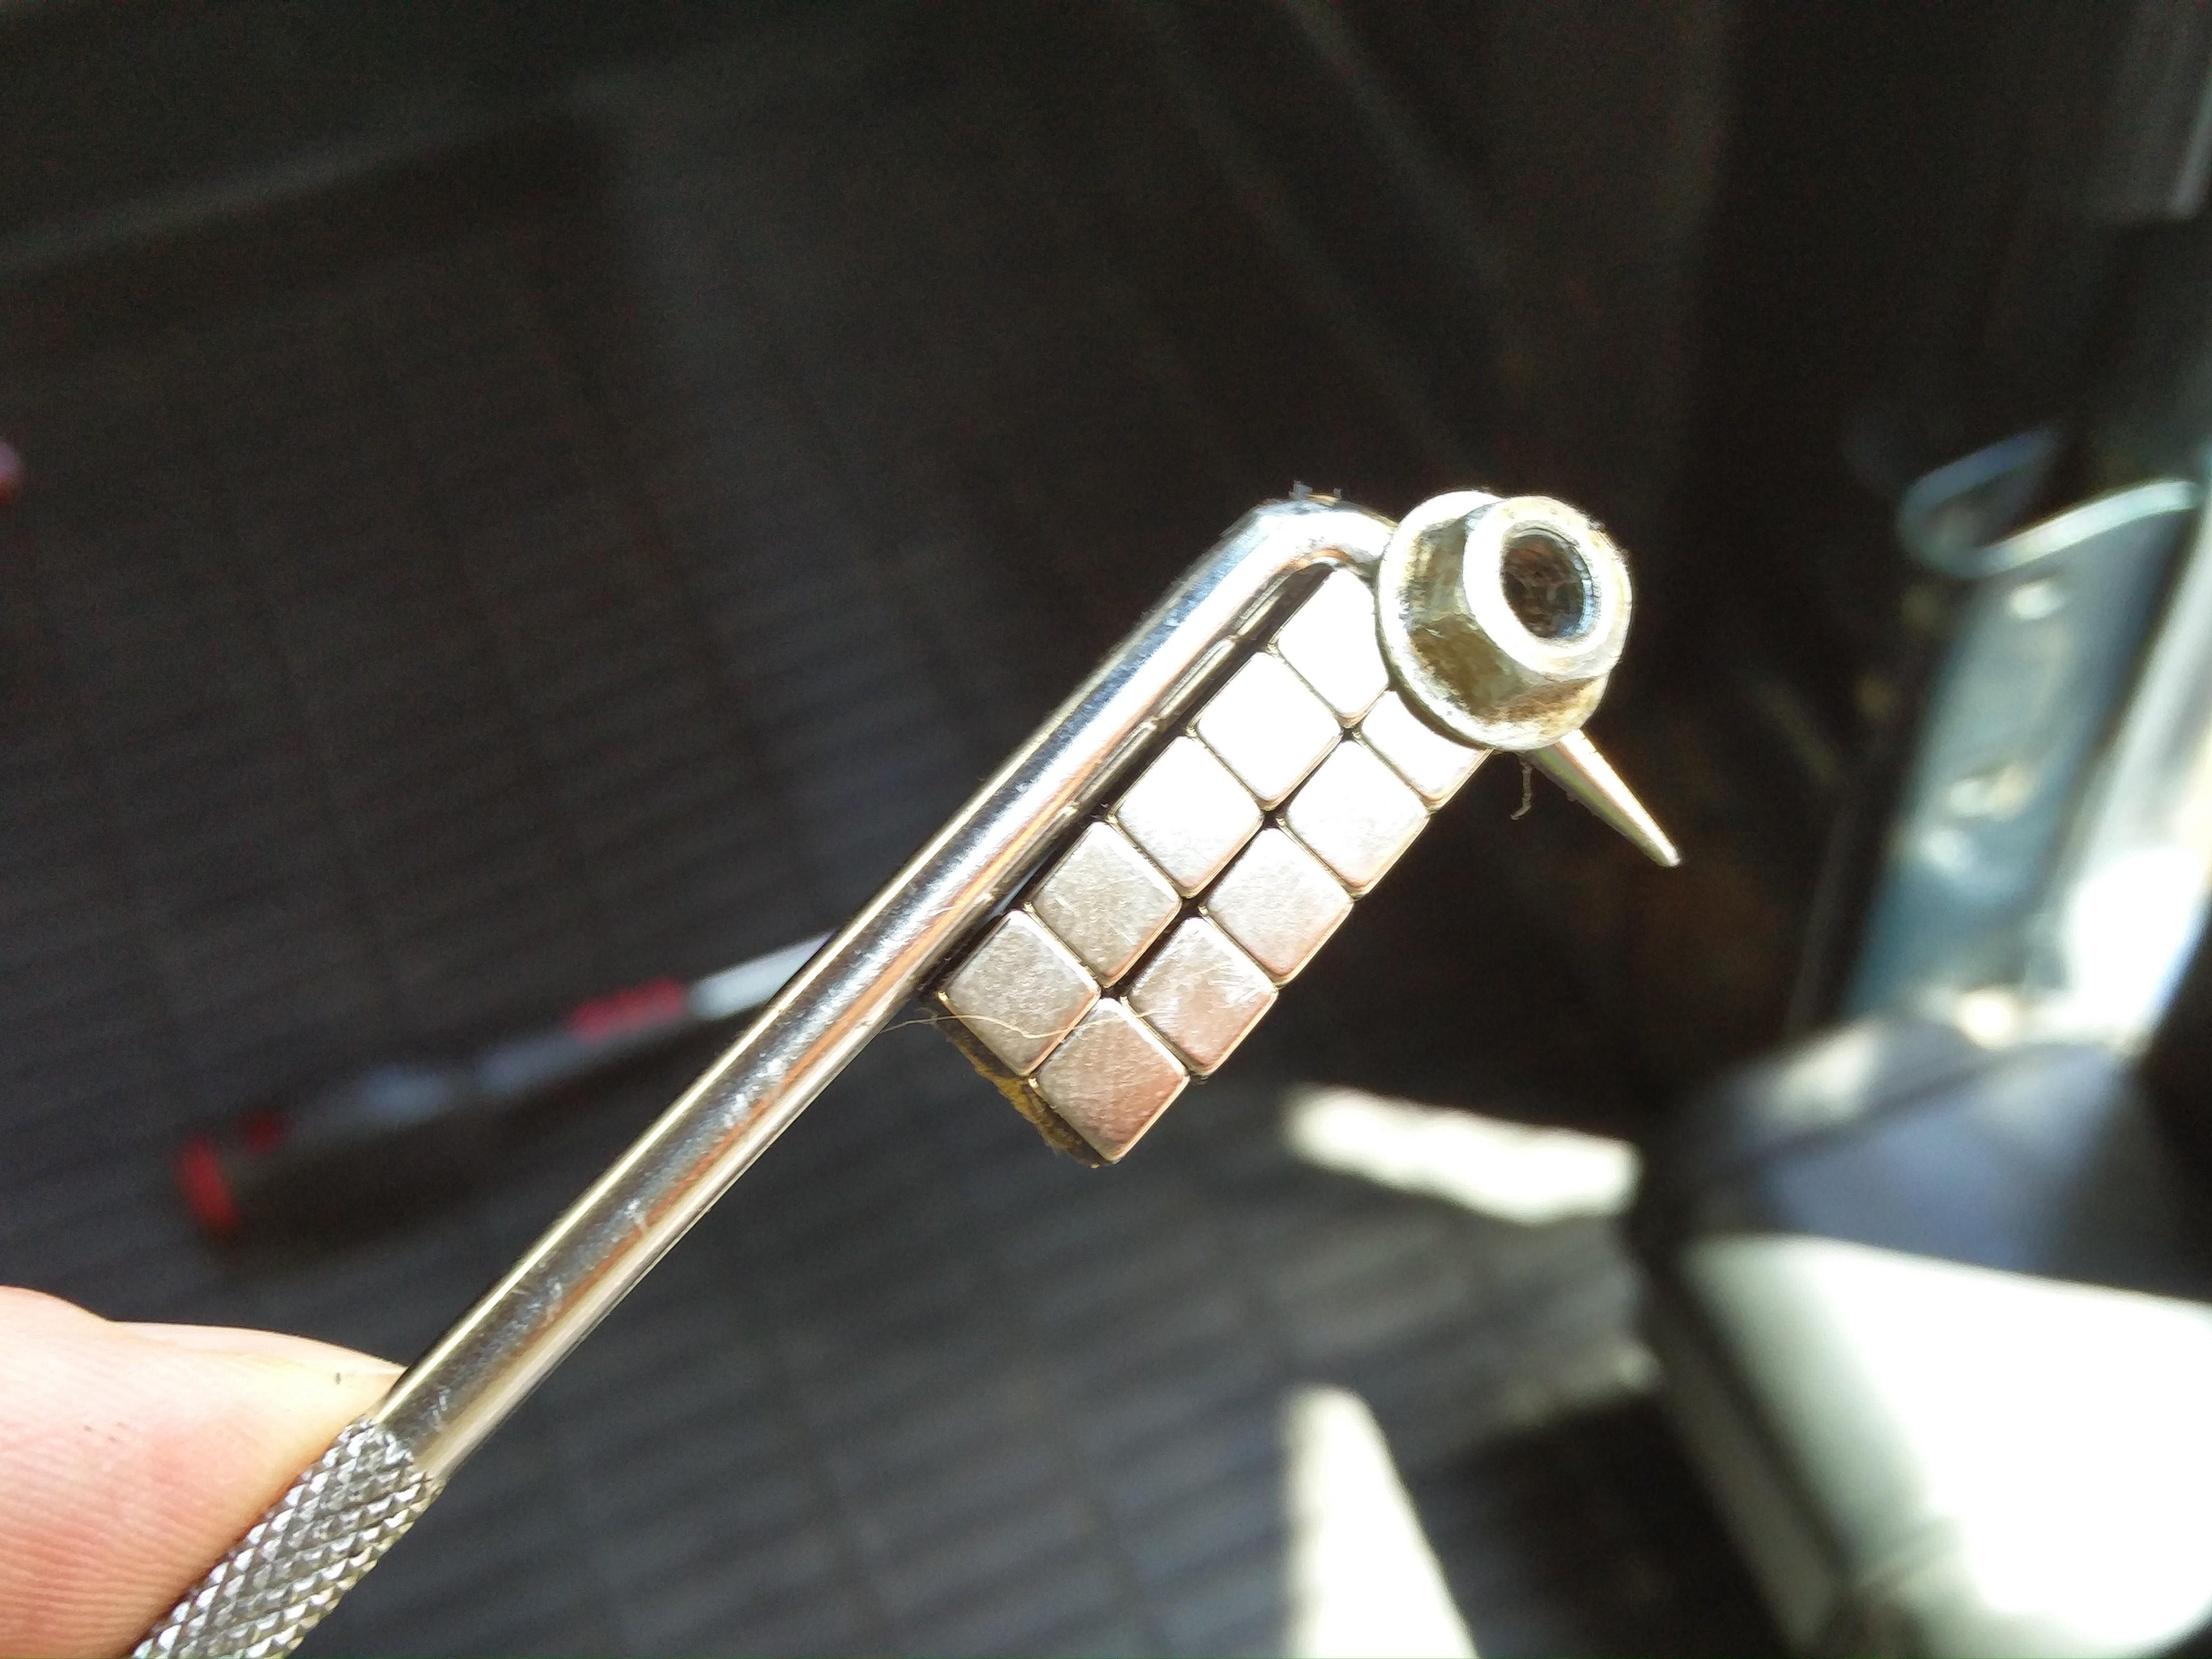
A trip to an online market place provided a large range of available rare earth magnets – after some consideration (and some measuring) I settled on 10 5mm cube magnets. These duly arrived by first class post and, at the next available opportunity, I set about retrieving the errant nut. After plenty of trial and error – the latter mostly involving the magnets also getting stuck inside the bracket – the
spider magnets finally came out with the fly bolt.
Reassembly from this point was straight forward using the equivalent off side components as a guide. However, this time I was much more careful when handling the bolts.
Now this might seem a lot of effort for one bolt that nobody would ever have known was stuck down there – and it was really. However, it’s this kind of attention to detail that separates a classic car from a utility vehicle.


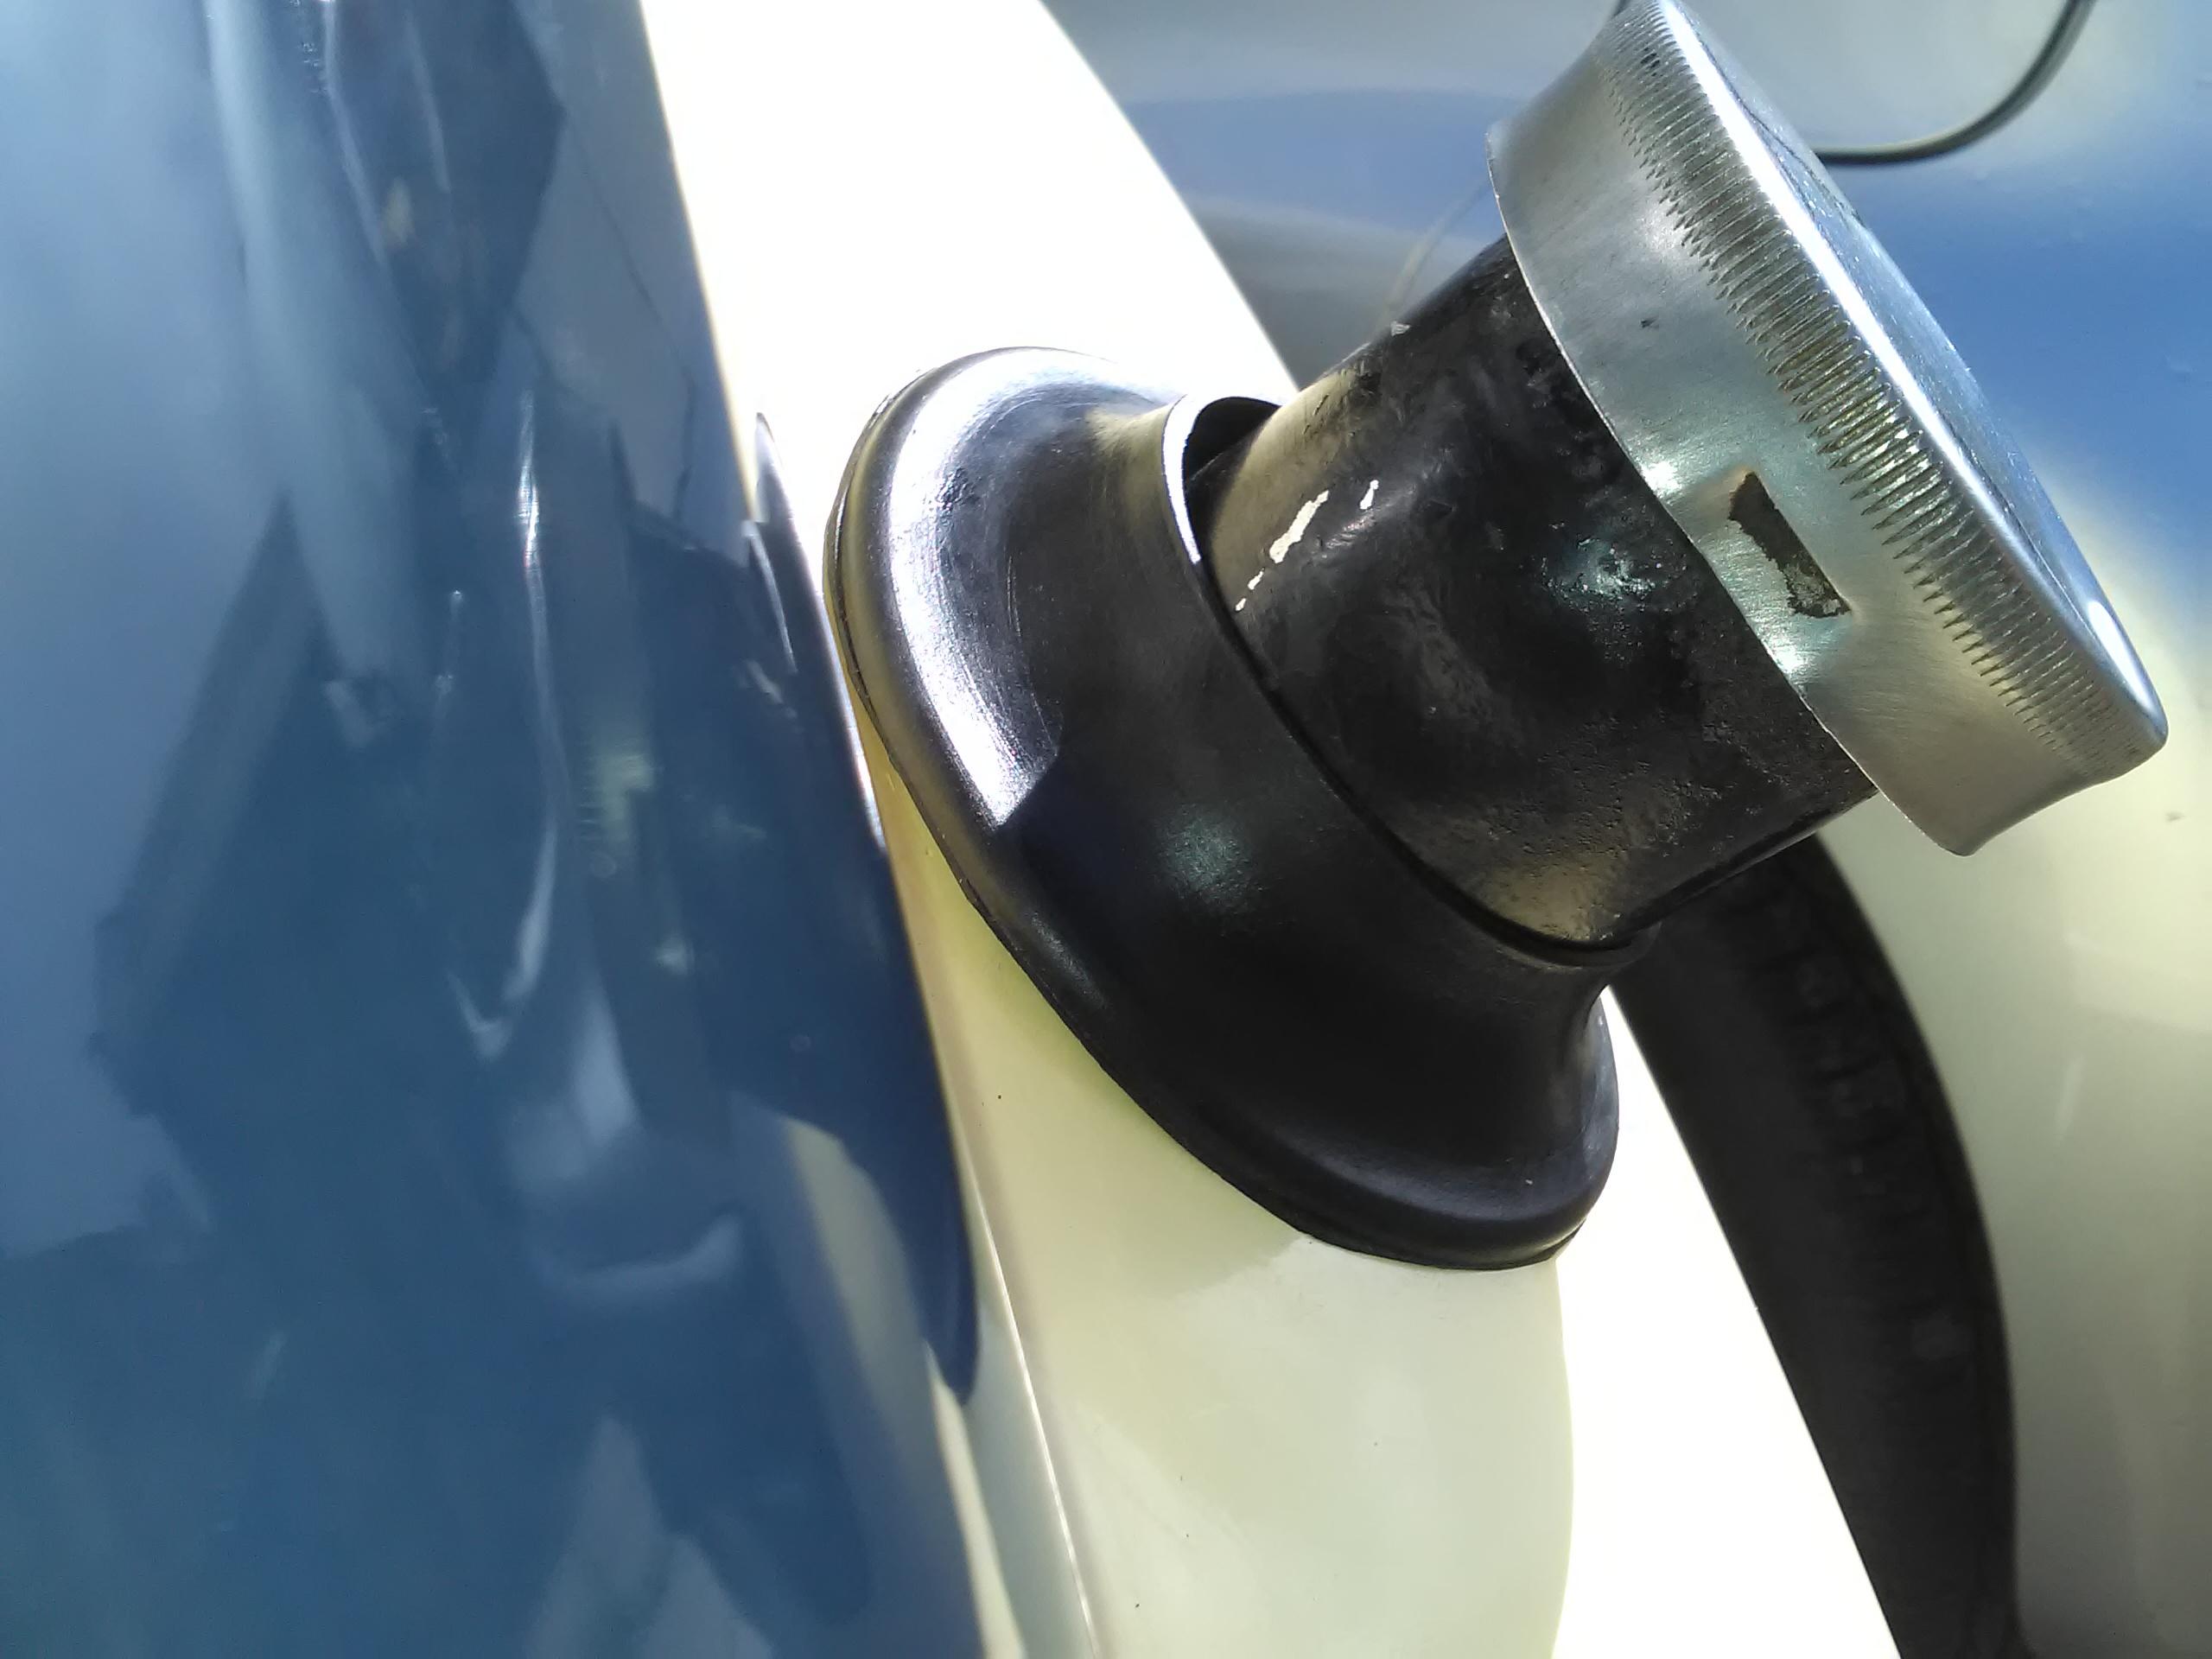
As with most of the other rubber that’s been in close proximity to the fuel system, the grommet in the offside rear wing that secures the fuel filler had perished.

Removing the grommet is simple enough as the lip that sits inside the wing is quite narrow. With this teased out and the filler cap removed it comes away easily.
There was some clart round the hole in the wing – mostly waxoyl that had got through from the inside of the wing and survived washing by hiding under the grommet – but that was removed with some degreaser and a rag. As the area under the grommet would have escaped the attention of any sunlight, encouragingly there wasn’t an obvious difference in the paint colour.

Fitting the new grommet was the reverse of removal with the addition of some silicone grease in the groove that holds the wing. I found it easiest to fit the inside bottom edge first and work round from there which left the last, and trickiest, part at the outside top which has the best access.