Month: December 2015
Jungle warriors
20th December 2015 20:01
SI VIS PACEM PARA BELLVM

2CV voltmeter – piggy-back connectors
10:19In order to connect a wiring loom extension to feed the voltmeter it will need piggyback connectors for earth and dial illumination. Whilst it would be possible to use some off-the-shelf piggyback connectors they’re not the easiest to fit in the confined space behind the dashboard.
With a few lengths of wire and some connectors it didn’t take long to make up a pair of leads suitable for the job.
The male spade connectors will fit into the wiring loom and one of the female connectors will go to the speedo which will maintain the original circuit. The second female connector will then be available for the wiring loom extension for the voltmeter.
The connectors on the wiring loom are as follows:
- Speedo earth: brown
- Speedo illumination: white
- Voltmeter live: purple
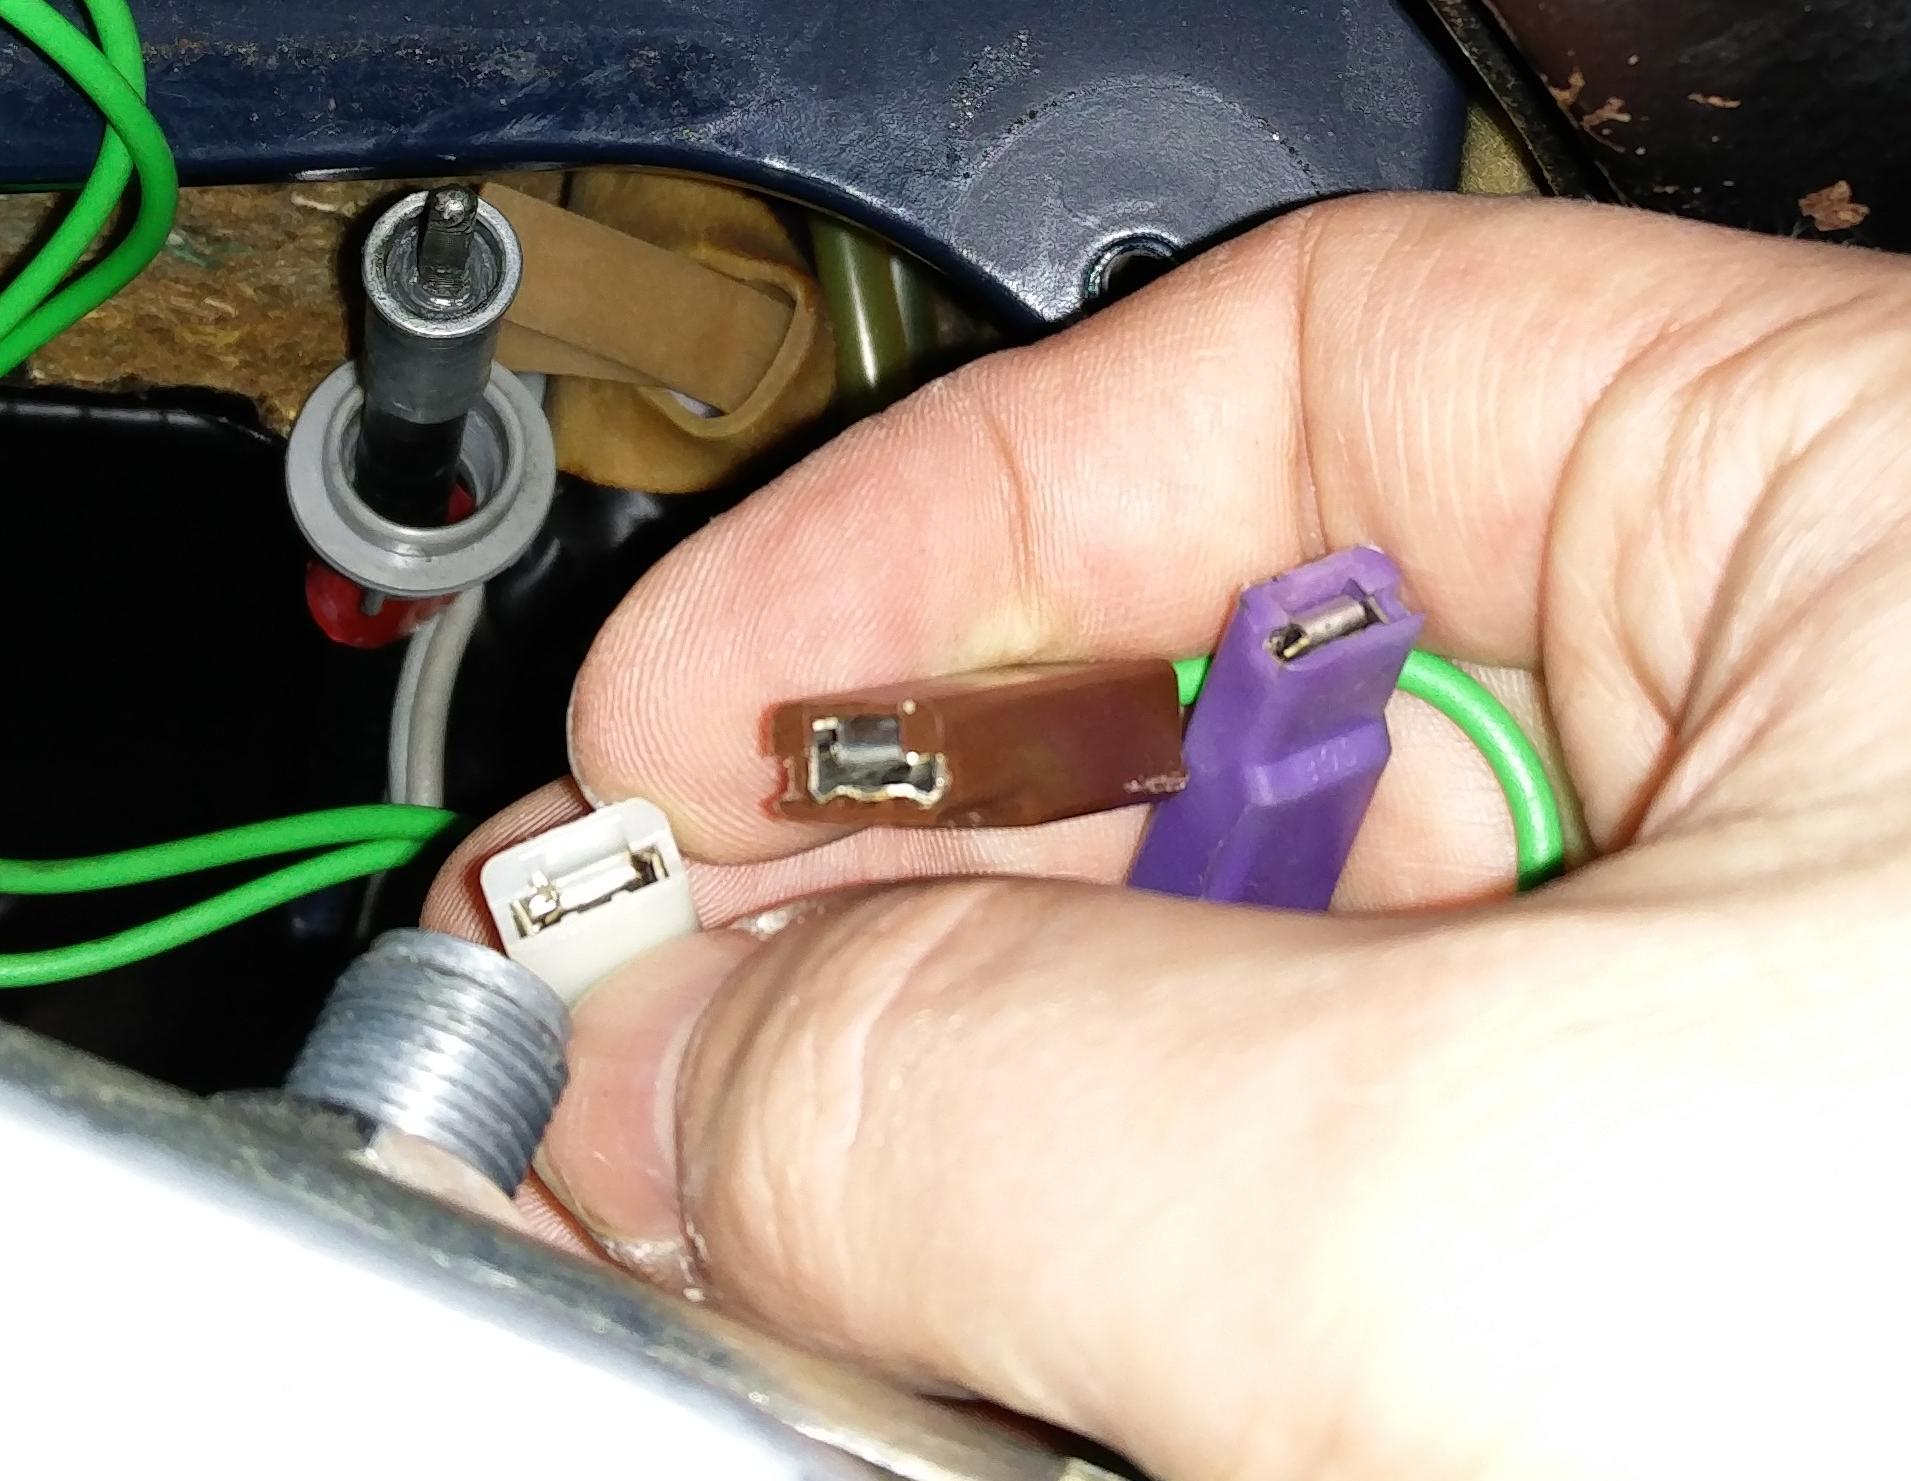
Using green and black does vary from the connectors used behind the dash but keeps consistent with my colour scheme for the voltmeter. My piggyback to wiring loom connections will be as follows:
- black -> brown
- green -> white
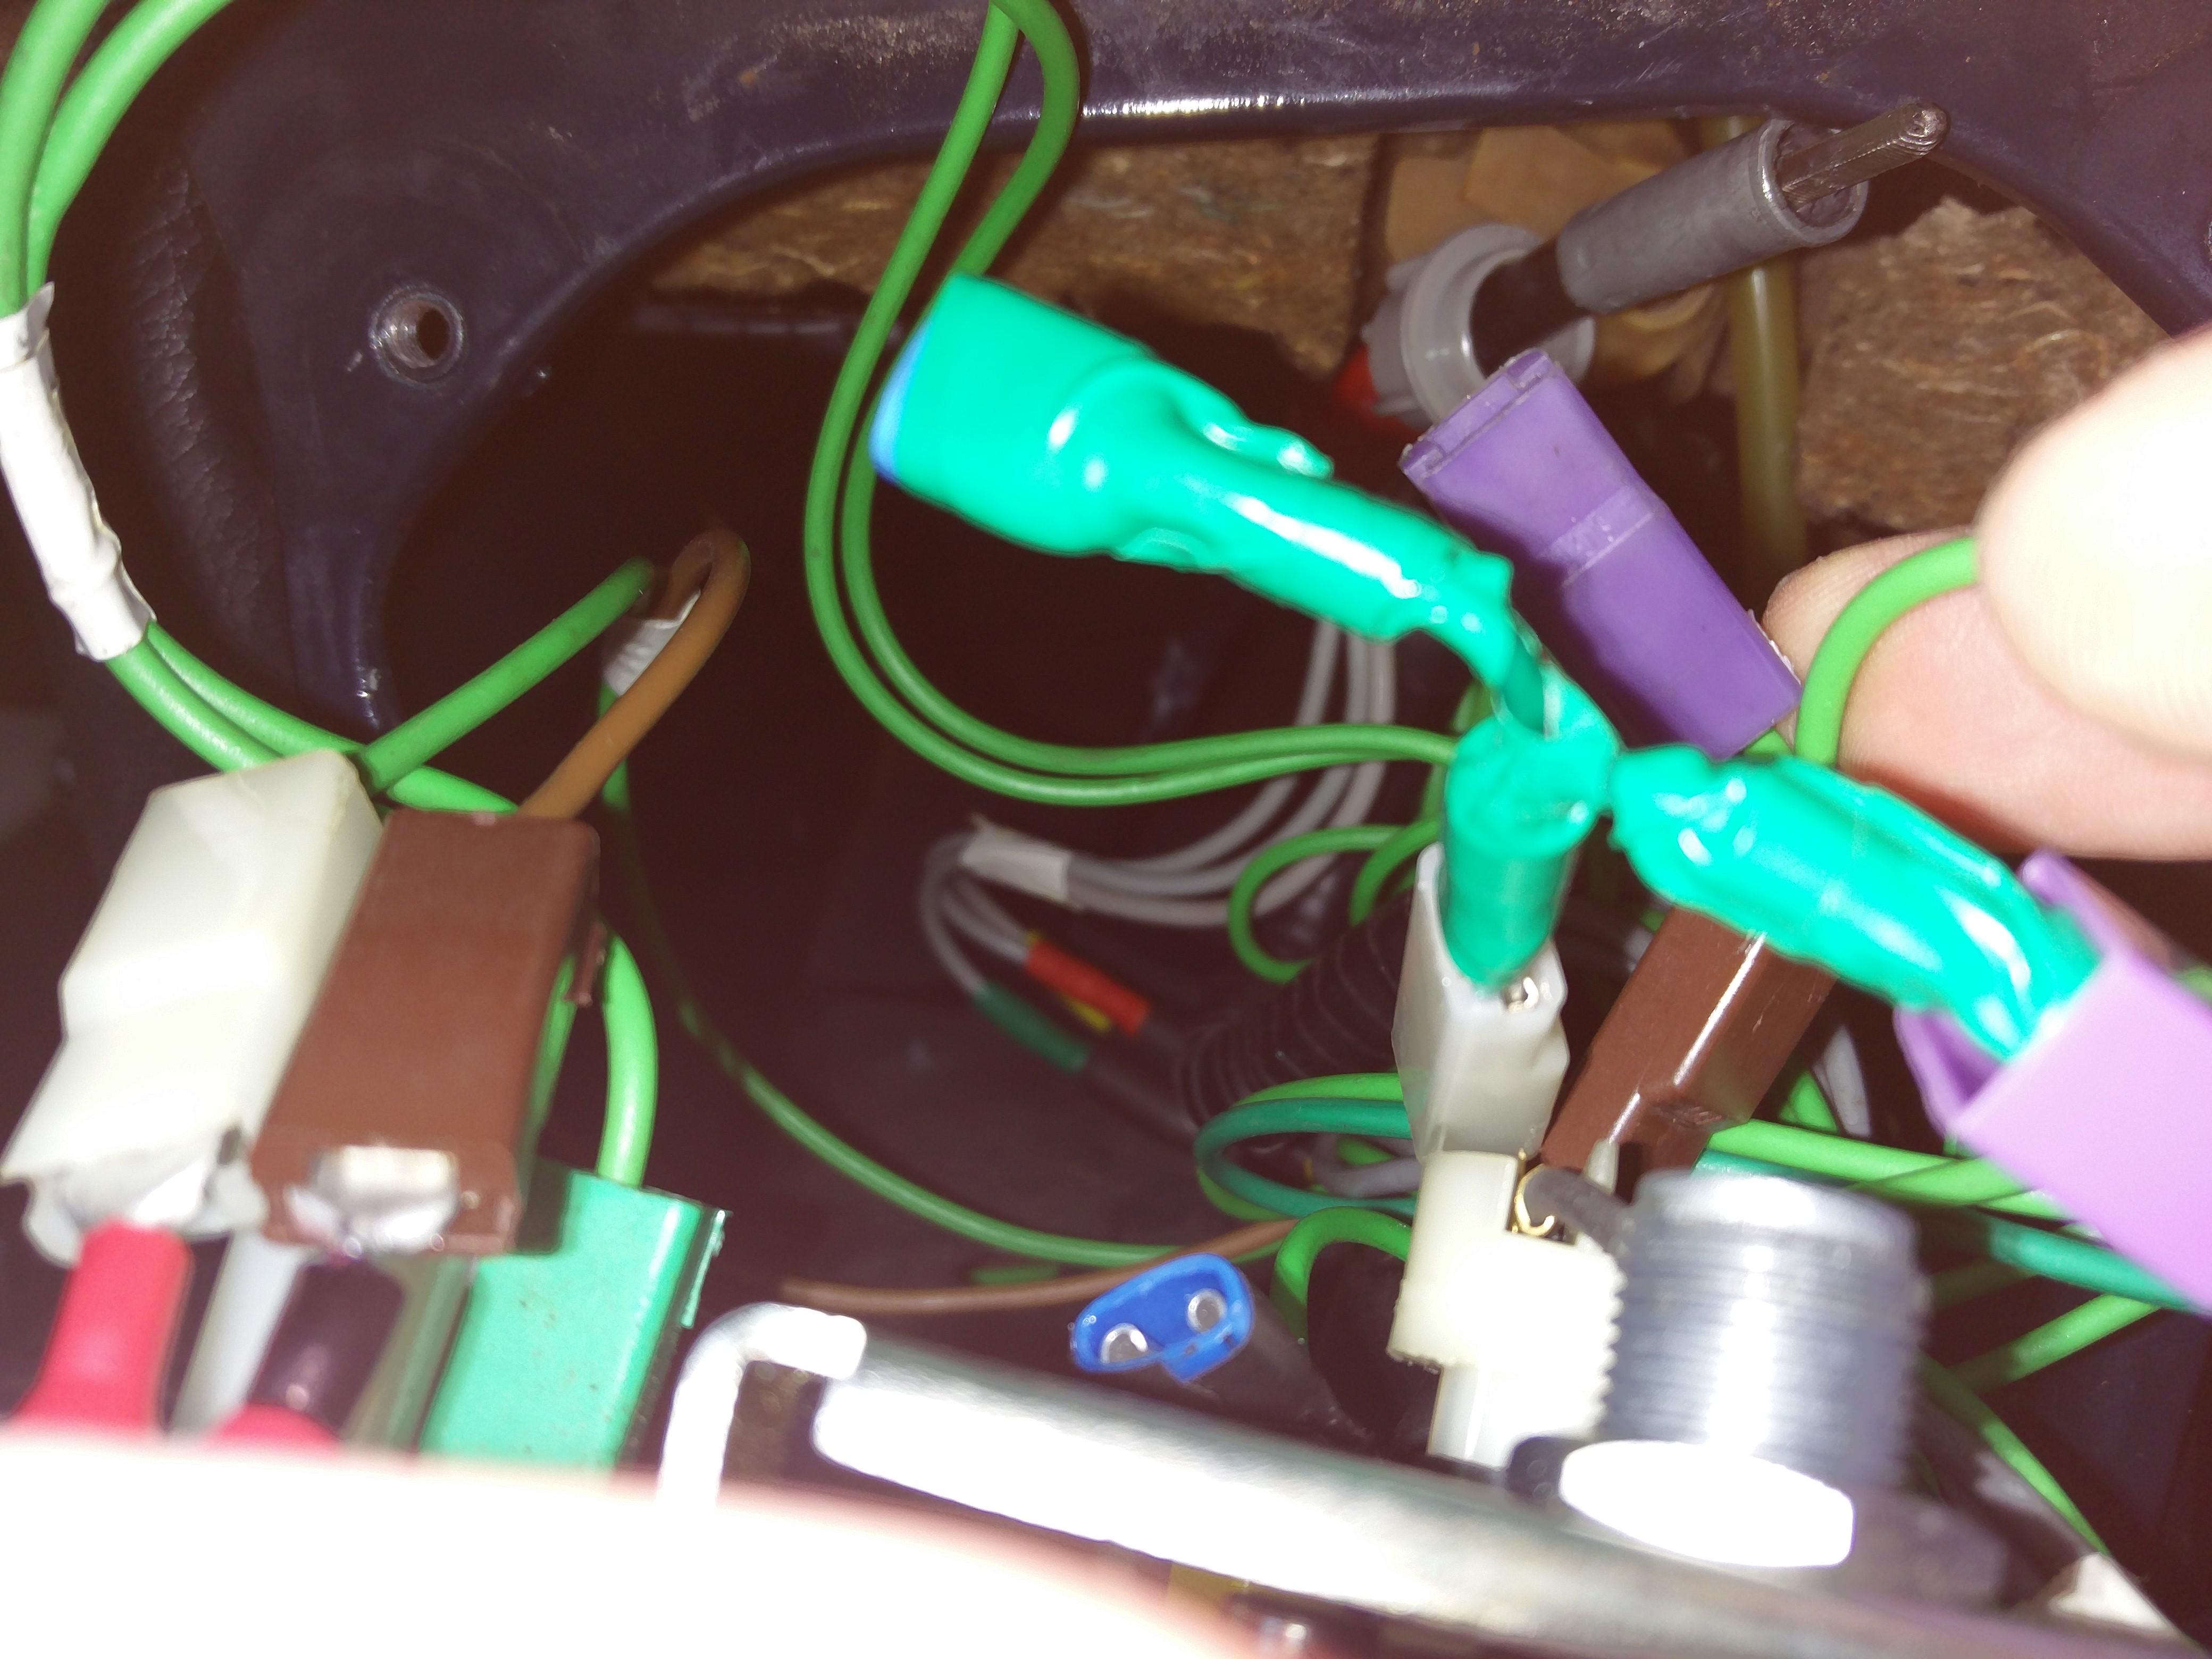
With the piggyback connectors in place there is a bit of room for manoeuvre but the wiring loom extension will benefit from having several centimetres of free wire for each connector to reduce strain.
Electrifiying
13th December 2015 10:15

2CV voltmeter – connector
12th December 2015 18:00Auto electrics aren’t exactly a paragon of reliability so couple that with a classic car and anything to help out is useful. Of particular use is a voltmeter as this will often give an early indication that something is amiss.
Whilst the Club speedo came with a “battery condition meter” the Spécial’s dashboard was more minimalist. Fortunately – as with the dashboard indicator lights – Citroën used the same wiring loom for both models so the live connector for a voltmeter is already there. However, one live connector isn’t enough for an after market voltmeter, it also needs an earth and a live for illumination. As the voltmeter on the Club was part of the speedo that already had earth and illumination no additional connectors were provided so an extension to the wiring loom will be needed.
As I’ve not decided how and where to mount the voltmeter I want to make the job of connecting it to the wiring loom easier so I went for a short set of leads from the dial terminals to a connector block. This means the hard to reach connections to the dial and the wiring loom can stay attached and the connector can be in a more accessible place.
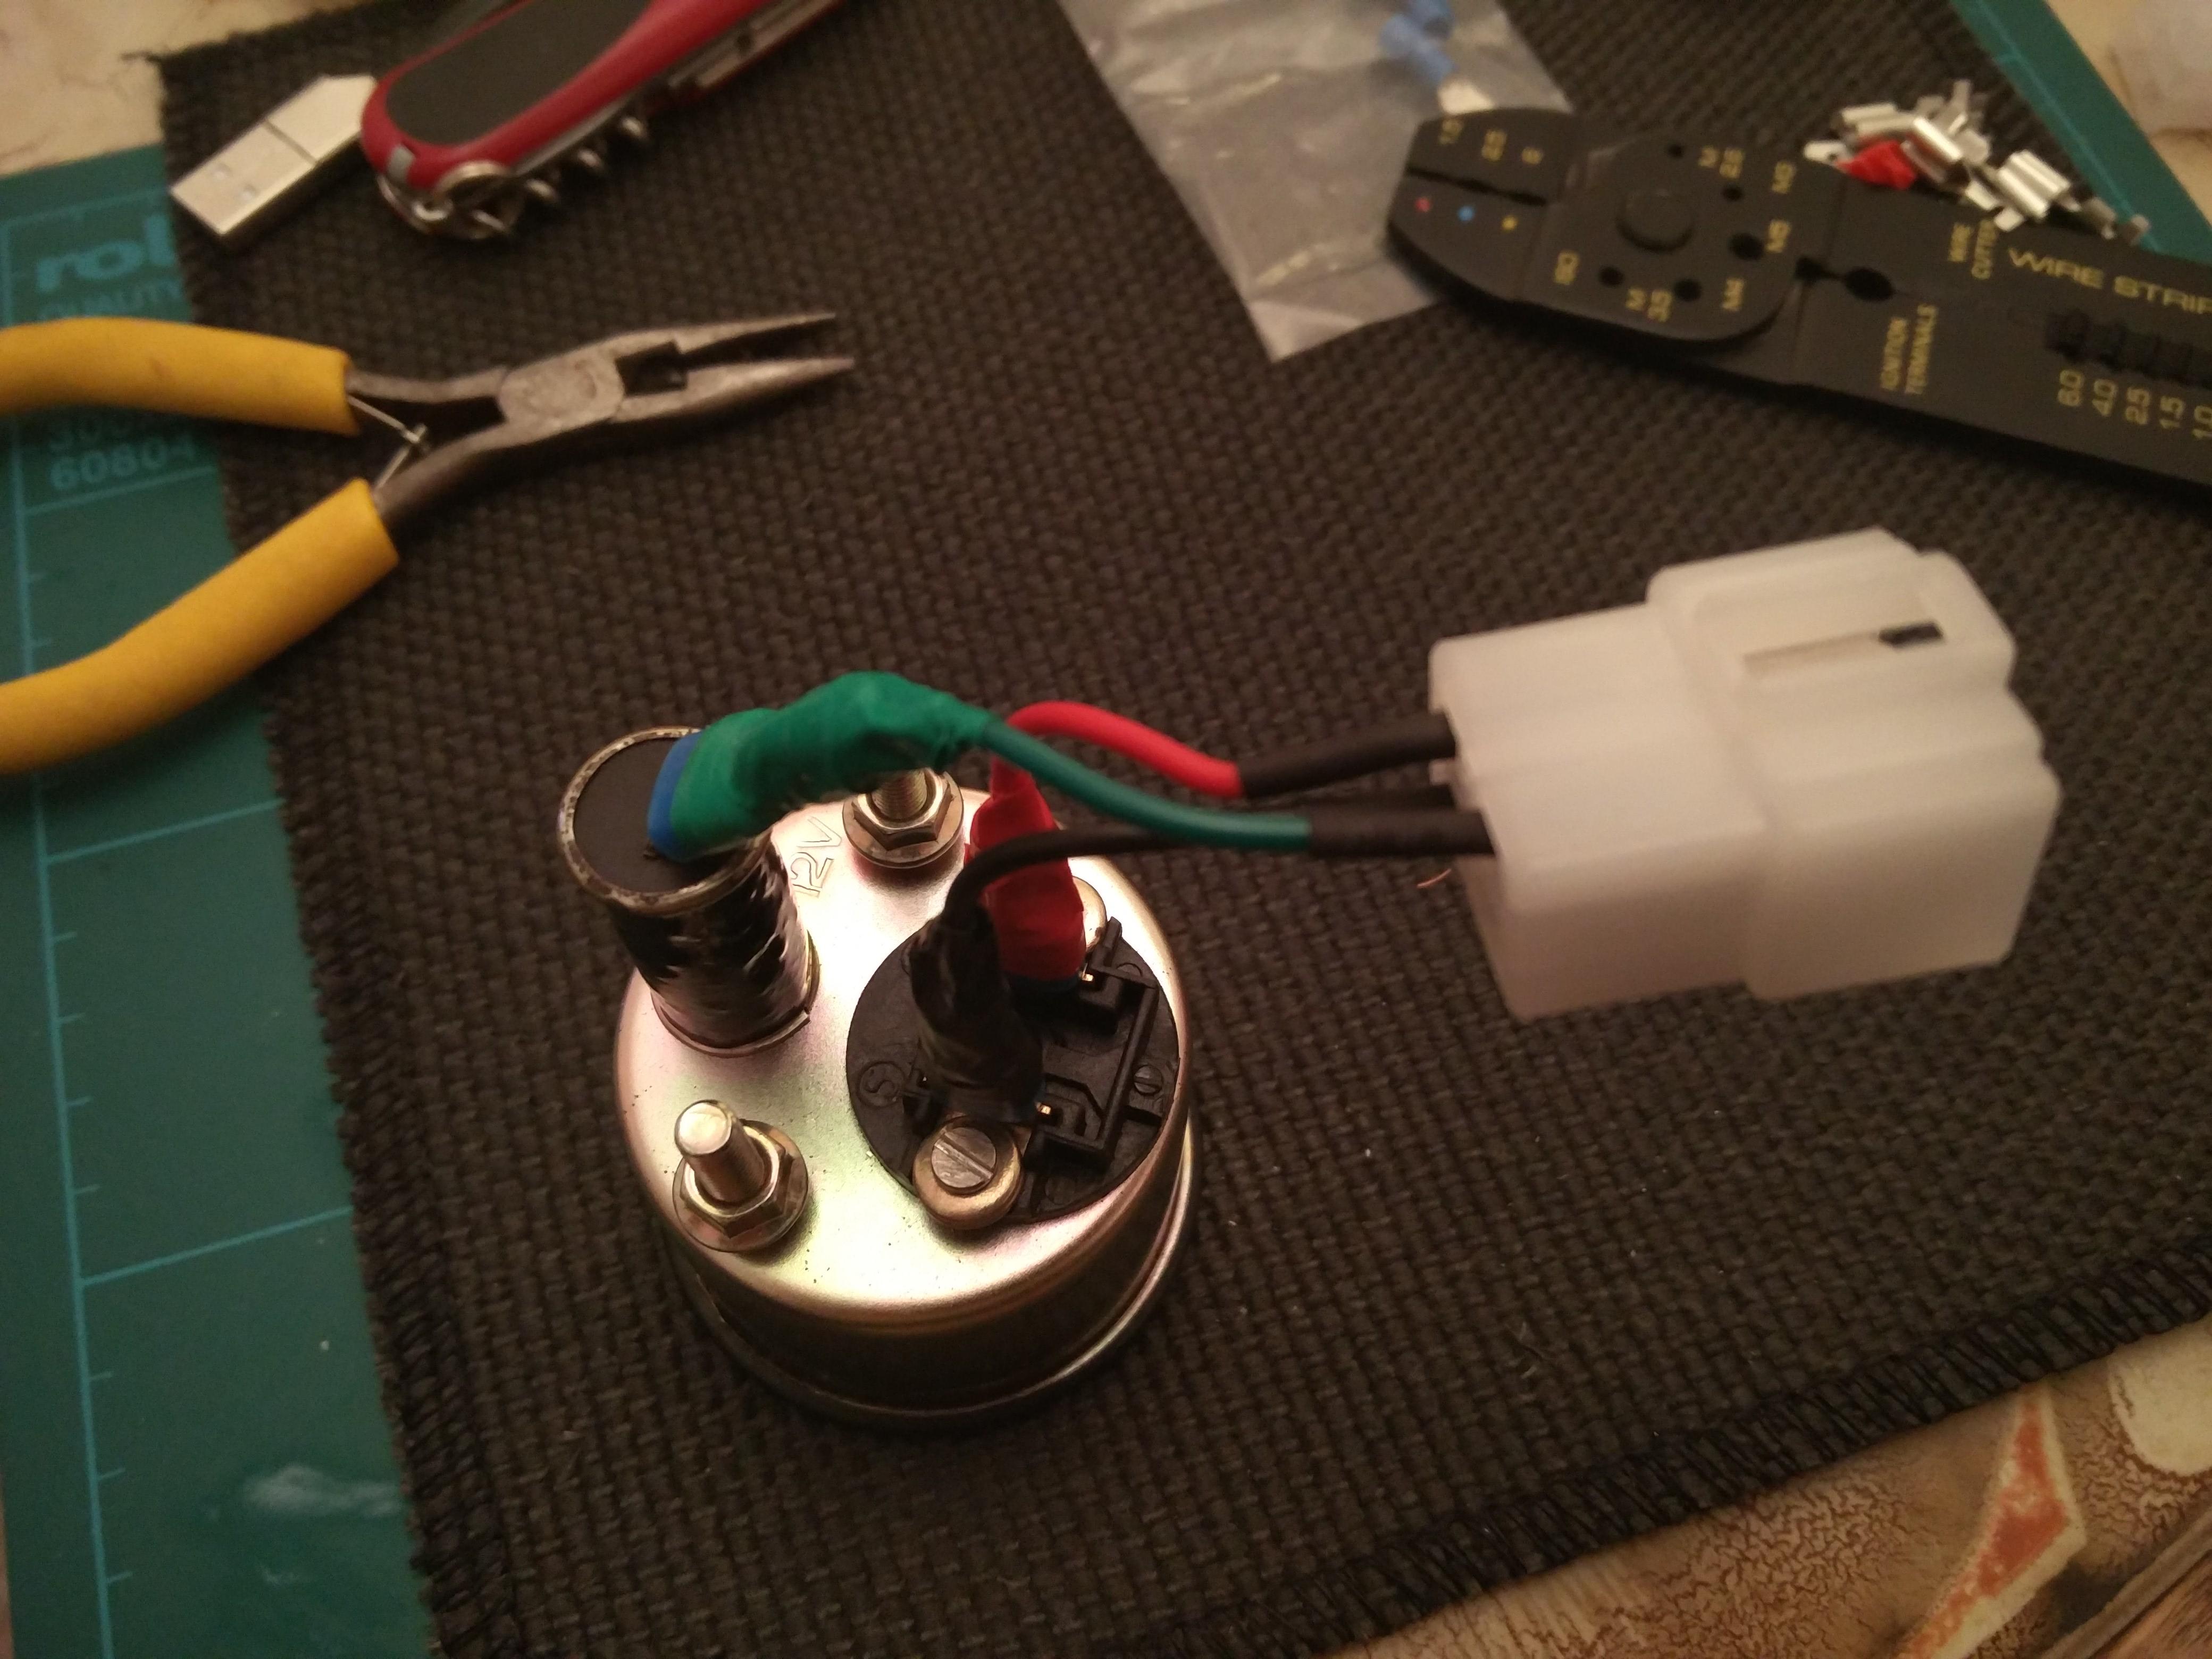
The practicalities of building the voltmeter connector were pretty simple but, having learnt from deciphering the colour confusion behind the dashboard, I made sure I kept the wiring well distinguished. I settled on the following colour scheme:
- Voltmeter live: red
- Illumination live: green
- Earth: black
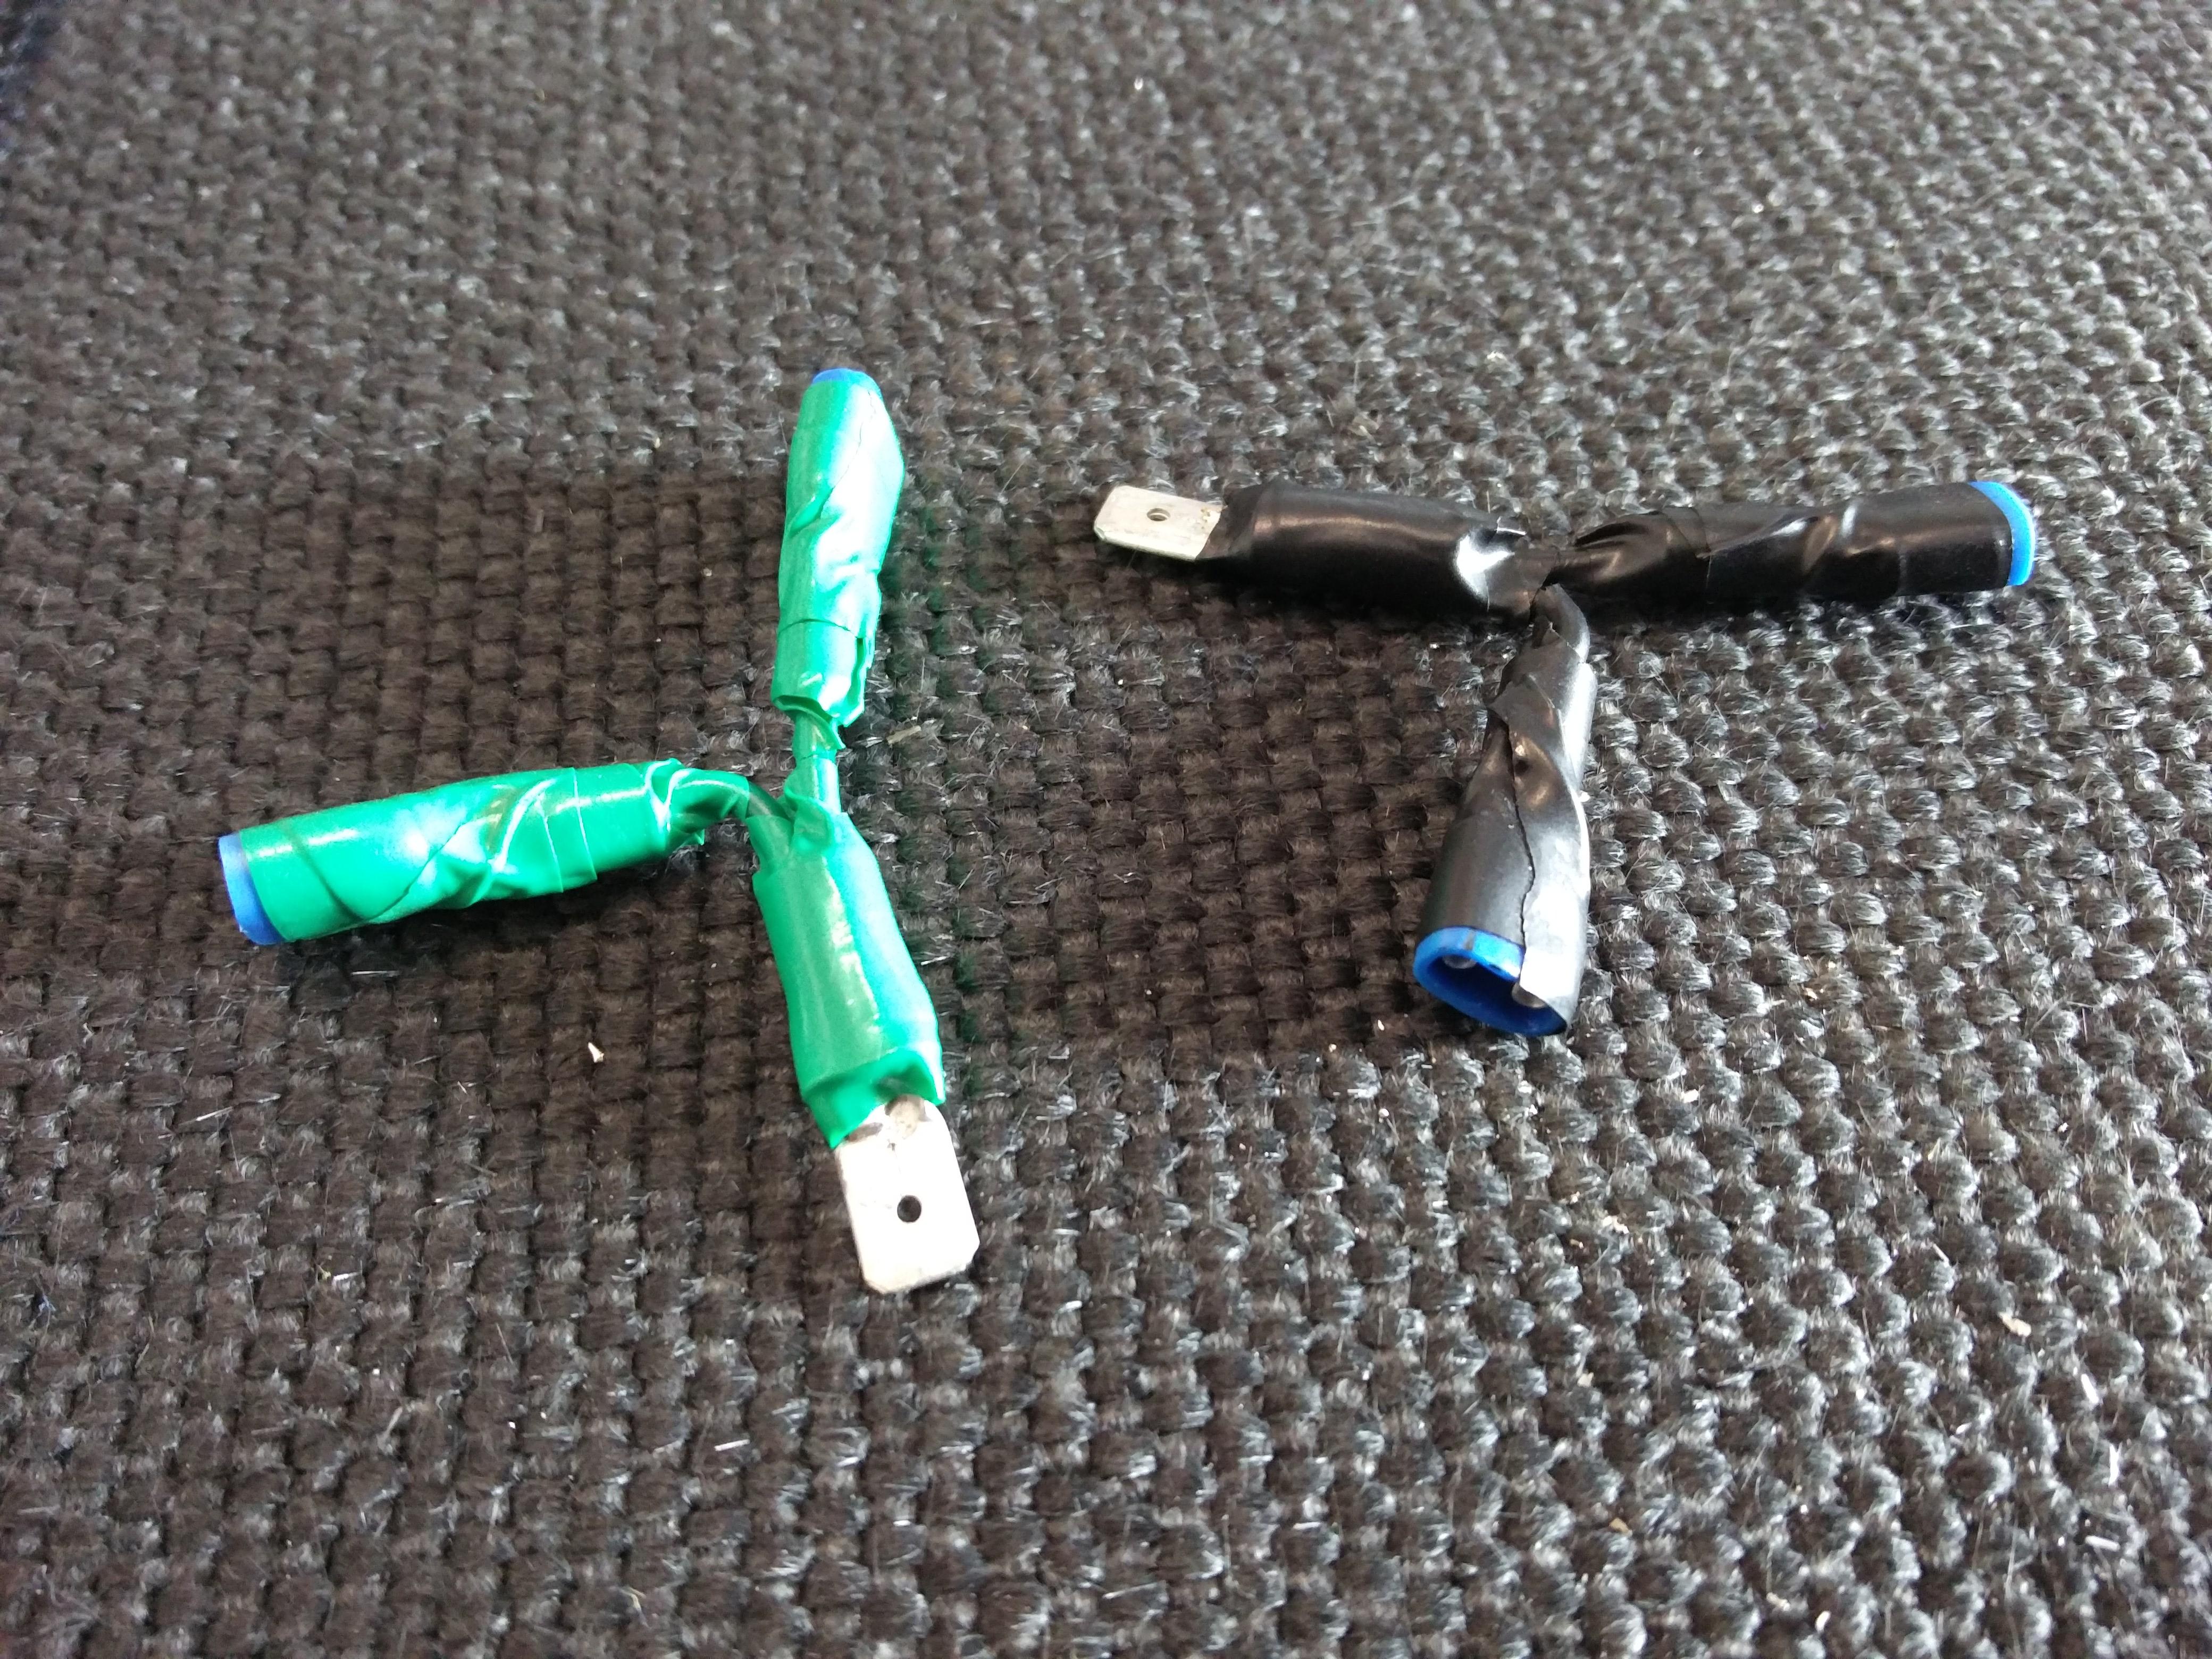
Again, having learned from building the LED dashboard indicator lights, I made sure that the spade terminals were appropriately colour coded with insulating tape.

With the connector made up it fits onto the terminals of the voltmeter and the connection block can be presented in a more accessible location giving more scope for finding a practical mounting point in the car.
We must do something. This is something. We must do this.
Trabbi
8th December 2015 20:31
How many Germans does it take to change a light bulb?
One: they are efficient and don’t have a sense of humour.

2CV dashboard indicator lights – version 2
17:27With the green indicator LED having failed at a weak point I had to make up a new one and address the weak point.
The wires that came attached to the LED were very thin and the crimp point of the connector had focused the stress of any movement onto a single point.
To provide additional reinforcement at this point I covered the wires with two layers of shrink wrap before crimping the connectors and soldering the wires.
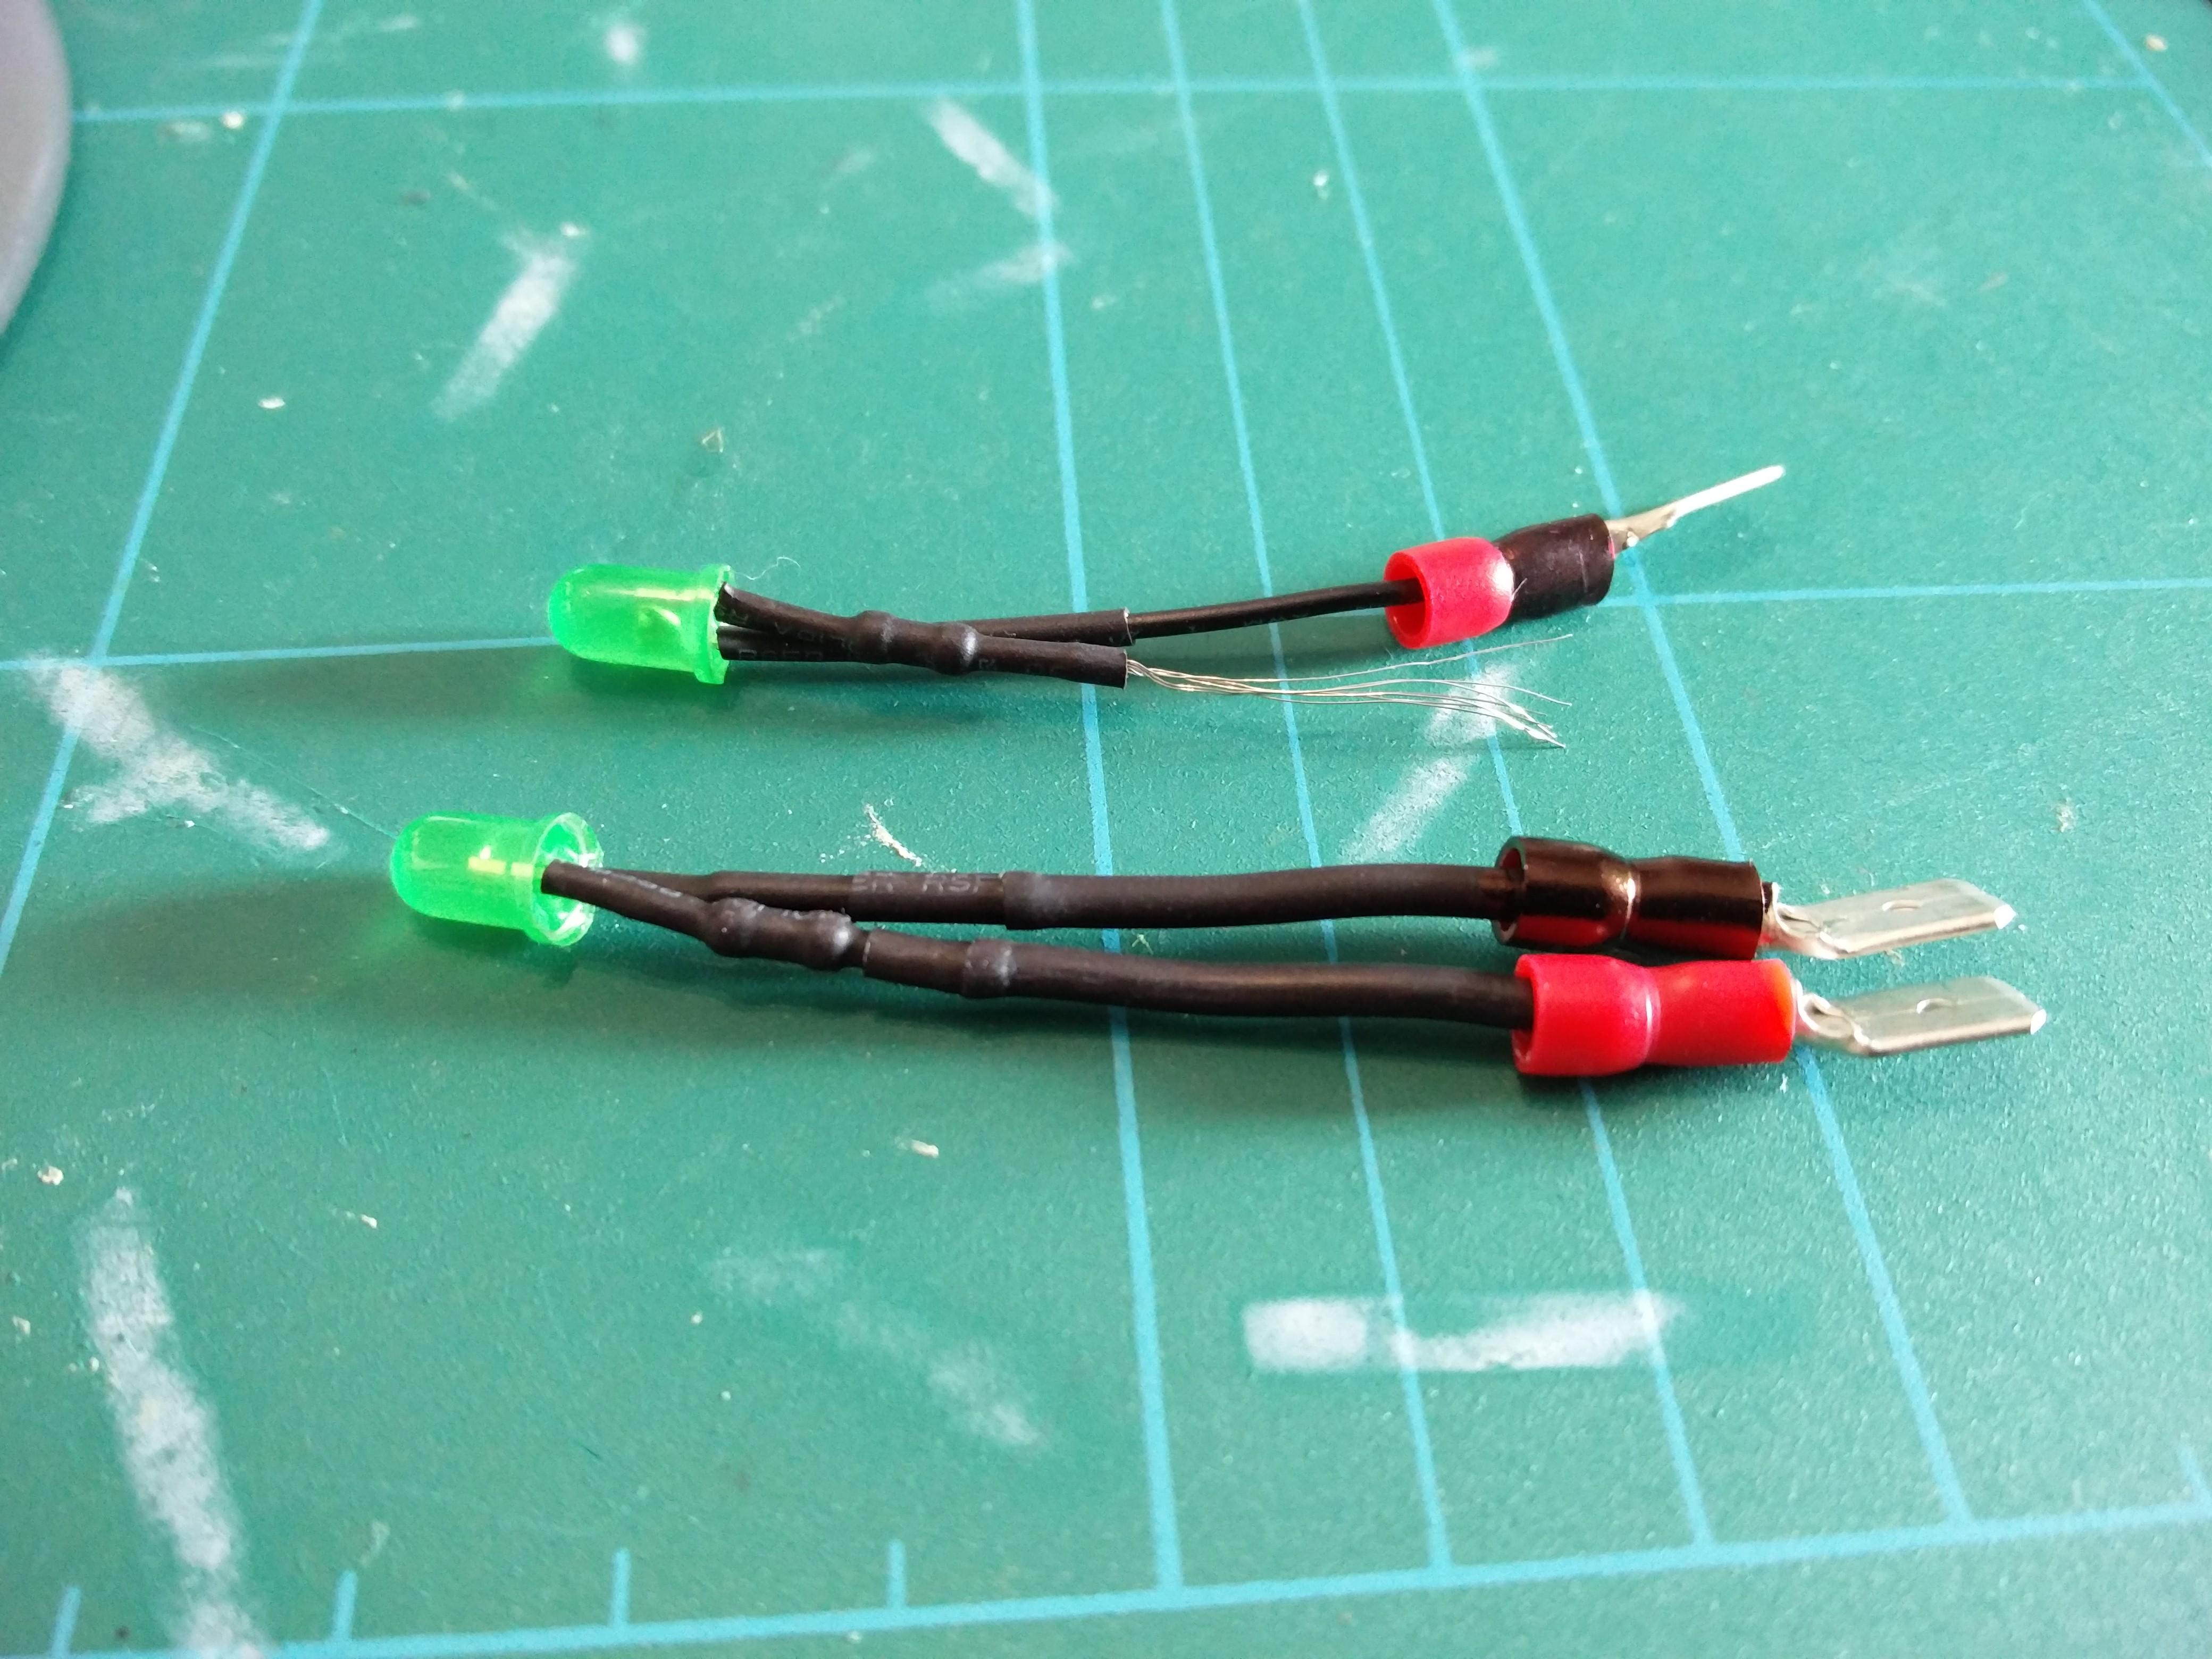
The resulting assembly was much more robust and survived fitting with no issues.