


Nothing to see here.

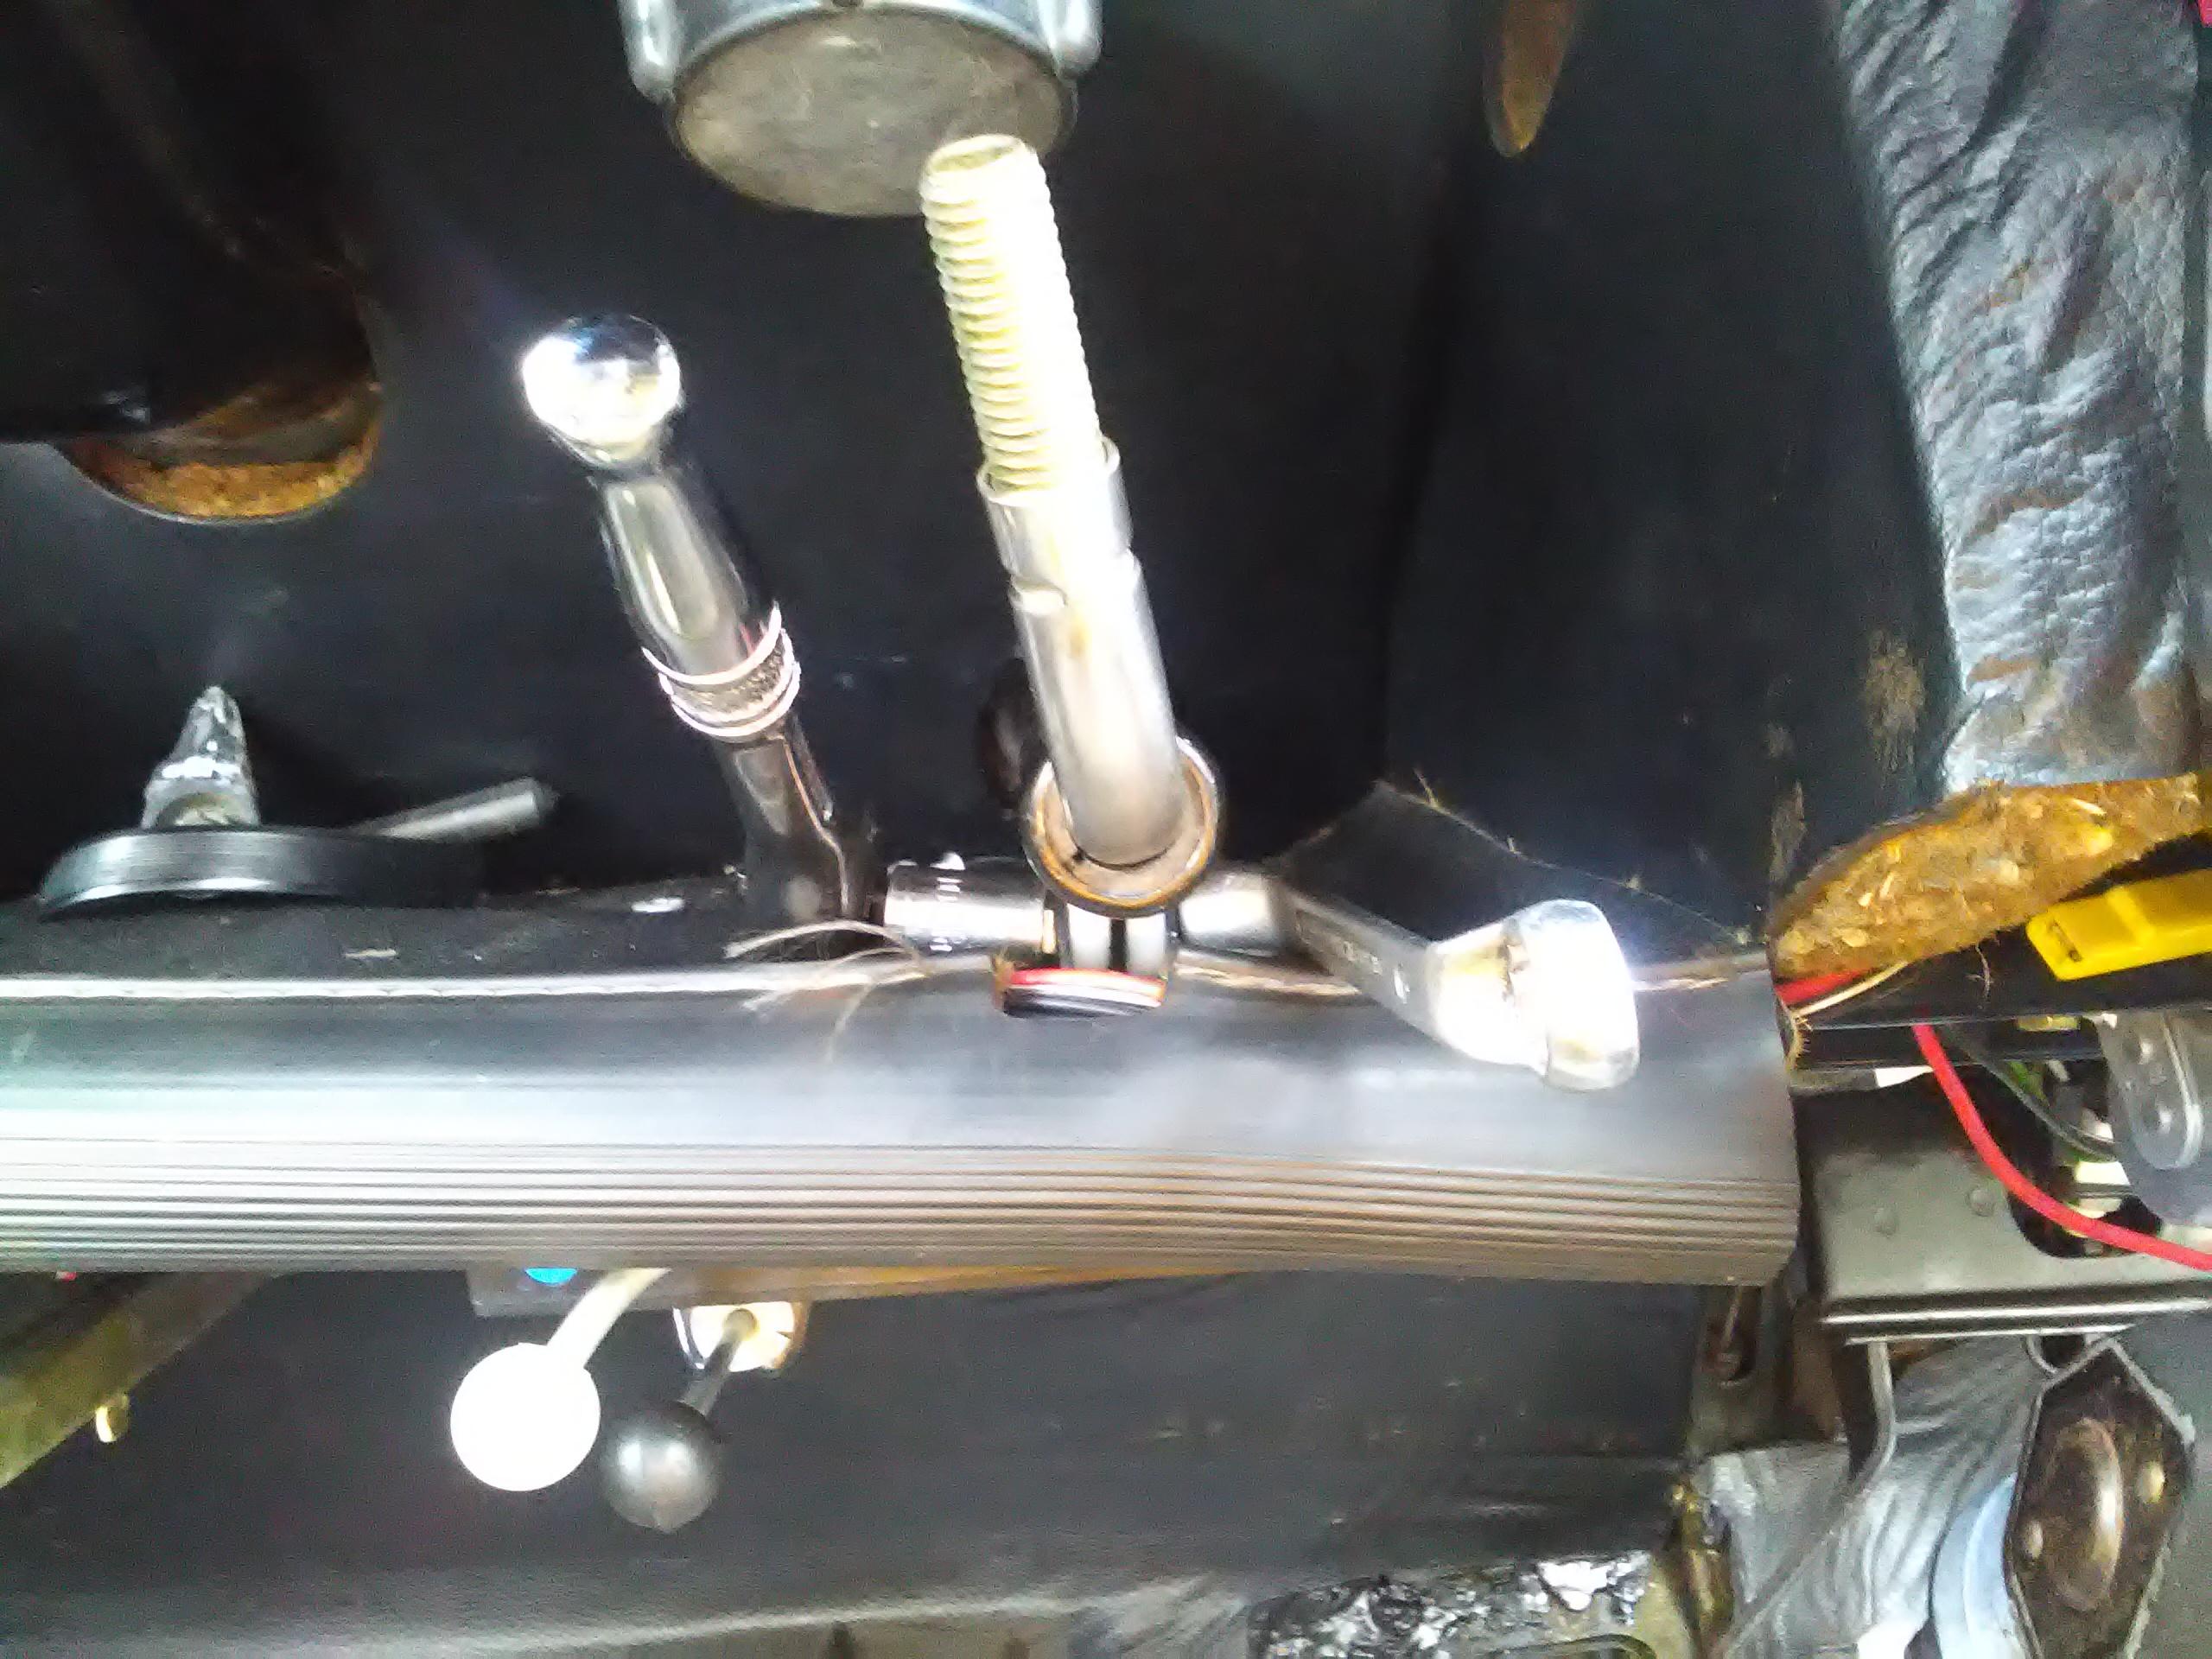
The handbrake linkages probably hadn’t been disturbed since they left the factory and were predictably grimy and the grease was quite thick, almost waxy.
Taking the handbrake out is fairly simple in theory – undo two spring clips, take out the pins they were retaining, remove the intermediate linkage and then withdraw the handle linkage through the bulkhead from inside the car.

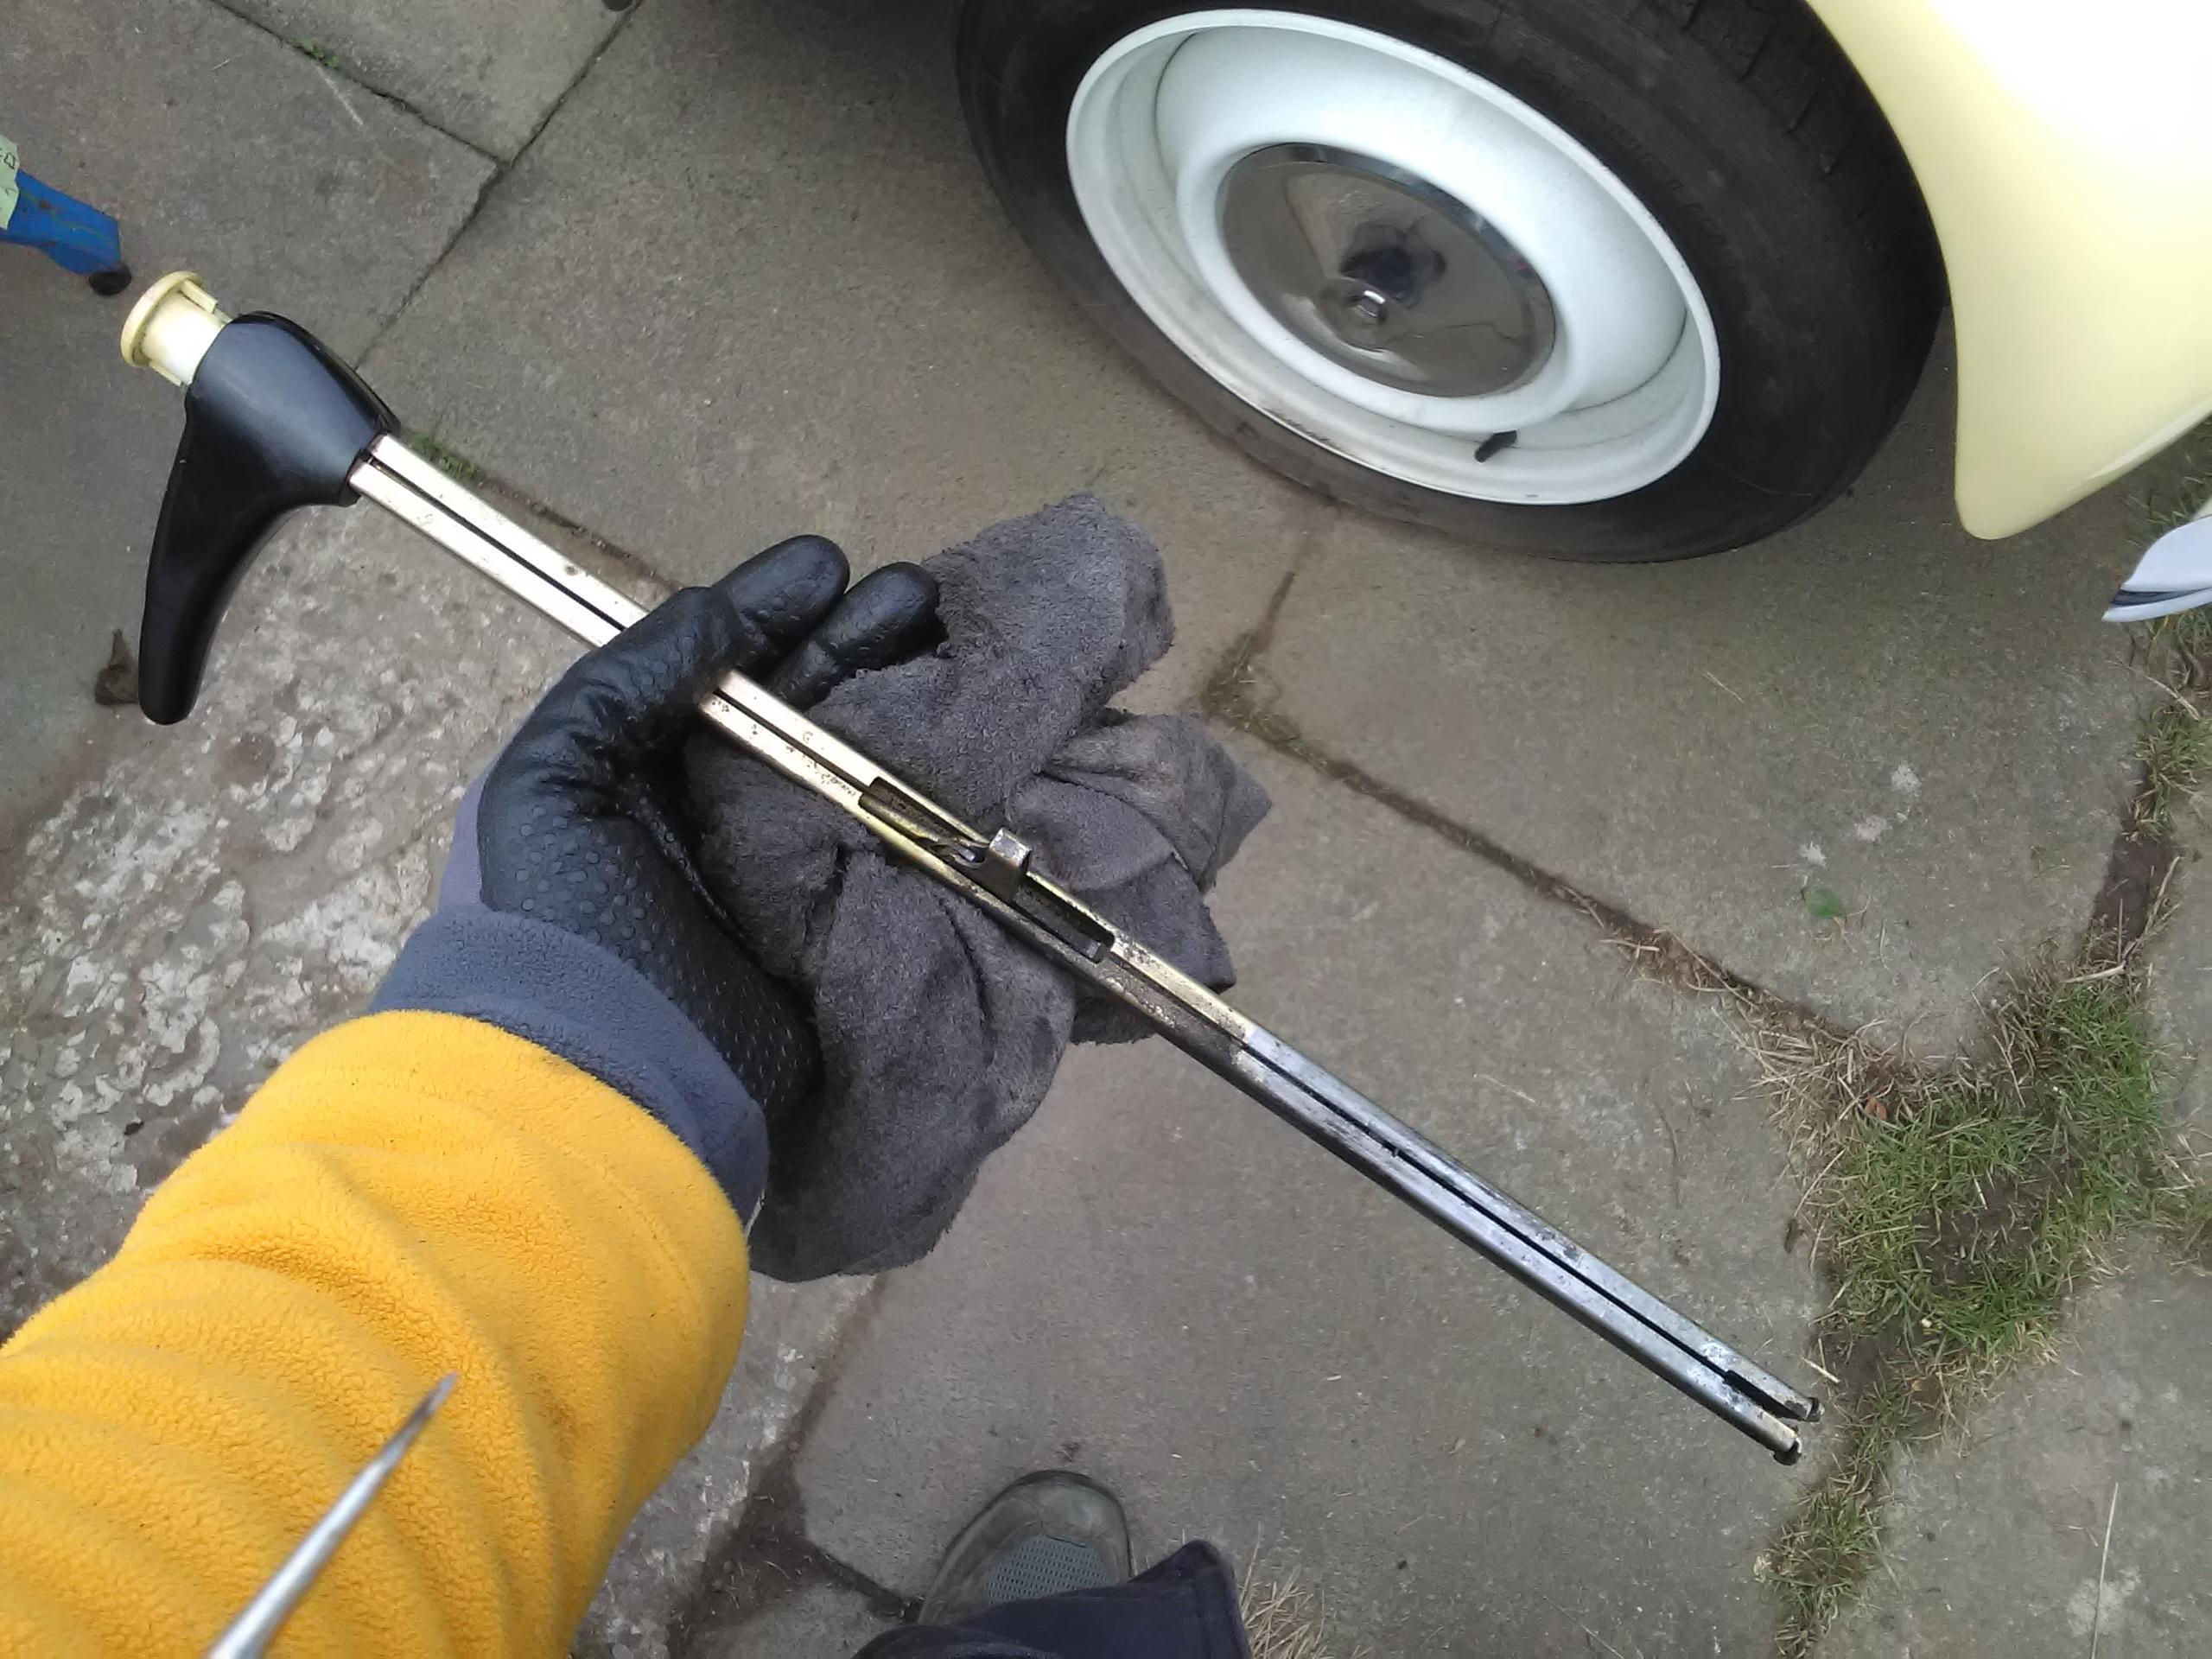
There are two things that can make the last stage difficult. Firstly, and most obviously, the handbrake catch needs to clear all the obstacles in it’s path. Pushing the button in is enough to achieve the majority of this.
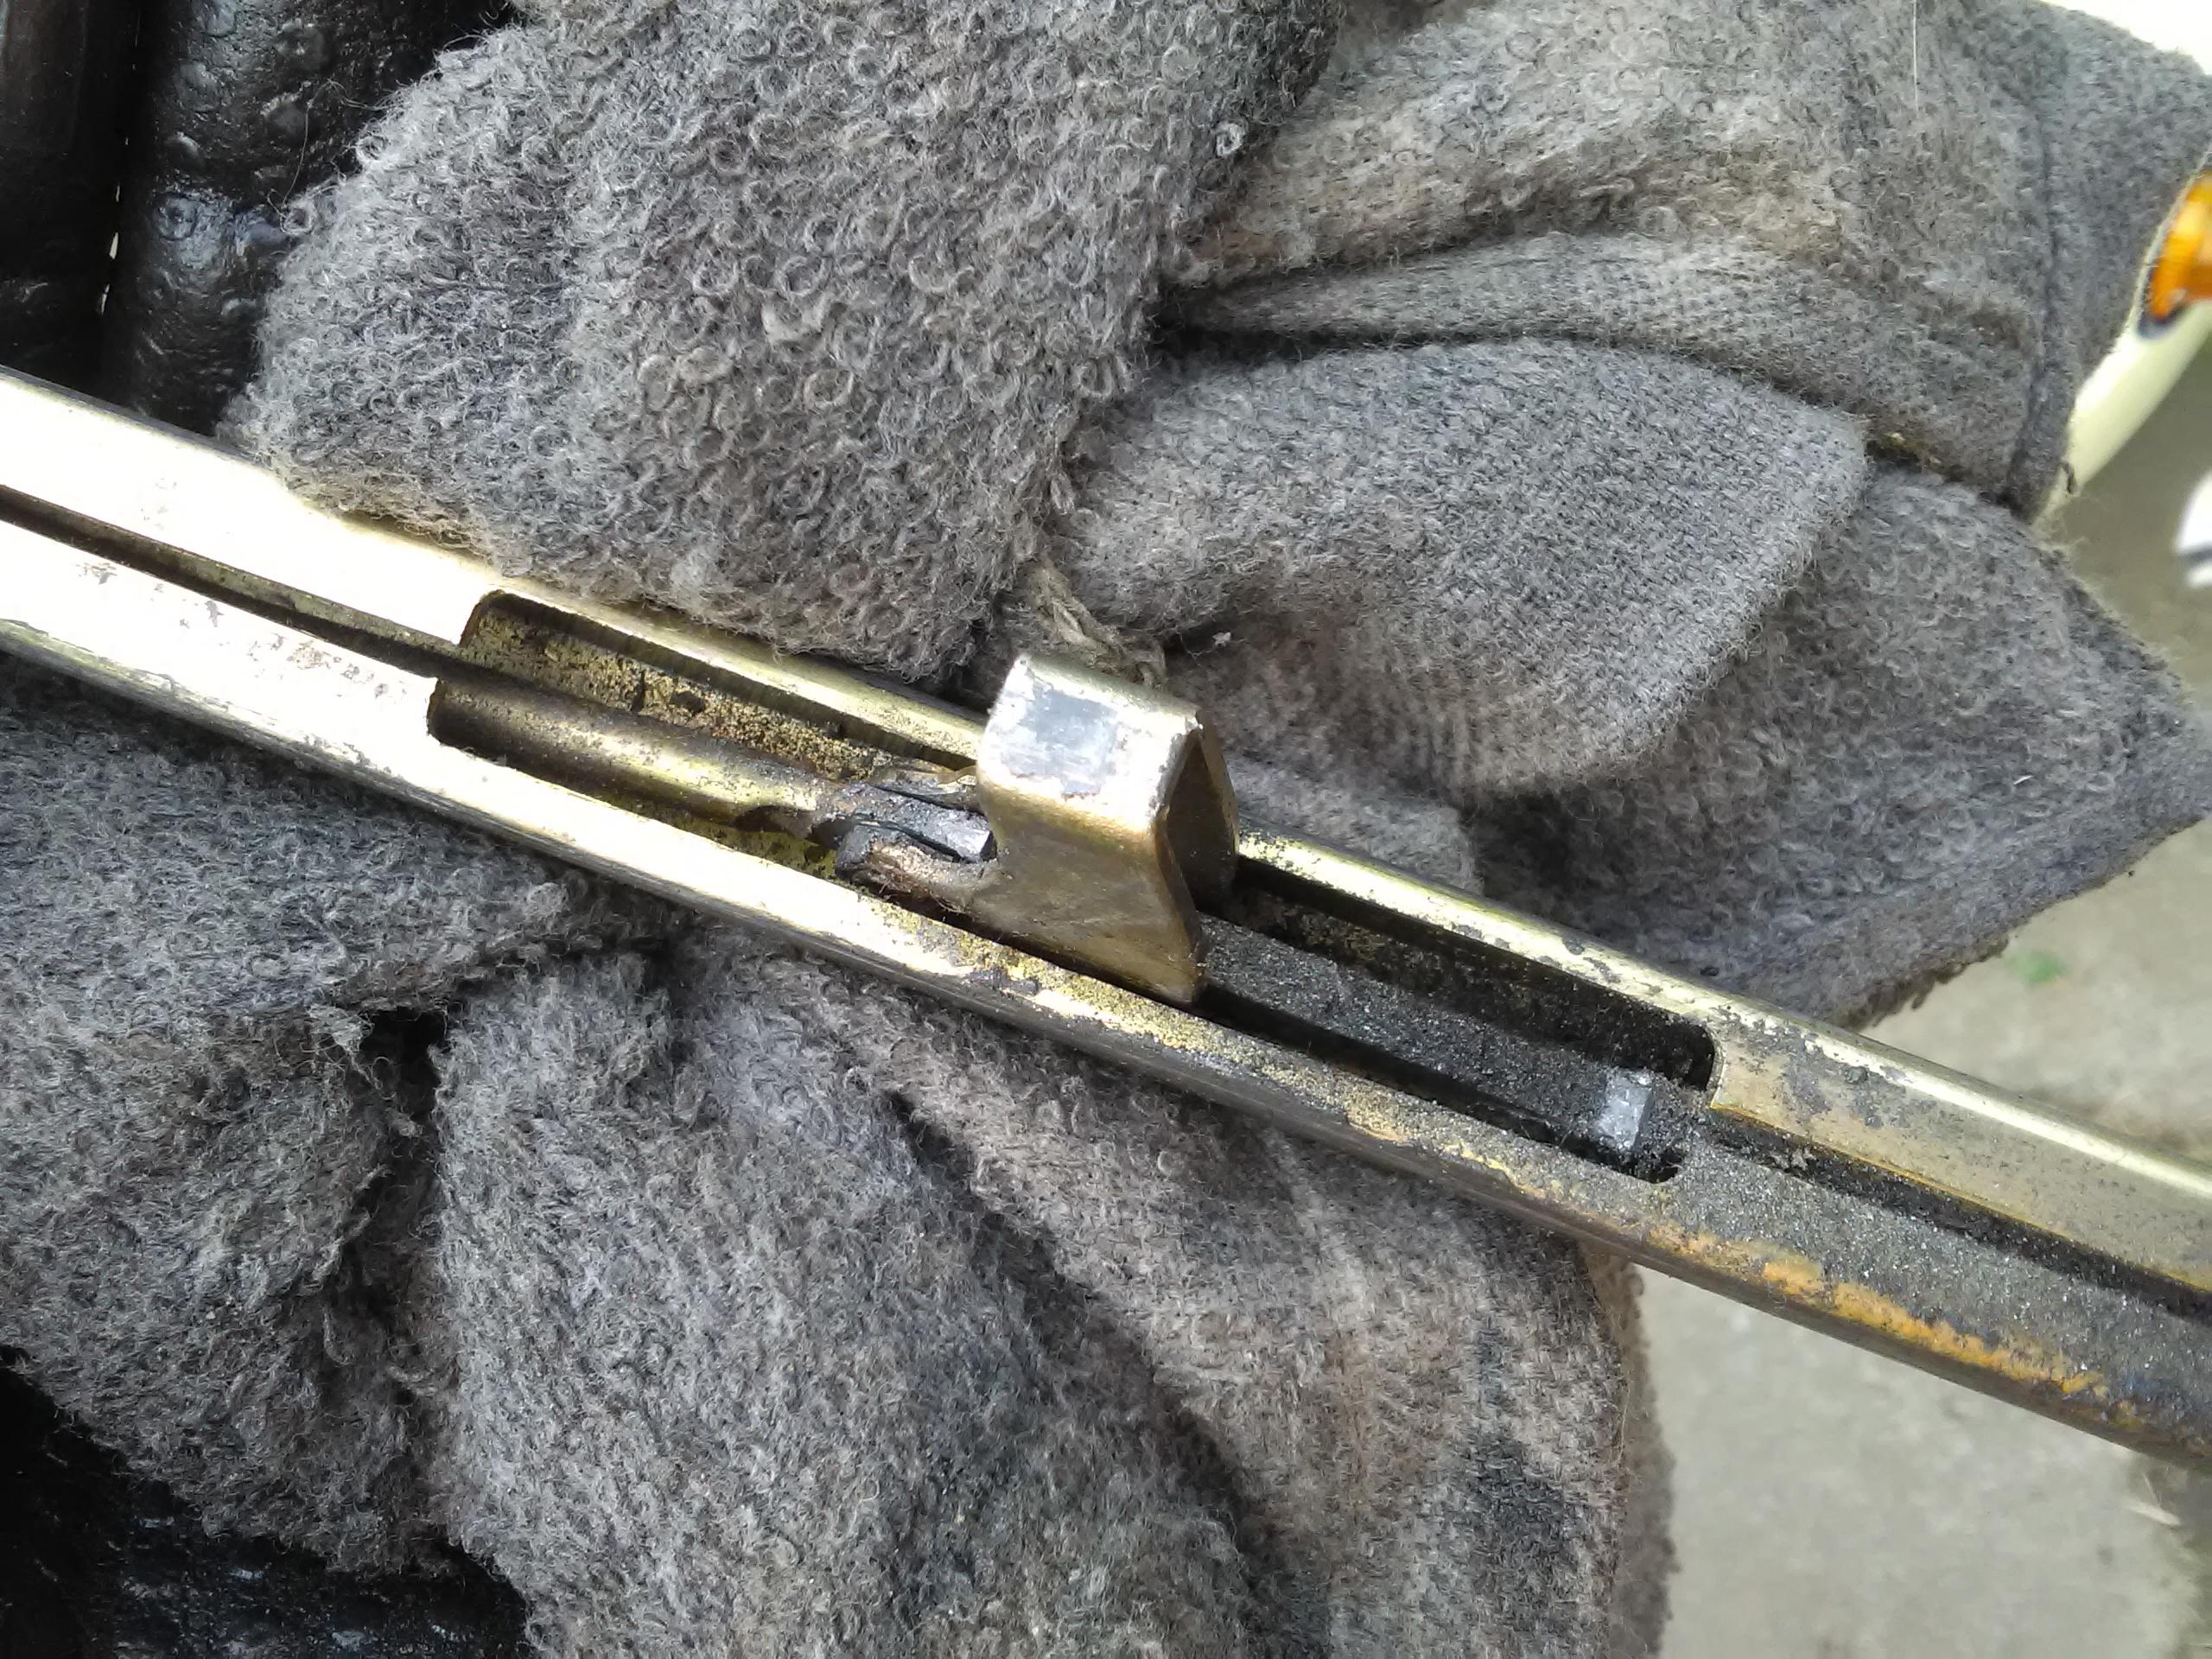
Less obvious is the end stop. This is normally held apart by the intermediate linkage and prevents the handle linkage withdrawing too far. To remove the handle linkage these need to be closed up whilst coaxing them through the various brackets under the dash.

With the handle withdrawn cleaning and re-greasing is easy and refitting is, famously, the reverse of removal.
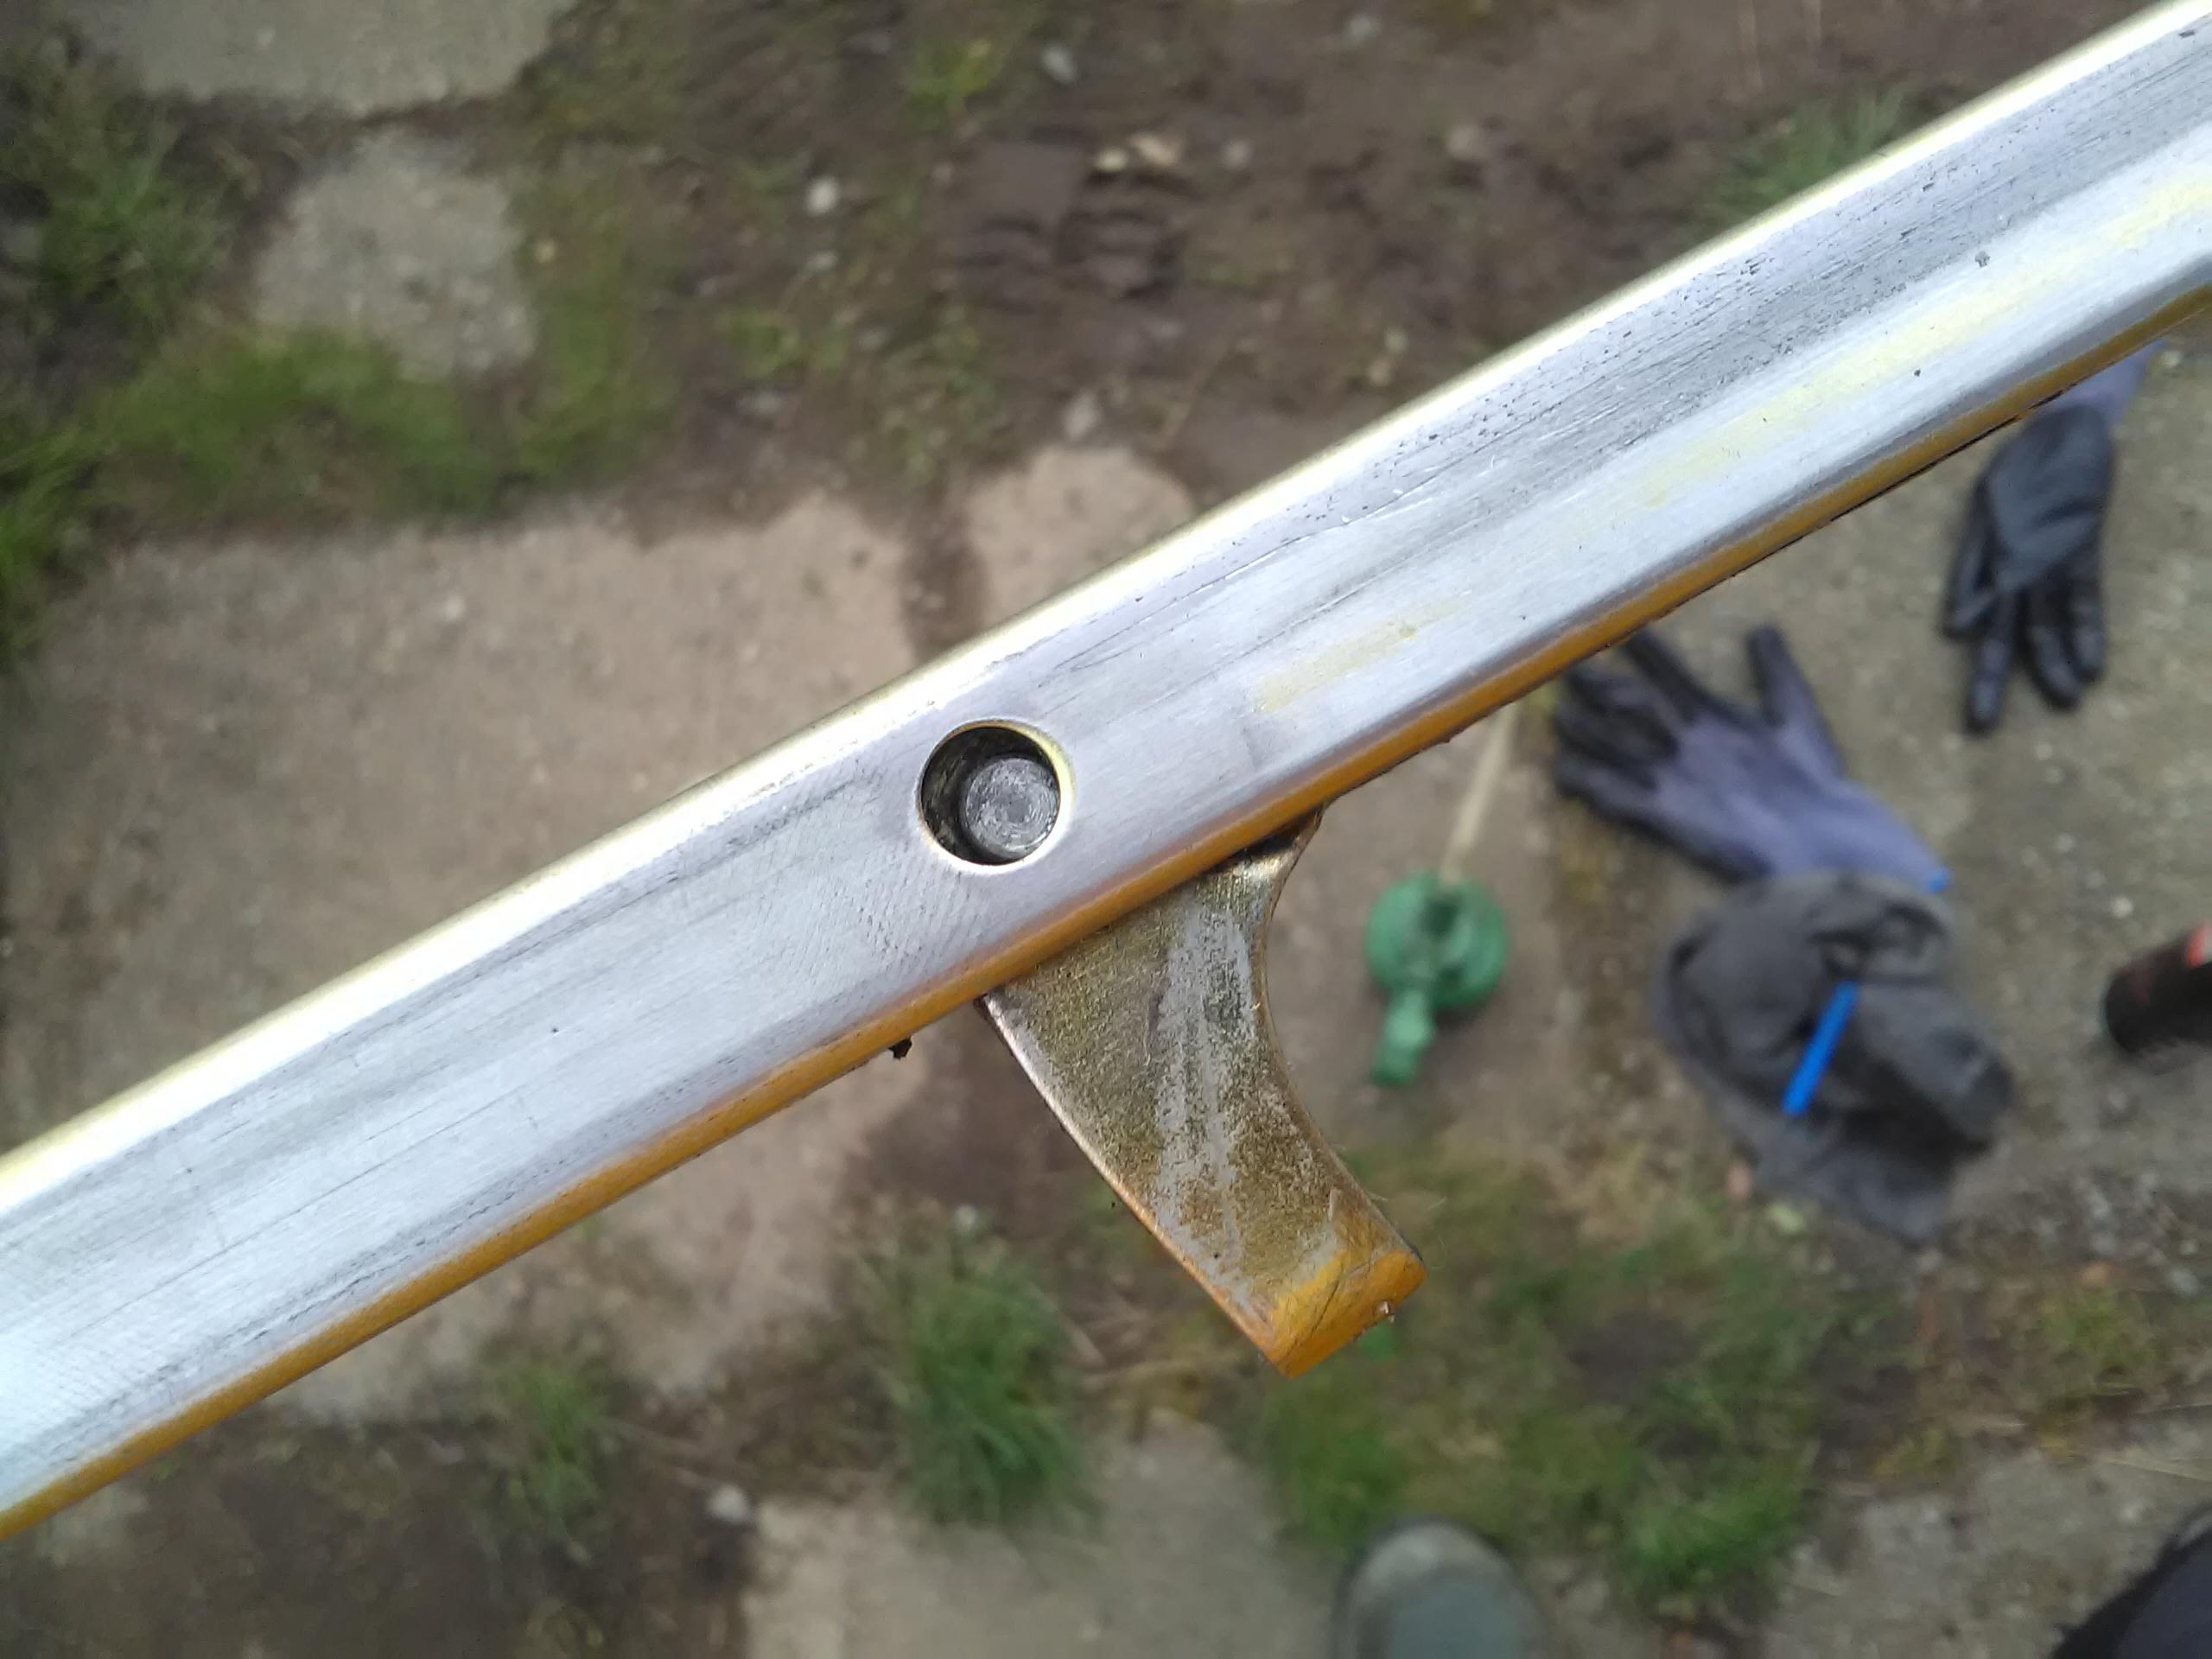
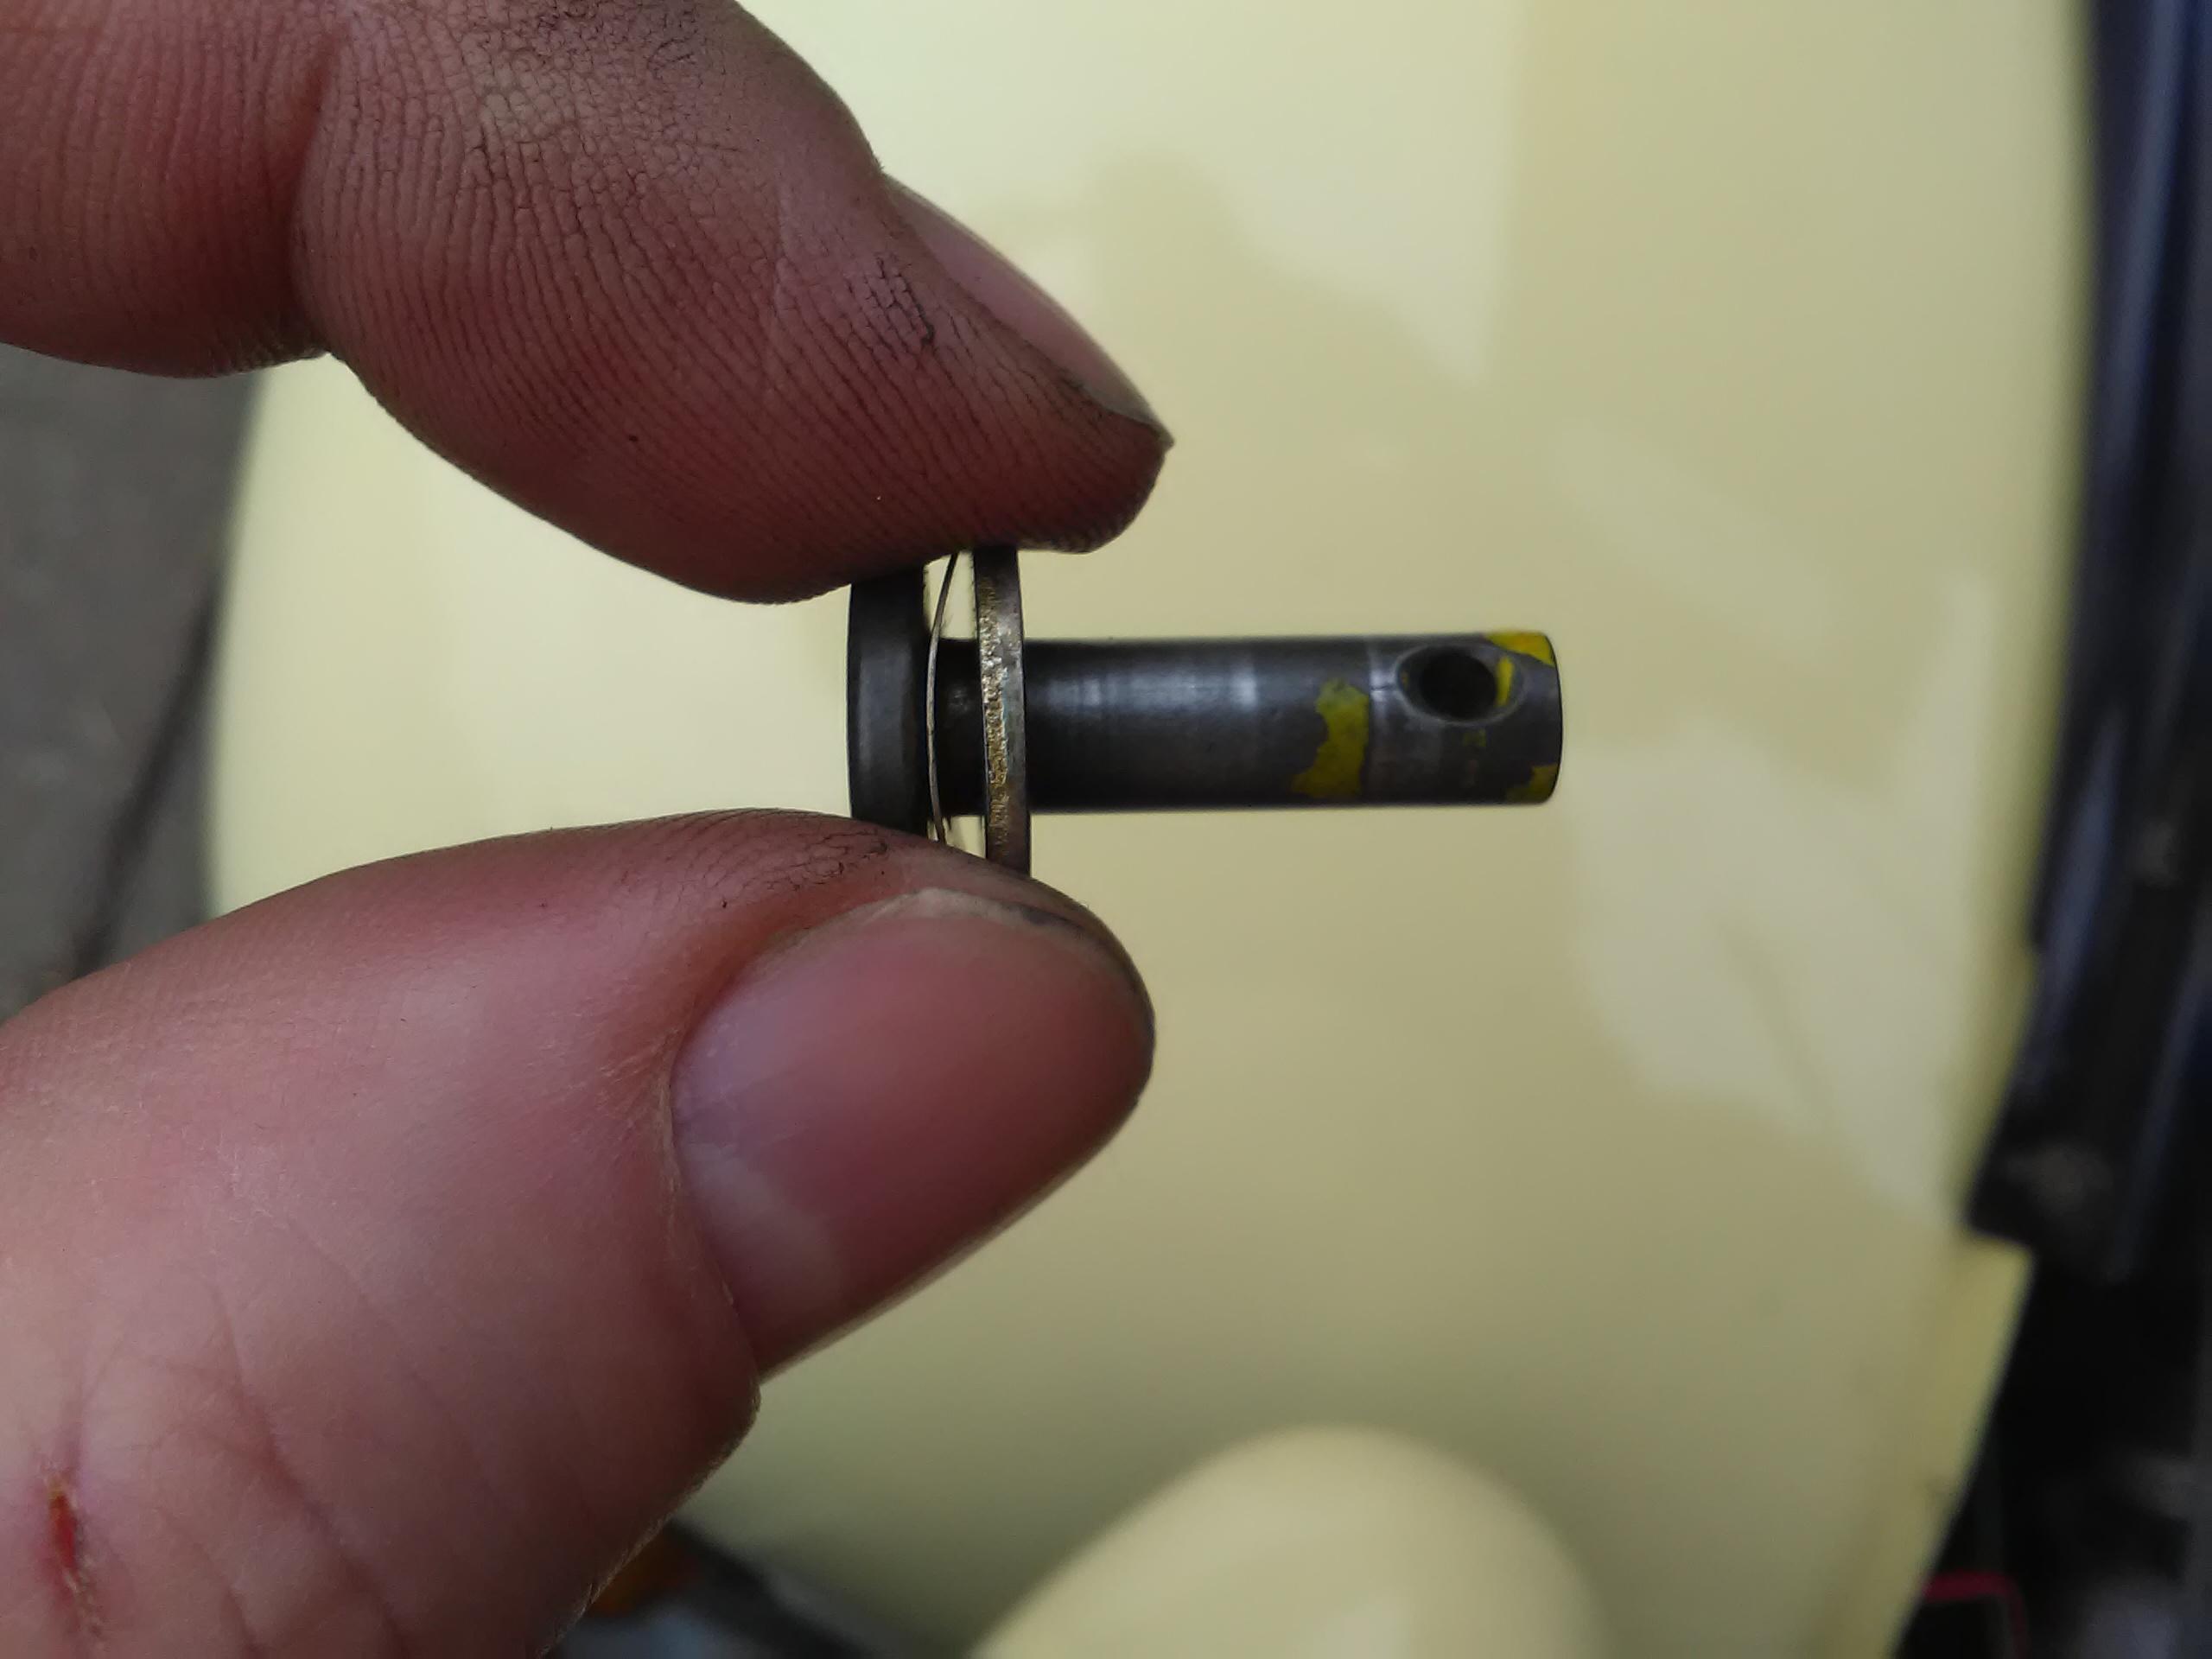
Of note is a hole in the side of the handle linkage, it looks like this can be used to access the pivot pin of the catch but I’ve not examined this in detail.

Similarly to the airbox supports the gear change parts needed reconditioning.
The gear lever’s powder coating had faired much better than the airbox support with only a couple of areas having been worn away and minimal surface rust on the exposed metal. A quick clean with emery cloth and treatment with k-rust was all that was required before a coat of Hammerite.
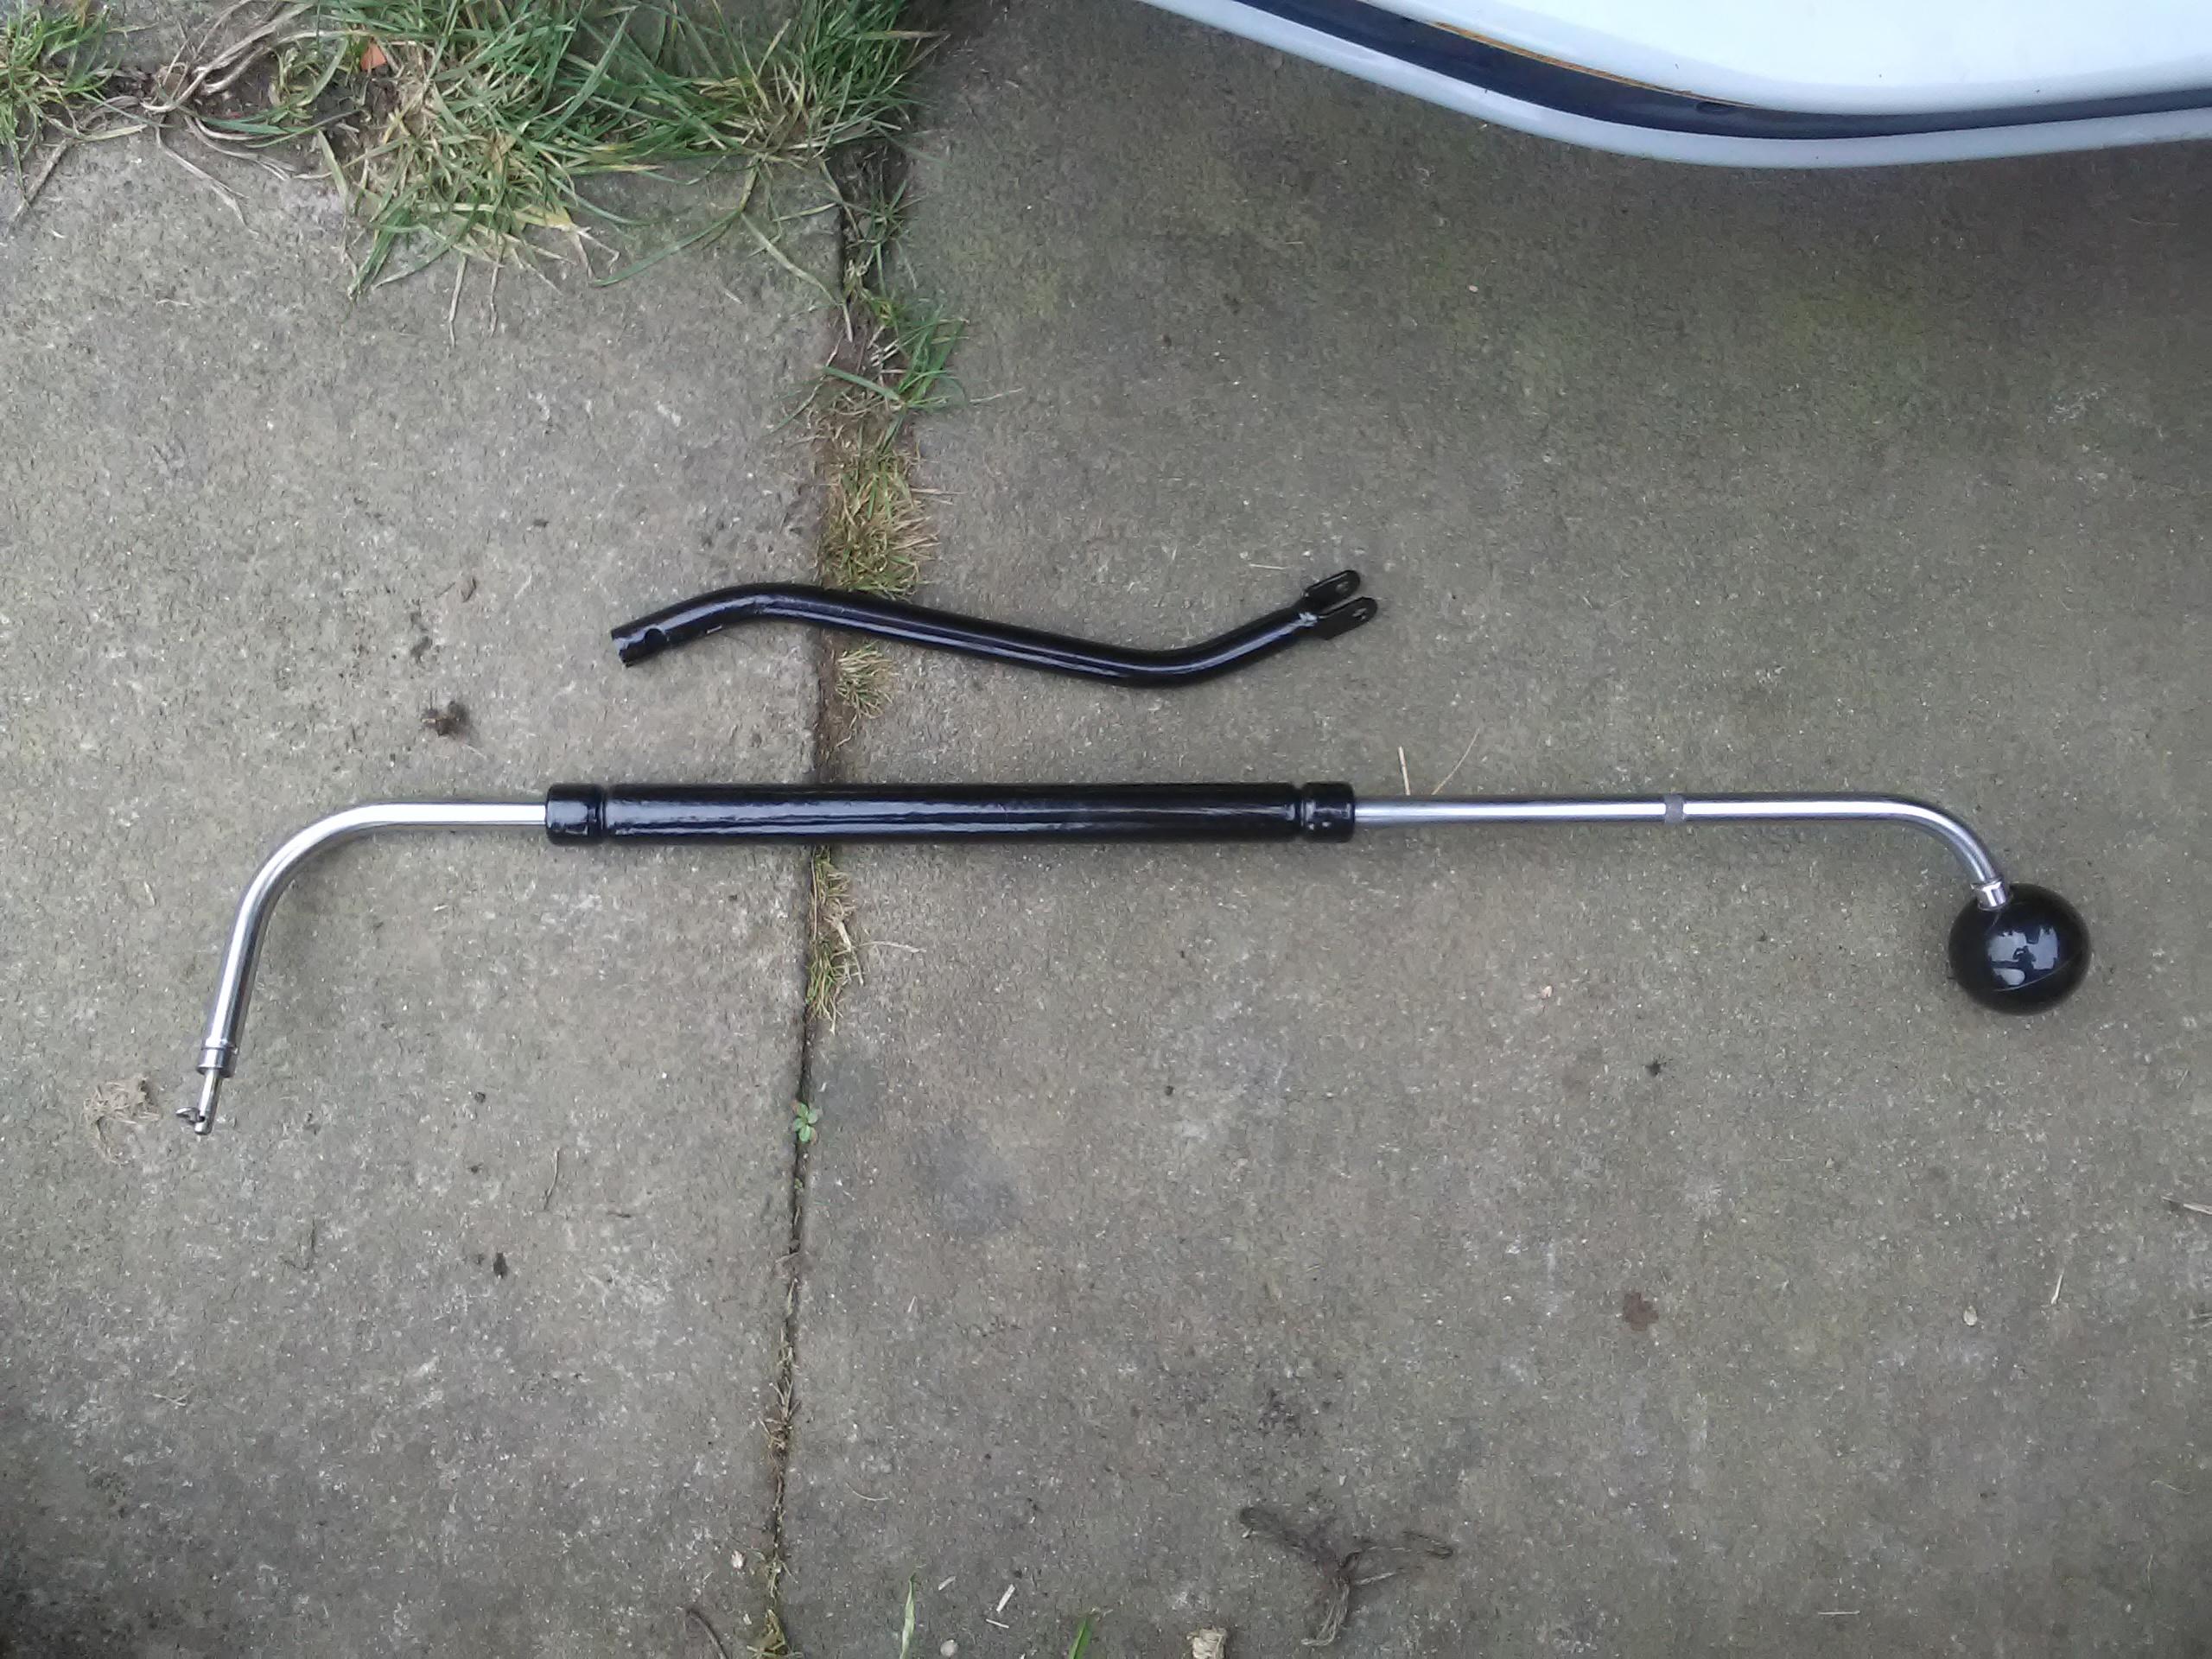
The gear change slide didn’t look as bad but once I started cleaning up the small areas of surface rust the paint started coming away like dust – Citroen might as well have used thinned down blackboard paint on it originally!
It didn’t take too long to get it back to bare metal but that did mean it would need two coats of paint. The first went on fine and was left to dry over night. The second coat caused me a lot of trouble, as it started to dry it was forming a mottled surface so I tried remedial action with thinners and fresh paint. This did eventually form a decent finish when it dried but I’m not entirely happy with it so will look at re-doing this at a later date.
Re-fitting the slide tube into the dash is a bit tricky. It has to be presented from inside the car through the bulkhead – even though it doesn’t seem like the upturned end of the actuator will fit through the grommet. The slide is secured to the dash between two thick nylon washers that sit inside the metal mounts. It’s secured with a 10mm nut and bolt which are tricky to get tools onto as the dash covering doesn’t leave much space round them.
When I replaced the linkage that joins the two parts of the gear change I said to pay attention to the order of the washers but didn’t say what that was. For the avoidance of doubt, the thick washer goes next to the gear change lever on the horizontal pin and next to the rubber bush on the vertical pin.

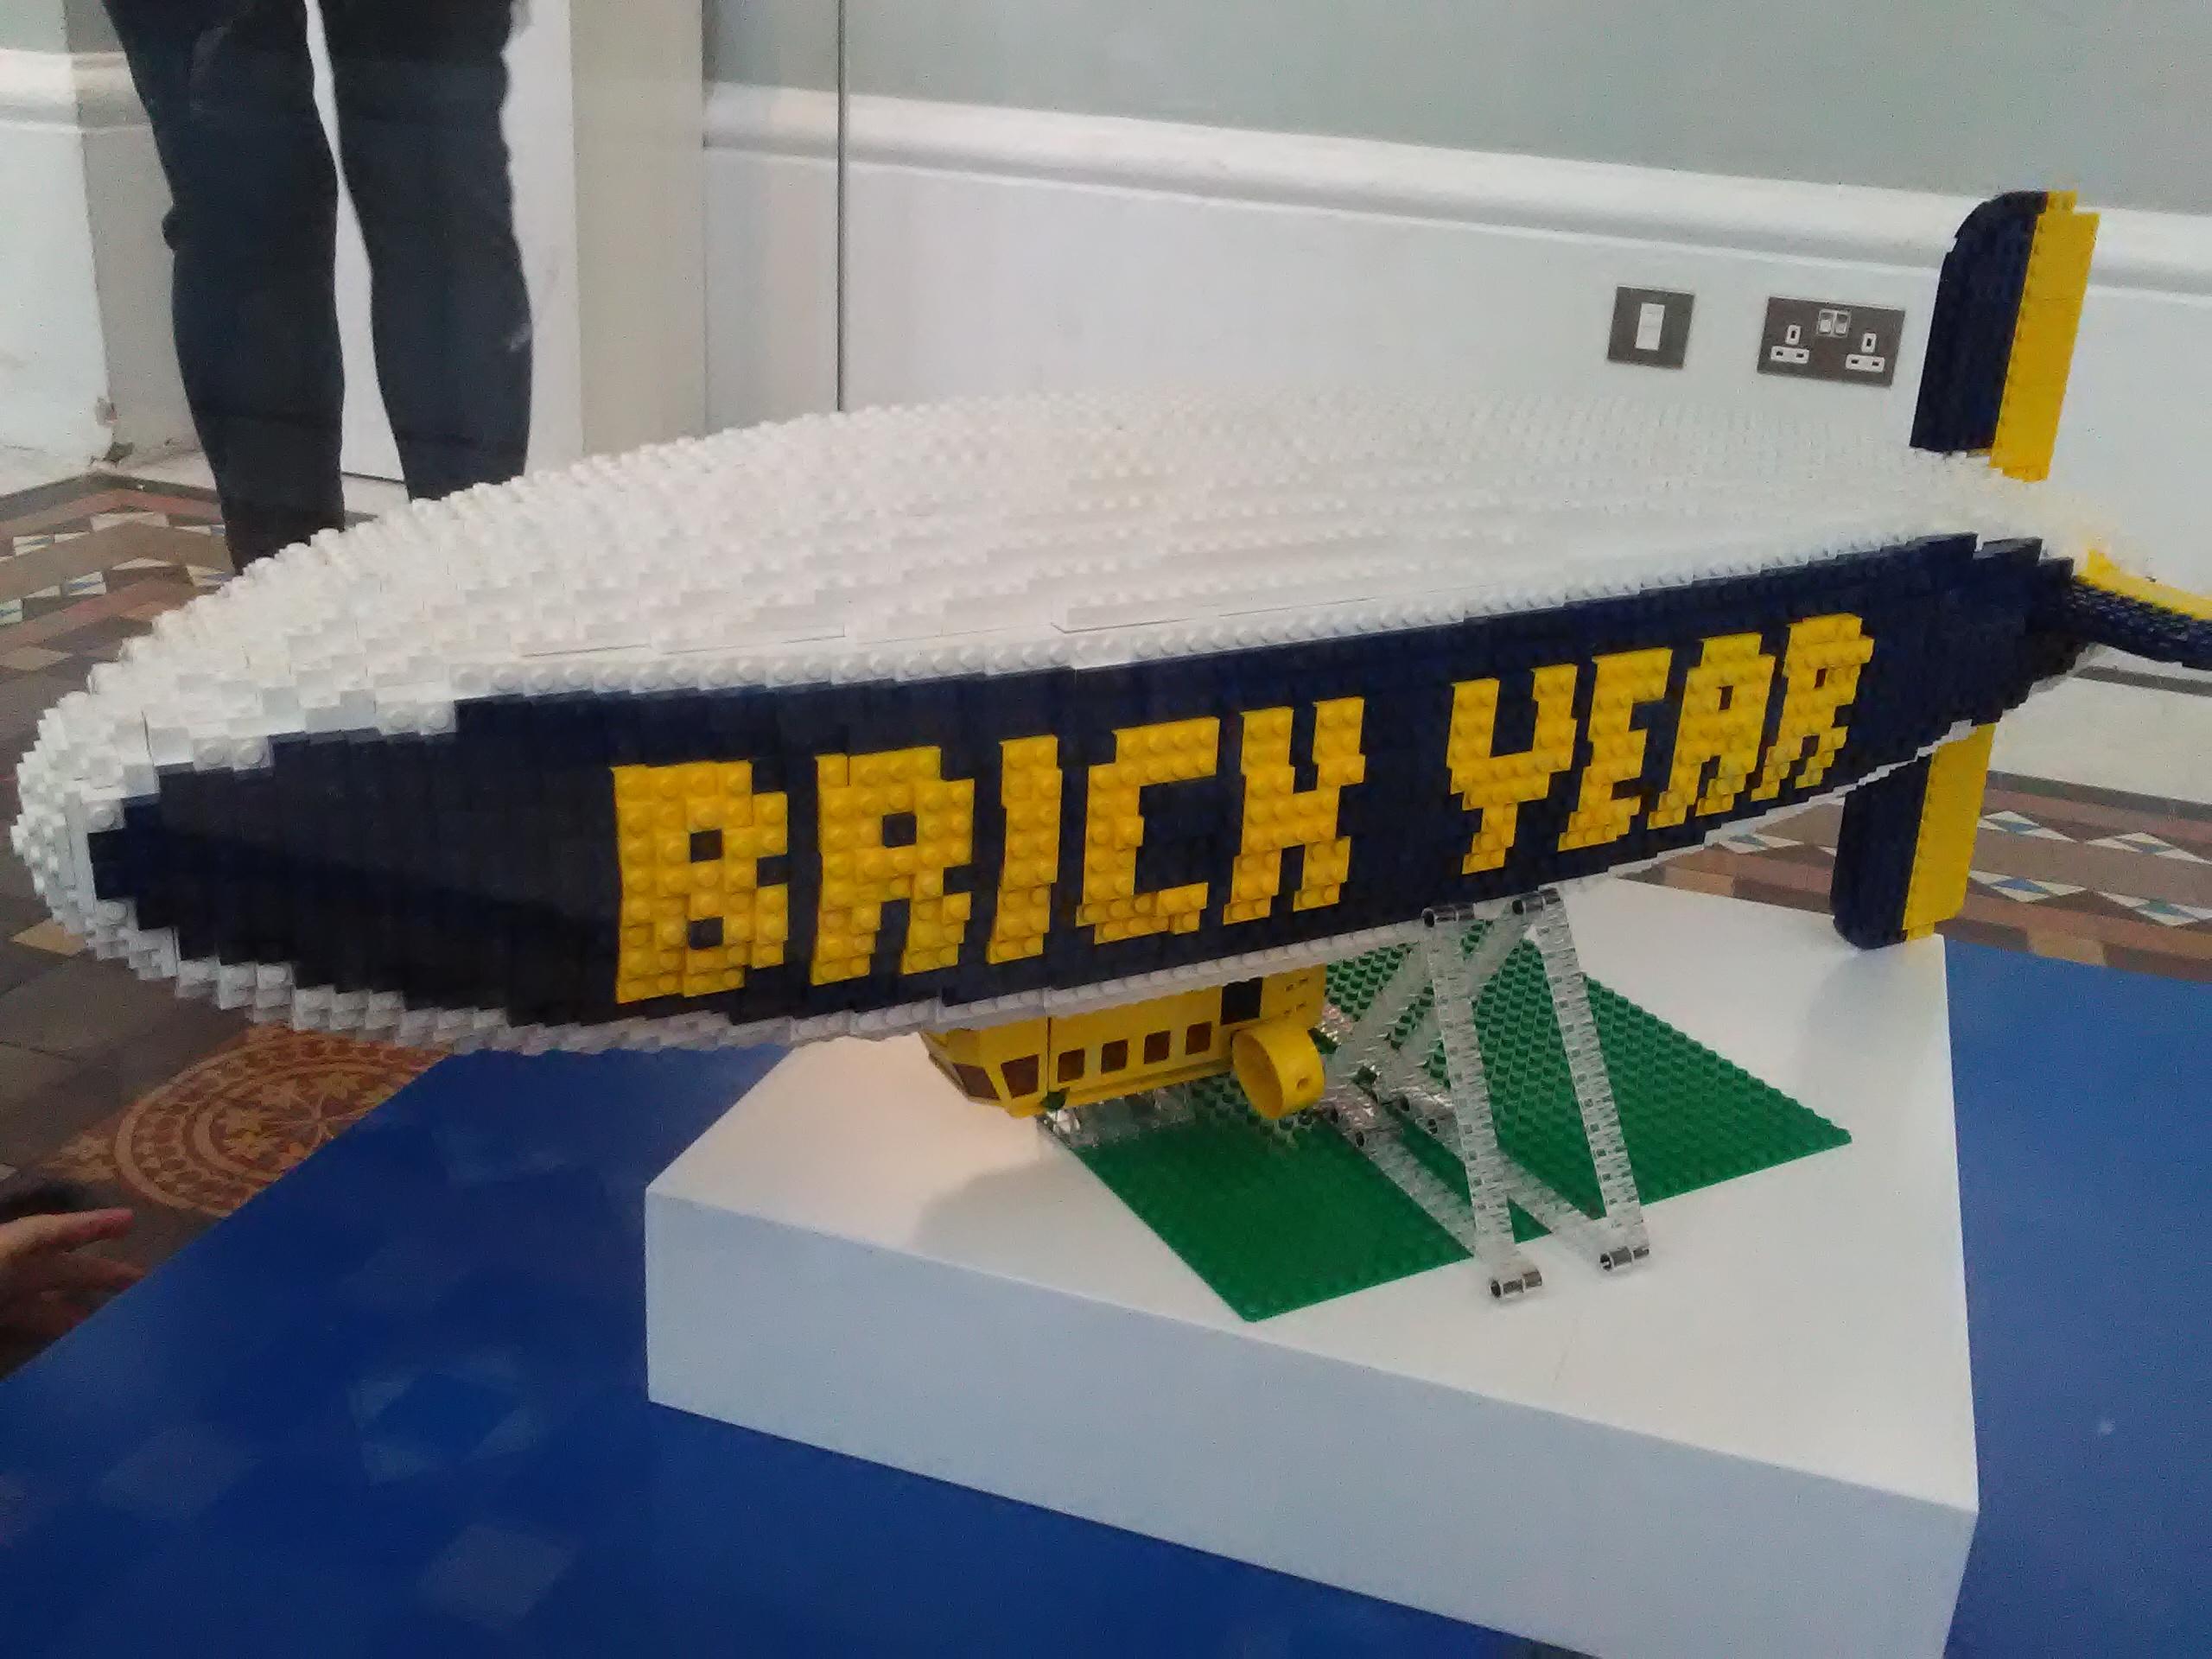
(Should really read: Lego Cube’s a Pimp)

Prompted by a question on the 2CVGB forum about wiper switches I had a look at a spare I had from the dashboard I picked up for the LED conversion.
The switch has three connectors on the rear, I’m not sure if there’s a standard reference for them but I’ve labelled them as 1,2 & 3 as shown below:
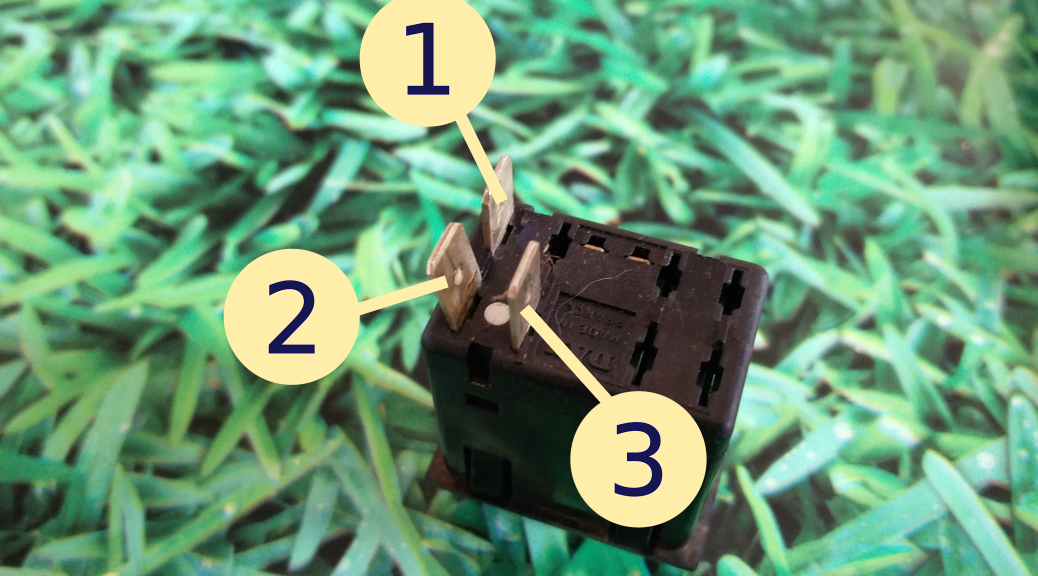
The connectors on the wiring loom of my 1987 Dolly are as follows:
When the switch is in the ‘on’ position (i.e. depressed) pins 1 & 3 are connected.
When the switch is in the ‘off’ position pins 1 & 2 are connected. (From the wiring diagram it looks like this is to provide power to the wiper parking mechanism.)

Judith has worn a three different numberplates over the course of her life but when I got her she was back on her original number. However, the plates were from Hellfrauds.
I have the original guarantee card and a key fob from the dealer who originally sold her, Chevron Motors in Malvern.
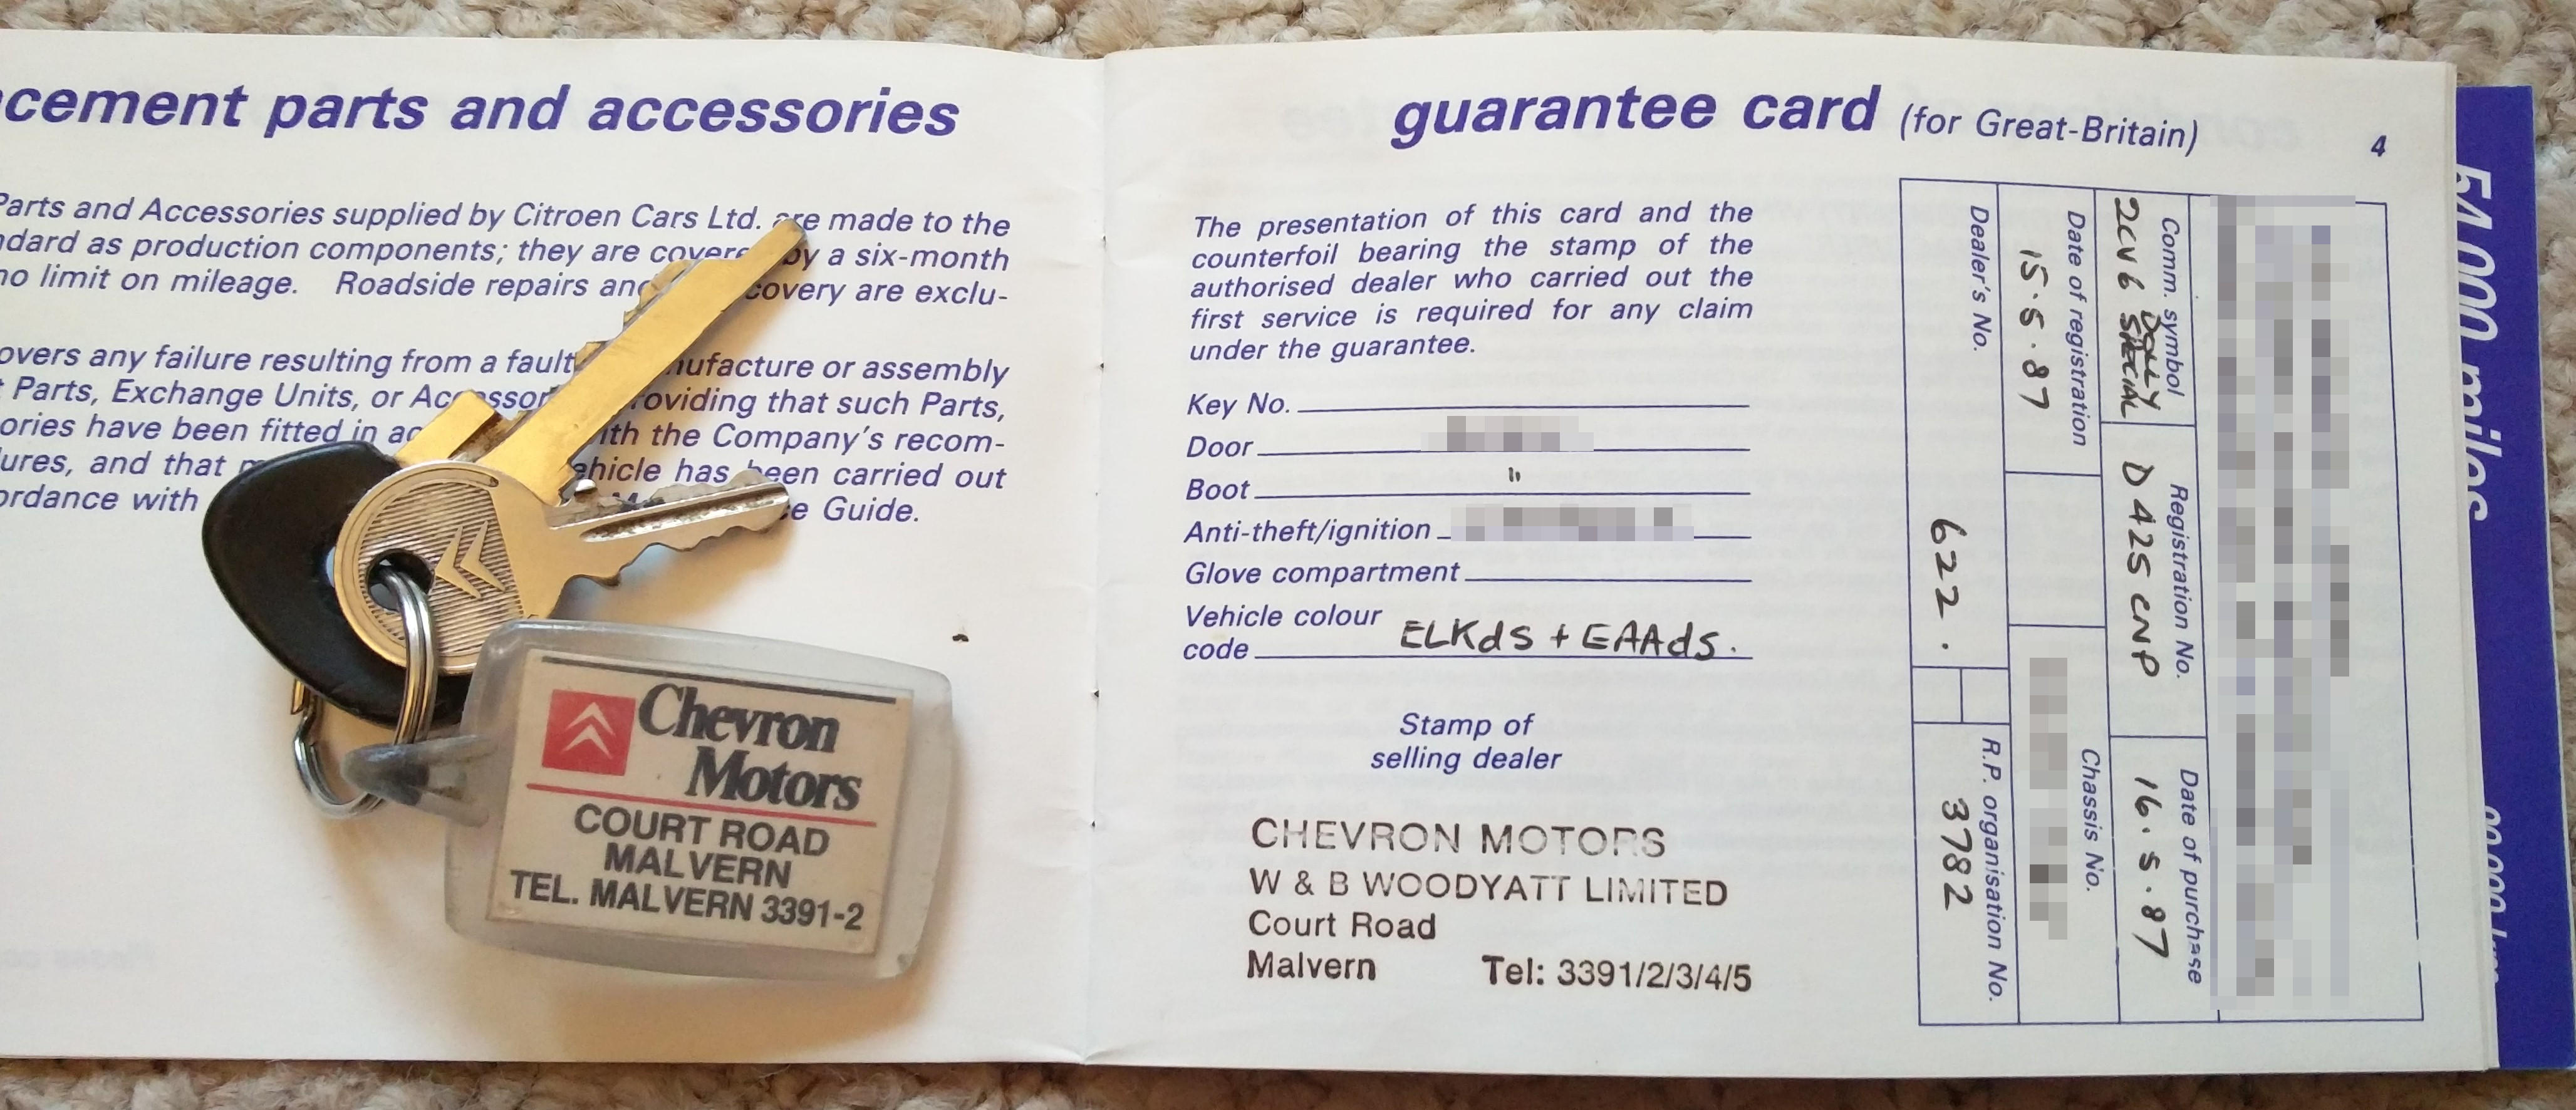
Whilst Chevron Motors are still a going concern, they no longer have a Malvern branch. I got in touch with the parts department who were happy to supply a new set of plates with their issuer details.
As I was replacing the plates I took the opportunity to switch to plastic retaining bolts which won’t rust – an extremely common problem with metal numberplate fixings. I also colour matched the bolts to the plate, the ‘P’ being an easy match but the hole on the left went halfway through the ‘D’ – after a bit of experimentation I settled on the background colour as the black made it look more like a ‘B’ from a distance.
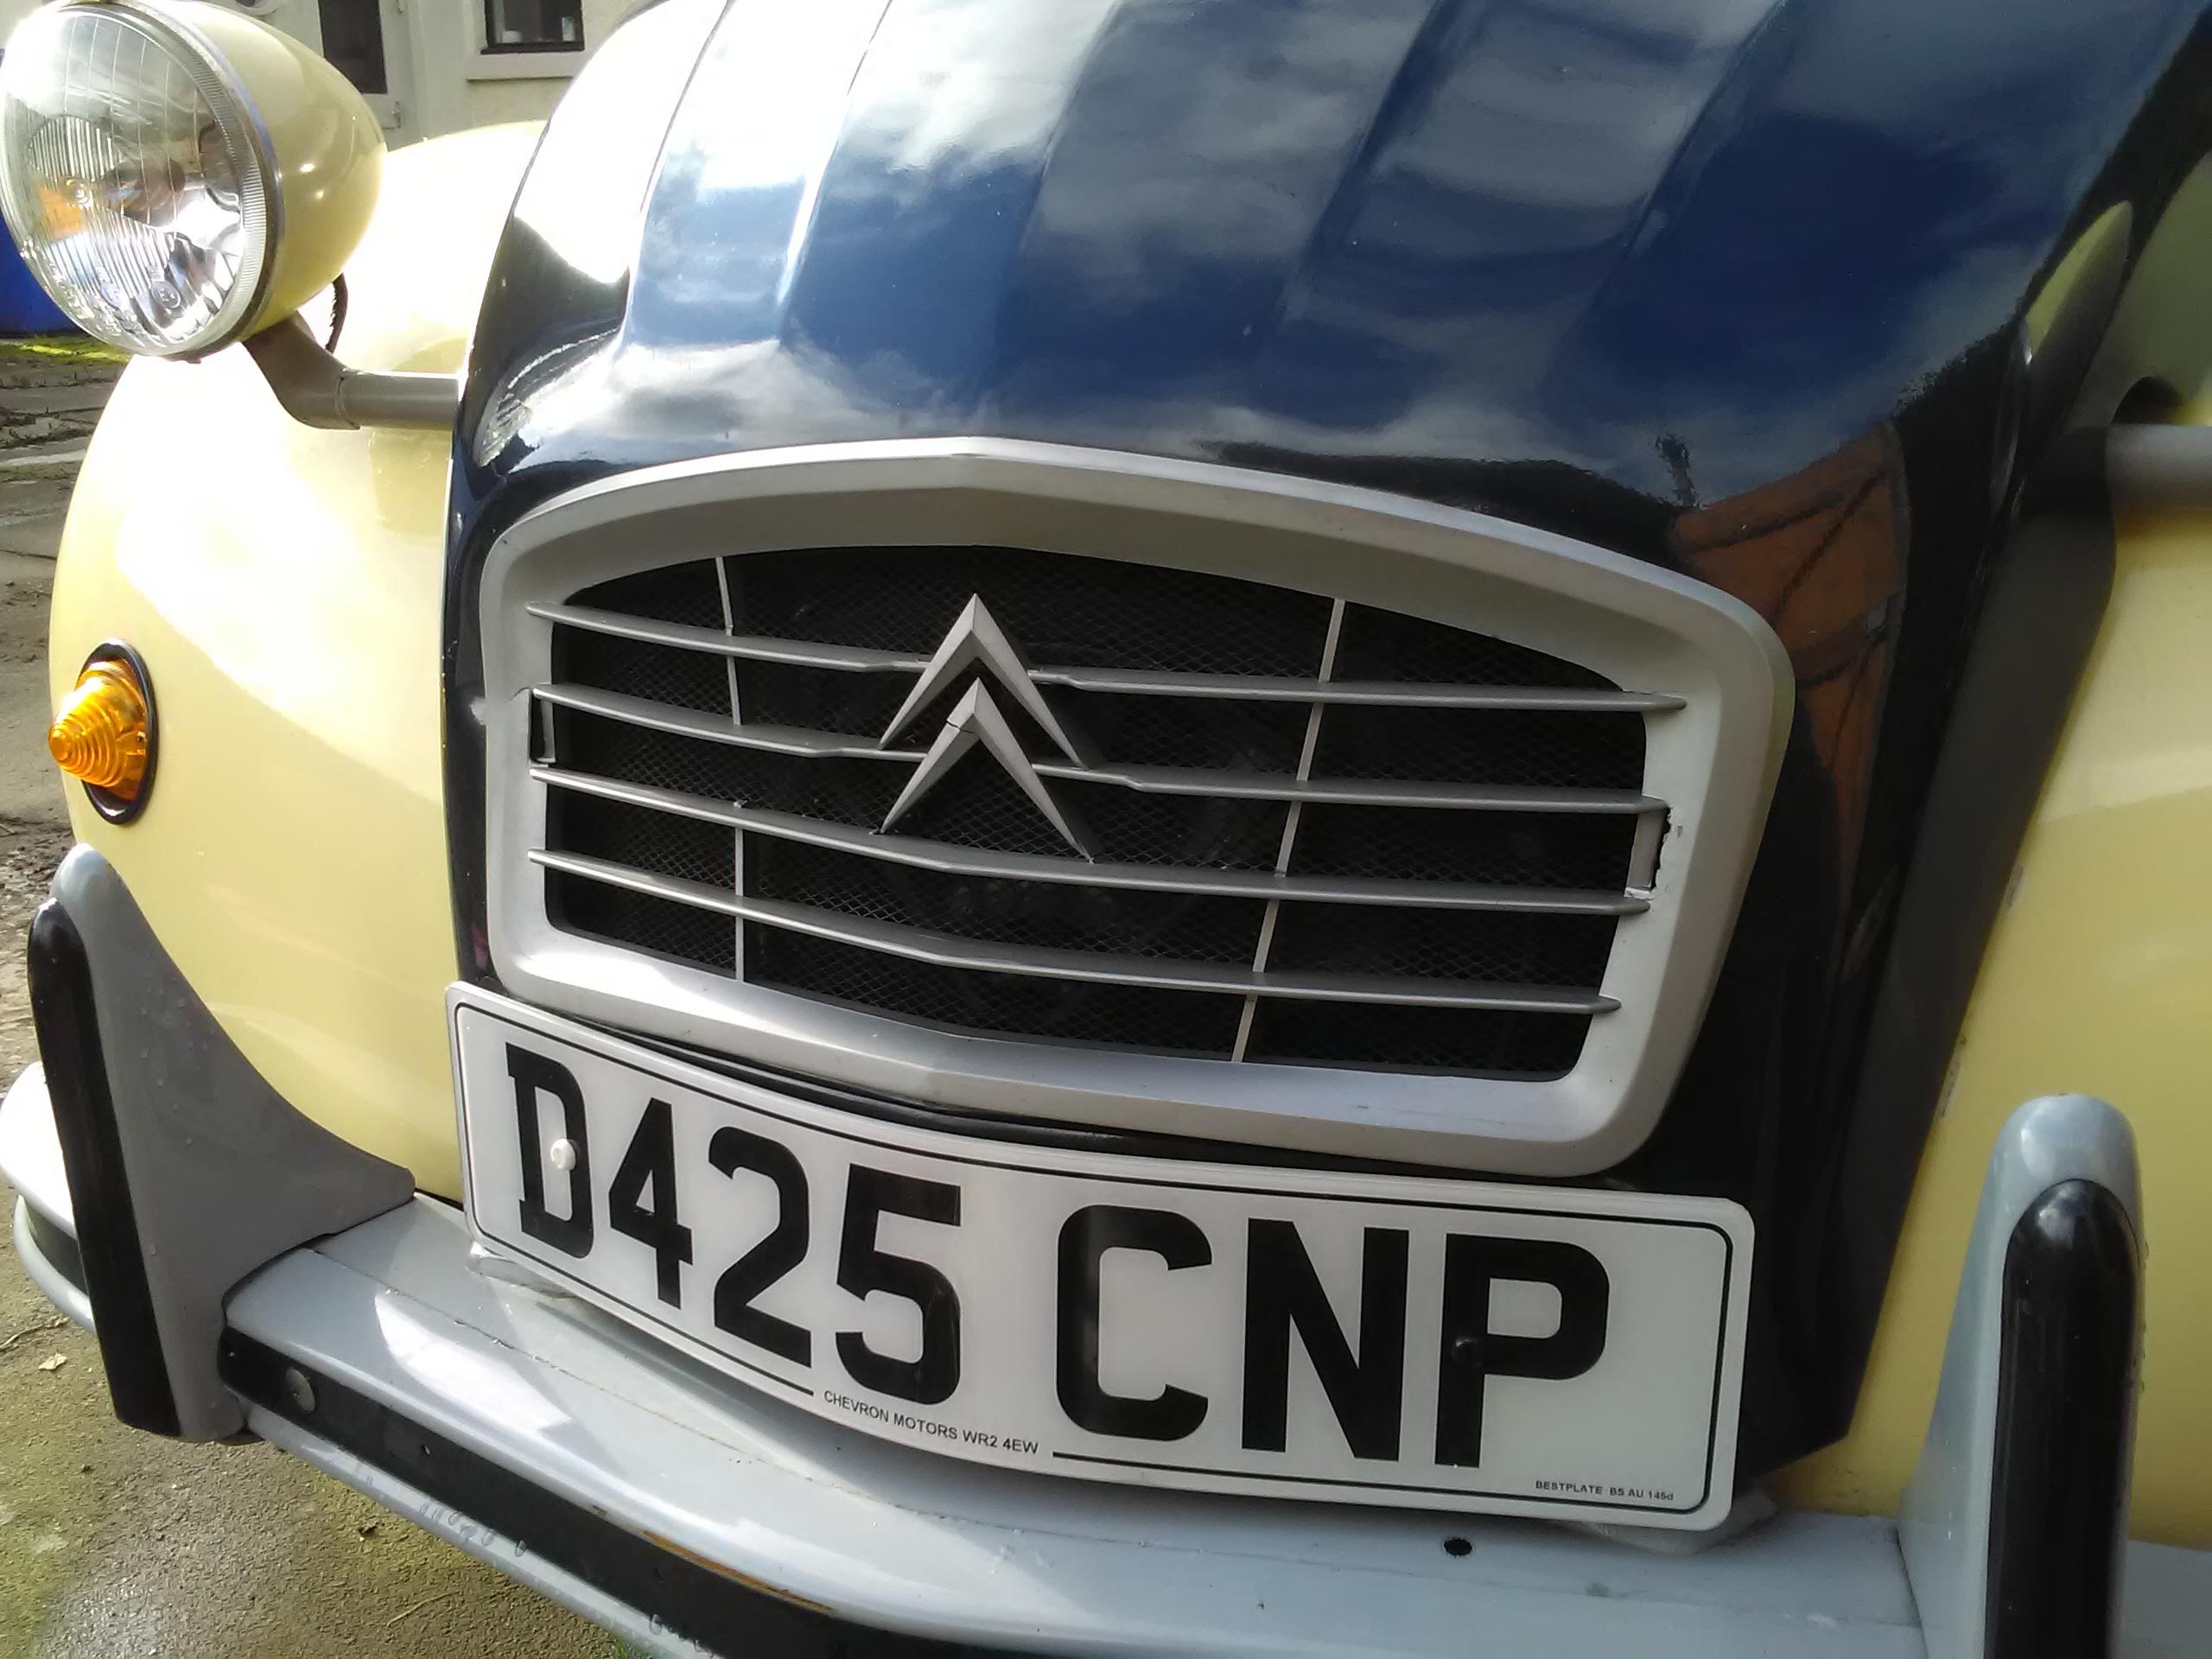
I used the old plates as a template for drilling the holes in the new plates but didn’t notice that the rear plates weren’t quite straight. I’m not too bothered about this as it retains a bit of character.

 Images © Marvel.
In April or early May of 1992 I was contacted by a Marvel Comics editor and asked to design a logo for their character Deadpool, who had first appeared in THE NEW MUTANTS #98 cover dated Feb. 1991. A mini-series featuring the character was being planned. I was doing lots of logo work then for DC, Marvel and other companies, and creating logos by hand, as I had not yet purchased my first Apple computer. My usual procedure was to draw three sketches on white typing paper, first in pencil, then inked with markers. The sketch above is one of those, and the only Deadpool sketch that I can find in my files. It looks like I thought the character’s name was two words, and I stacked them. Marvel liked this sketch, and only requested one change, the addition of a hyphen because the name was one word. You can see it penciled in.
Images © Marvel.
In April or early May of 1992 I was contacted by a Marvel Comics editor and asked to design a logo for their character Deadpool, who had first appeared in THE NEW MUTANTS #98 cover dated Feb. 1991. A mini-series featuring the character was being planned. I was doing lots of logo work then for DC, Marvel and other companies, and creating logos by hand, as I had not yet purchased my first Apple computer. My usual procedure was to draw three sketches on white typing paper, first in pencil, then inked with markers. The sketch above is one of those, and the only Deadpool sketch that I can find in my files. It looks like I thought the character’s name was two words, and I stacked them. Marvel liked this sketch, and only requested one change, the addition of a hyphen because the name was one word. You can see it penciled in.
 I next traced the sketch carefully in ink on Denril plastic vellum, my procedure at the time. This is a photocopy from my files of the finished logo that I would have Fedexed to the editor. That was the last I heard about Deadpool for a while. I wasn’t seeing many Marvel comics, as the company only sent me copies of ones where I lettered the stories, and I had no nearby comics shop.
 In the summer of 1993 the first Deadpool mini-series saw print. The cover of the first issue of DEADPOOL: THE CIRCLE CHASE is above. I’m not sure when I first saw it, probably not for a while. When I did, I was dismayed to see that my logo had been stretched vertically almost to the point of being unreadable, and it looked awful. In order to do this, someone had to trace my hand-drawn logo in Adobe Illustrator to create a vector file, which could then be stretched. The open drop shadow was not included, which is good. That would have made it even harder to read. A much better solution would have been to ask me to create a very tall version of the logo, but no one did. I would have made it look less distorted, at least. It’s possible that there was no time for that.
 A second mini-series in 1994 used my complete logo — still vertically stretched, but not as much. I don’t know that I ever saw it. In 1997 the character gained a regular series, and I did see issues of that occasionally. I must have been unhappy enough with the uses of my logo that I essentially forgot I had designed it, though. I have to admit that I’ve never to this day read any Deadpool stories.
 The character grew in popularity, developing a fan following for his unlikely combination of deadly violence and whacky humor (so I hear), and continues to star in his own regular series, mini-series and one-shots to the present day. Many variations of his original logo were developed. The telescoped version above was seen quite a bit. It uses the letter forms from my design as a starting point.
 There were also many clever parody covers like the one above mimicking DETECTIVE COMICS #27, the first appearance of Batman. Some of those also used my logo letter forms, some did not.
 Some covers have used my logo almost exactly as I created it. The most recent one I see in a quick search is this cover dated Nov. 2014.
 Here’s the official movie logo for the about-to-open film. When I saw it, I felt there was something familiar about the letter forms, but I had to look through my files to confirm I had designed them. That’s when I found the original sketch and logo seen above. There are minor differences: some odd angles in the A and L, and the treatment is very Hollywood, but clearly the movie logo is based on my original design, though the movie logo designer probably didn’t know it. Hey, even I wasn’t sure! In 2014 I wrote a blog post about a NEW TREND IN MARVEL MOVIE LOGOS, where they seem to be bucking the usual bland Hollywood designs and going to the comics for inspiration. In that article you can see their use of my Doctor Strange comics logo as part of the promotion for the upcoming film, though if it will actually become the official movie logo is unclear. At least with Deadpool there’s no doubt that I have finally designed a movie logo — sort of!
When I wrote about this on Facebook yesterday, some friends suggested I was due financial compensation, or at least a credit line in the film. That would be nice, but it’s very unlikely. The contracts for logo design in comics state that the company owns all rights in exchange for a generous one-time payment. I knew that then, and have no problem with it. As far as I know, logo designers have never been given any kind of royalties, incentives or profit sharing for other uses. In 1992 I was paid $500 for the logo design, at a time when my story page lettering rate was about $25 per page, so it seemed like a good deal to me, and still does. As for credit, no one at the comics companies keeps track of who designed their logos. Much of that information is only in the hands of the logo designers, or is lost forever. That’s partly what my Logo Studies are about, as well as my “Logo of the Day” feature on Facebook. You can find my logo studies on the LOGO LINKS page of my blog, if you’d like to read more. Meanwhile, I have to say I’m modestly pleased that my design, in essence, is on the movie logo, even if very few people will ever know it. Now, you’re one of them.
