Whilst sorting through some Citroenalia from the family archives I found an old Citroen Car Club window sticker. These were a standard fixture behind the rear view mirror on 2CV’s of my youth – so, in a fit of nostalgia, that’s where this one has gone.
The roof on Judith was another item that was showing its age, the vinyl had faded and was split in a couple of places. Fortunately new roofs are easy to get hold of and in the right colour too.
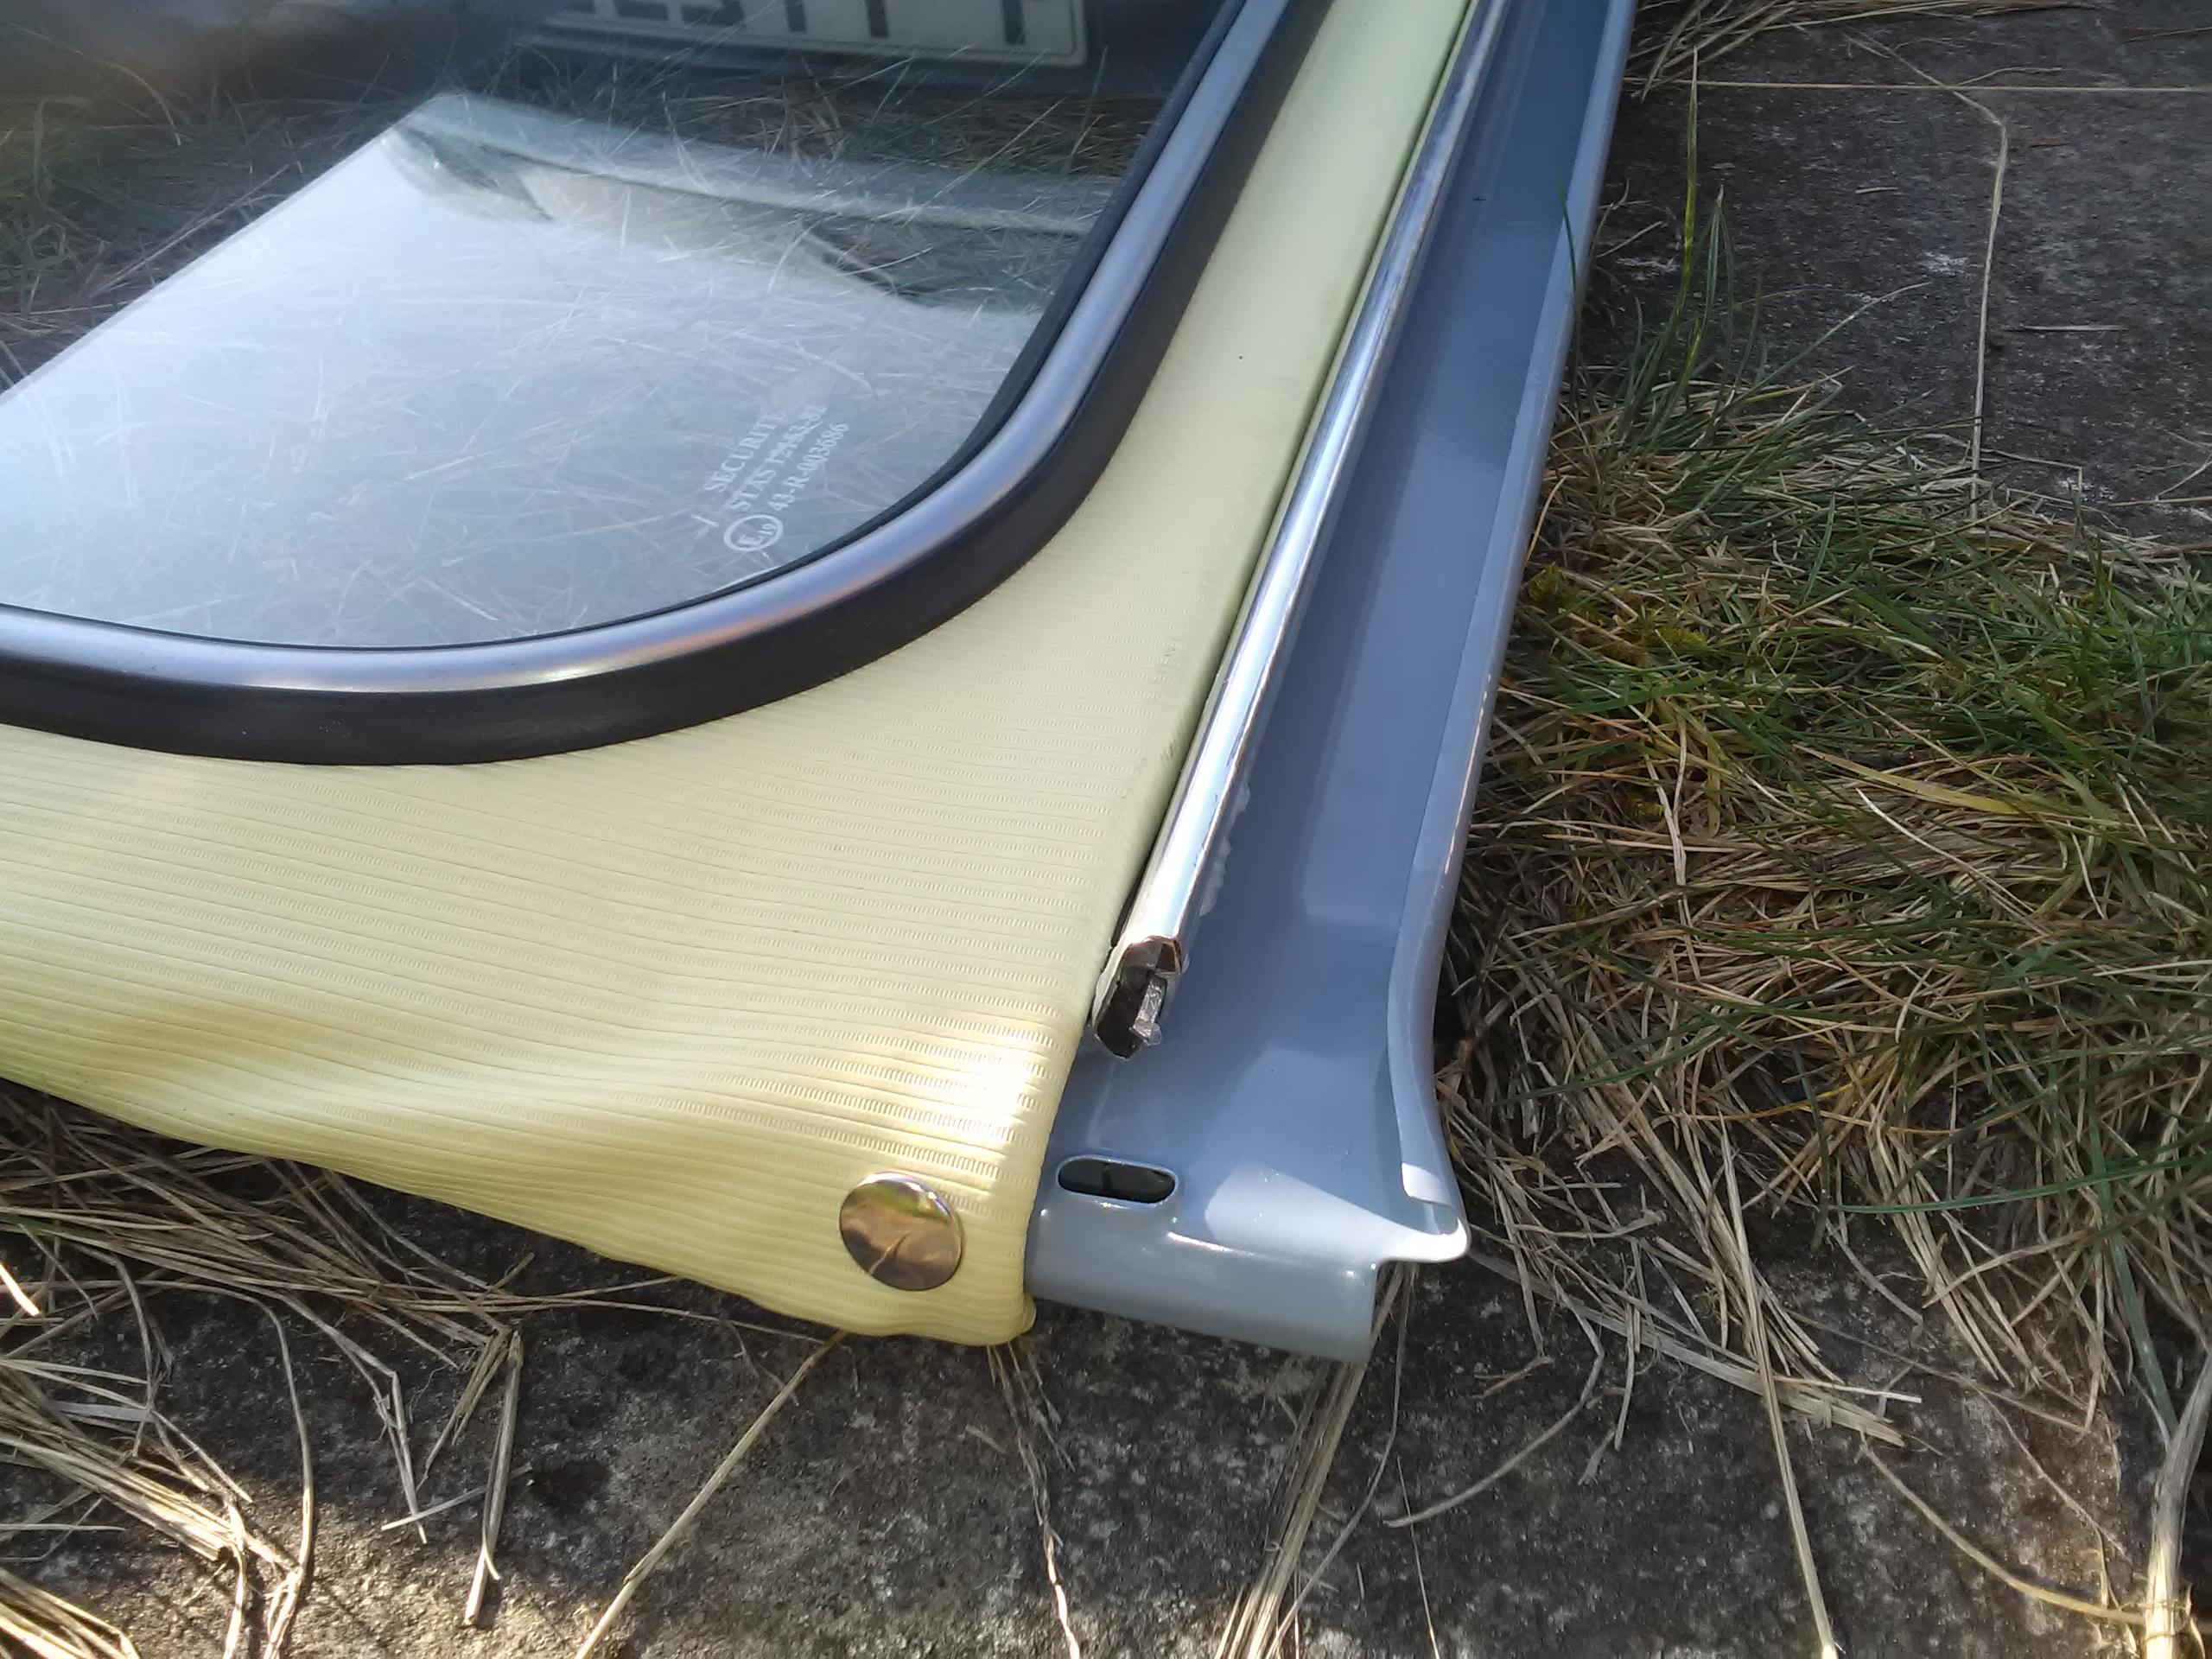
Removing the roof is actually very simple and working from front-to-back seems to be the best approach. First slide the boot out of it’s hinge. Then unclip the roof above the B-pillars,as if rolling it fully back, and unscrew the press-studs at the back – these are self tappers that go through the vinyl into the body, nothing fancy.
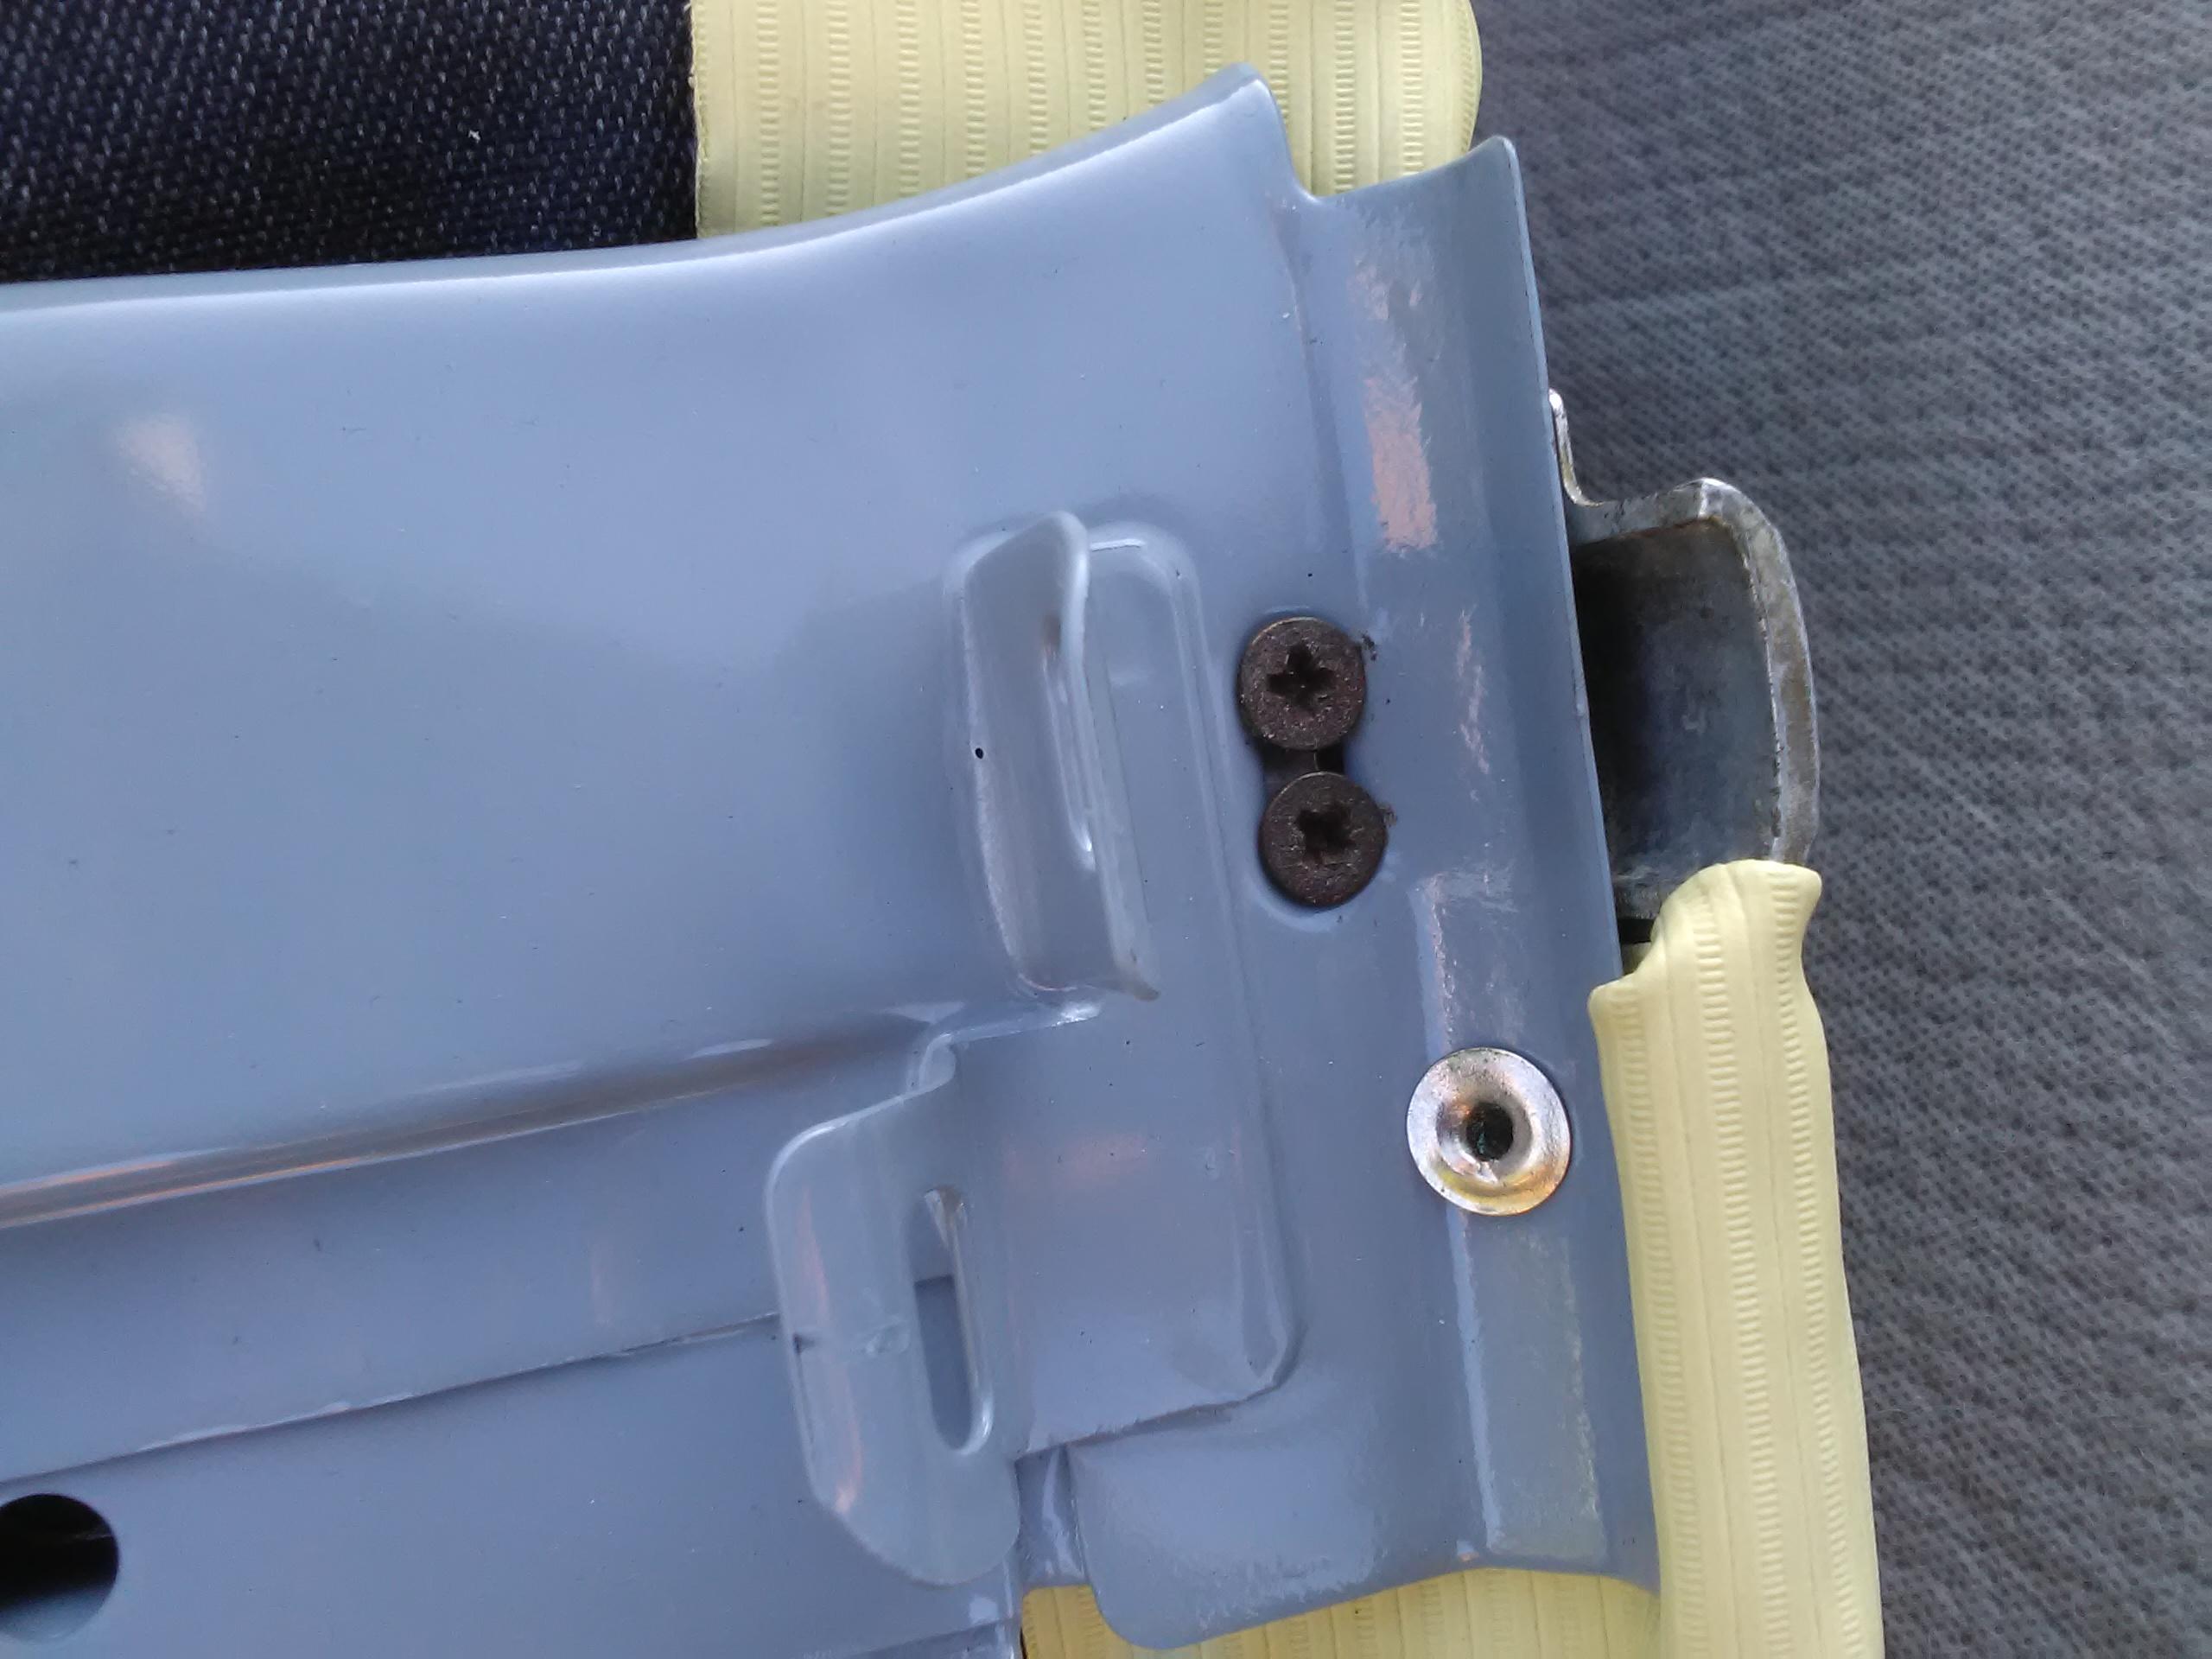
At this point it’s a good idea to have someone else support the roof under the rear window whilst you remove the two bolts holding the roof on. There is one each side where the parcel shelf clips are.
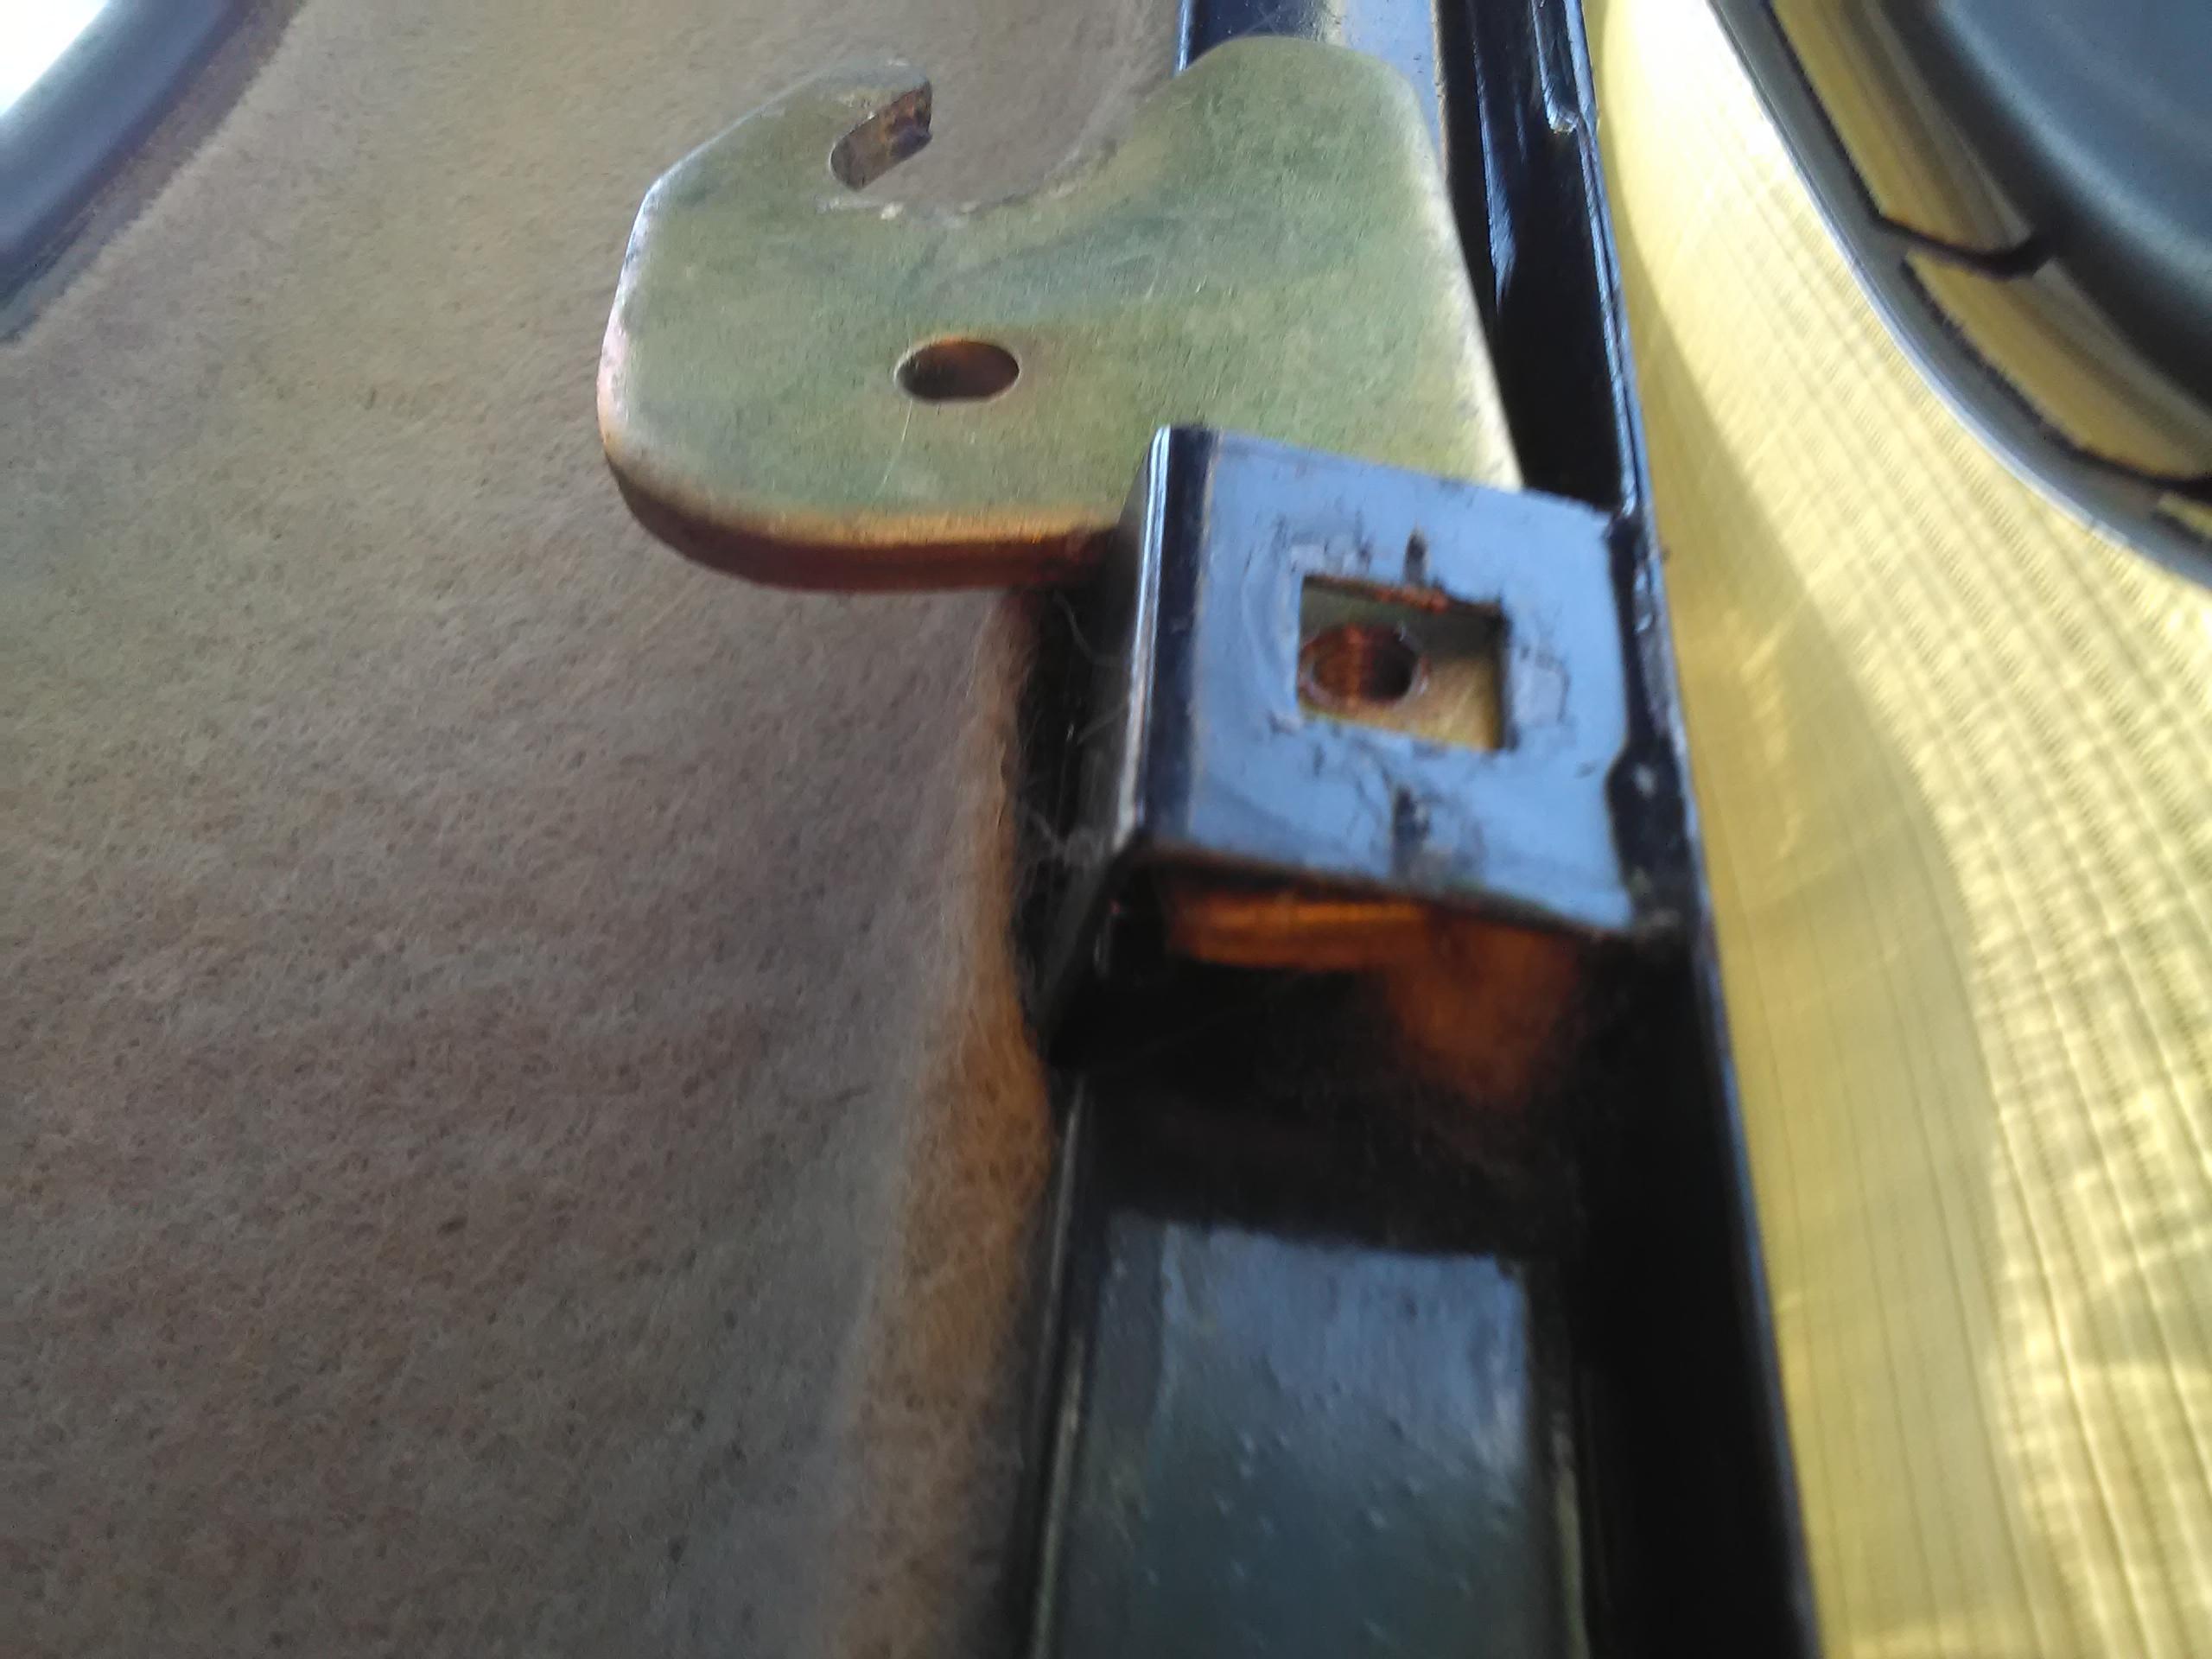
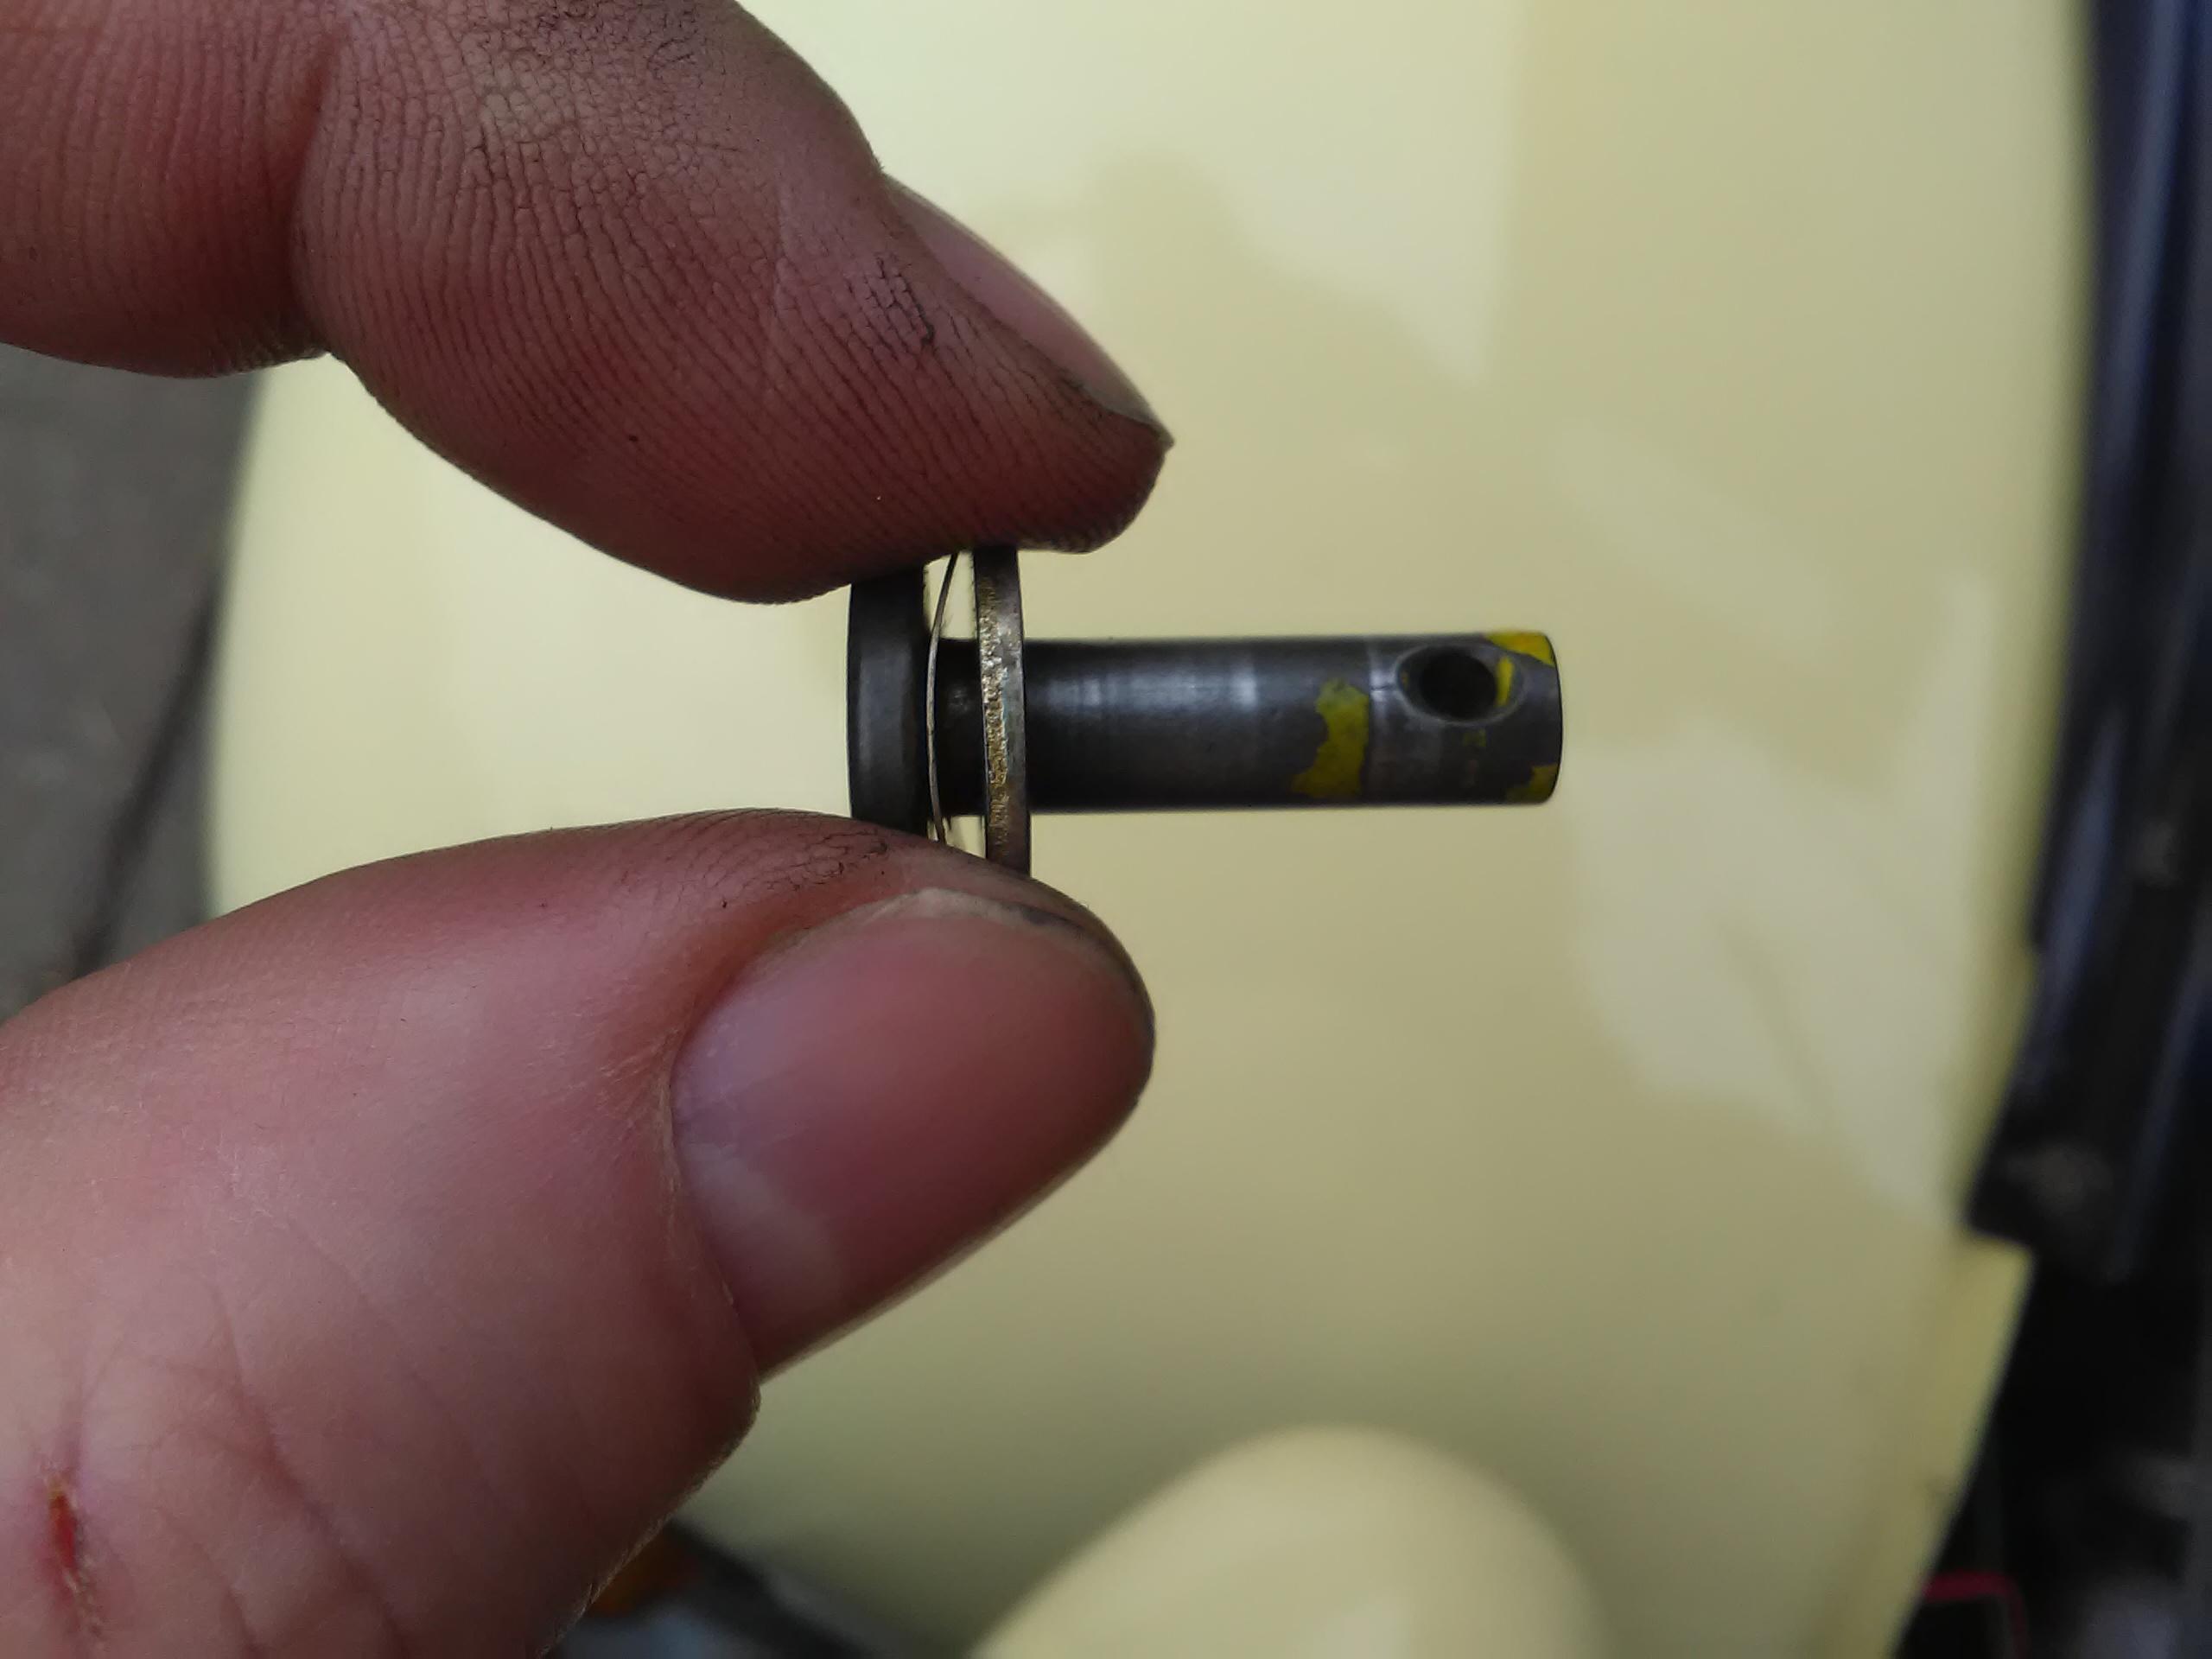
With these bolts removed the roof will now come completely off the car which makes the next stage easier. Working from the inside of the roof, the two end caps for the boot hinge are each held on by a pair of screws. These screws can suffer from bimetallic corrosion so be careful when removing them.
With the caps removed the hinge slides off the roof.
Refitting is essentially the reverse of removal with a few points to note.
It’s worth adding a bead of silicone grease into both channels of the boot hinge before putting it back onto the roof, it’s quite hard to get access to the boot channel when it’s back on the car.
The rear roof fixing has a plate for the parcel shelf and this acts as the nut for the fixing bolt.
When putting the roof back on don’t tighten these bolts at first, wait until the roof is fully fitted and the boot is back on and closed before fully tightening them as this makes sure everything is in the right place.
As the press-studs at the back need a hole in the vinyl it’s also a good idea to leave the roof for a few days to allow it to settle in before making final adjustments and re-fitting them to ensure you put the holes in the right place.
The engine breather exhaust tube runs from the oil filler to the air filter. Given it’s a rubber hose running near the exhaust manifold it’s hardly surprising it had started to perish after nearly 30 years.
A trip to a local Pirtek and for a few quid they supplied me with some 19mm ID hose that fits perfectly when trimmed to length.
Being pressure hose this is thicker walled than the standard hose (which doesn’t have to handle any pressure) but I think works better when fitted.
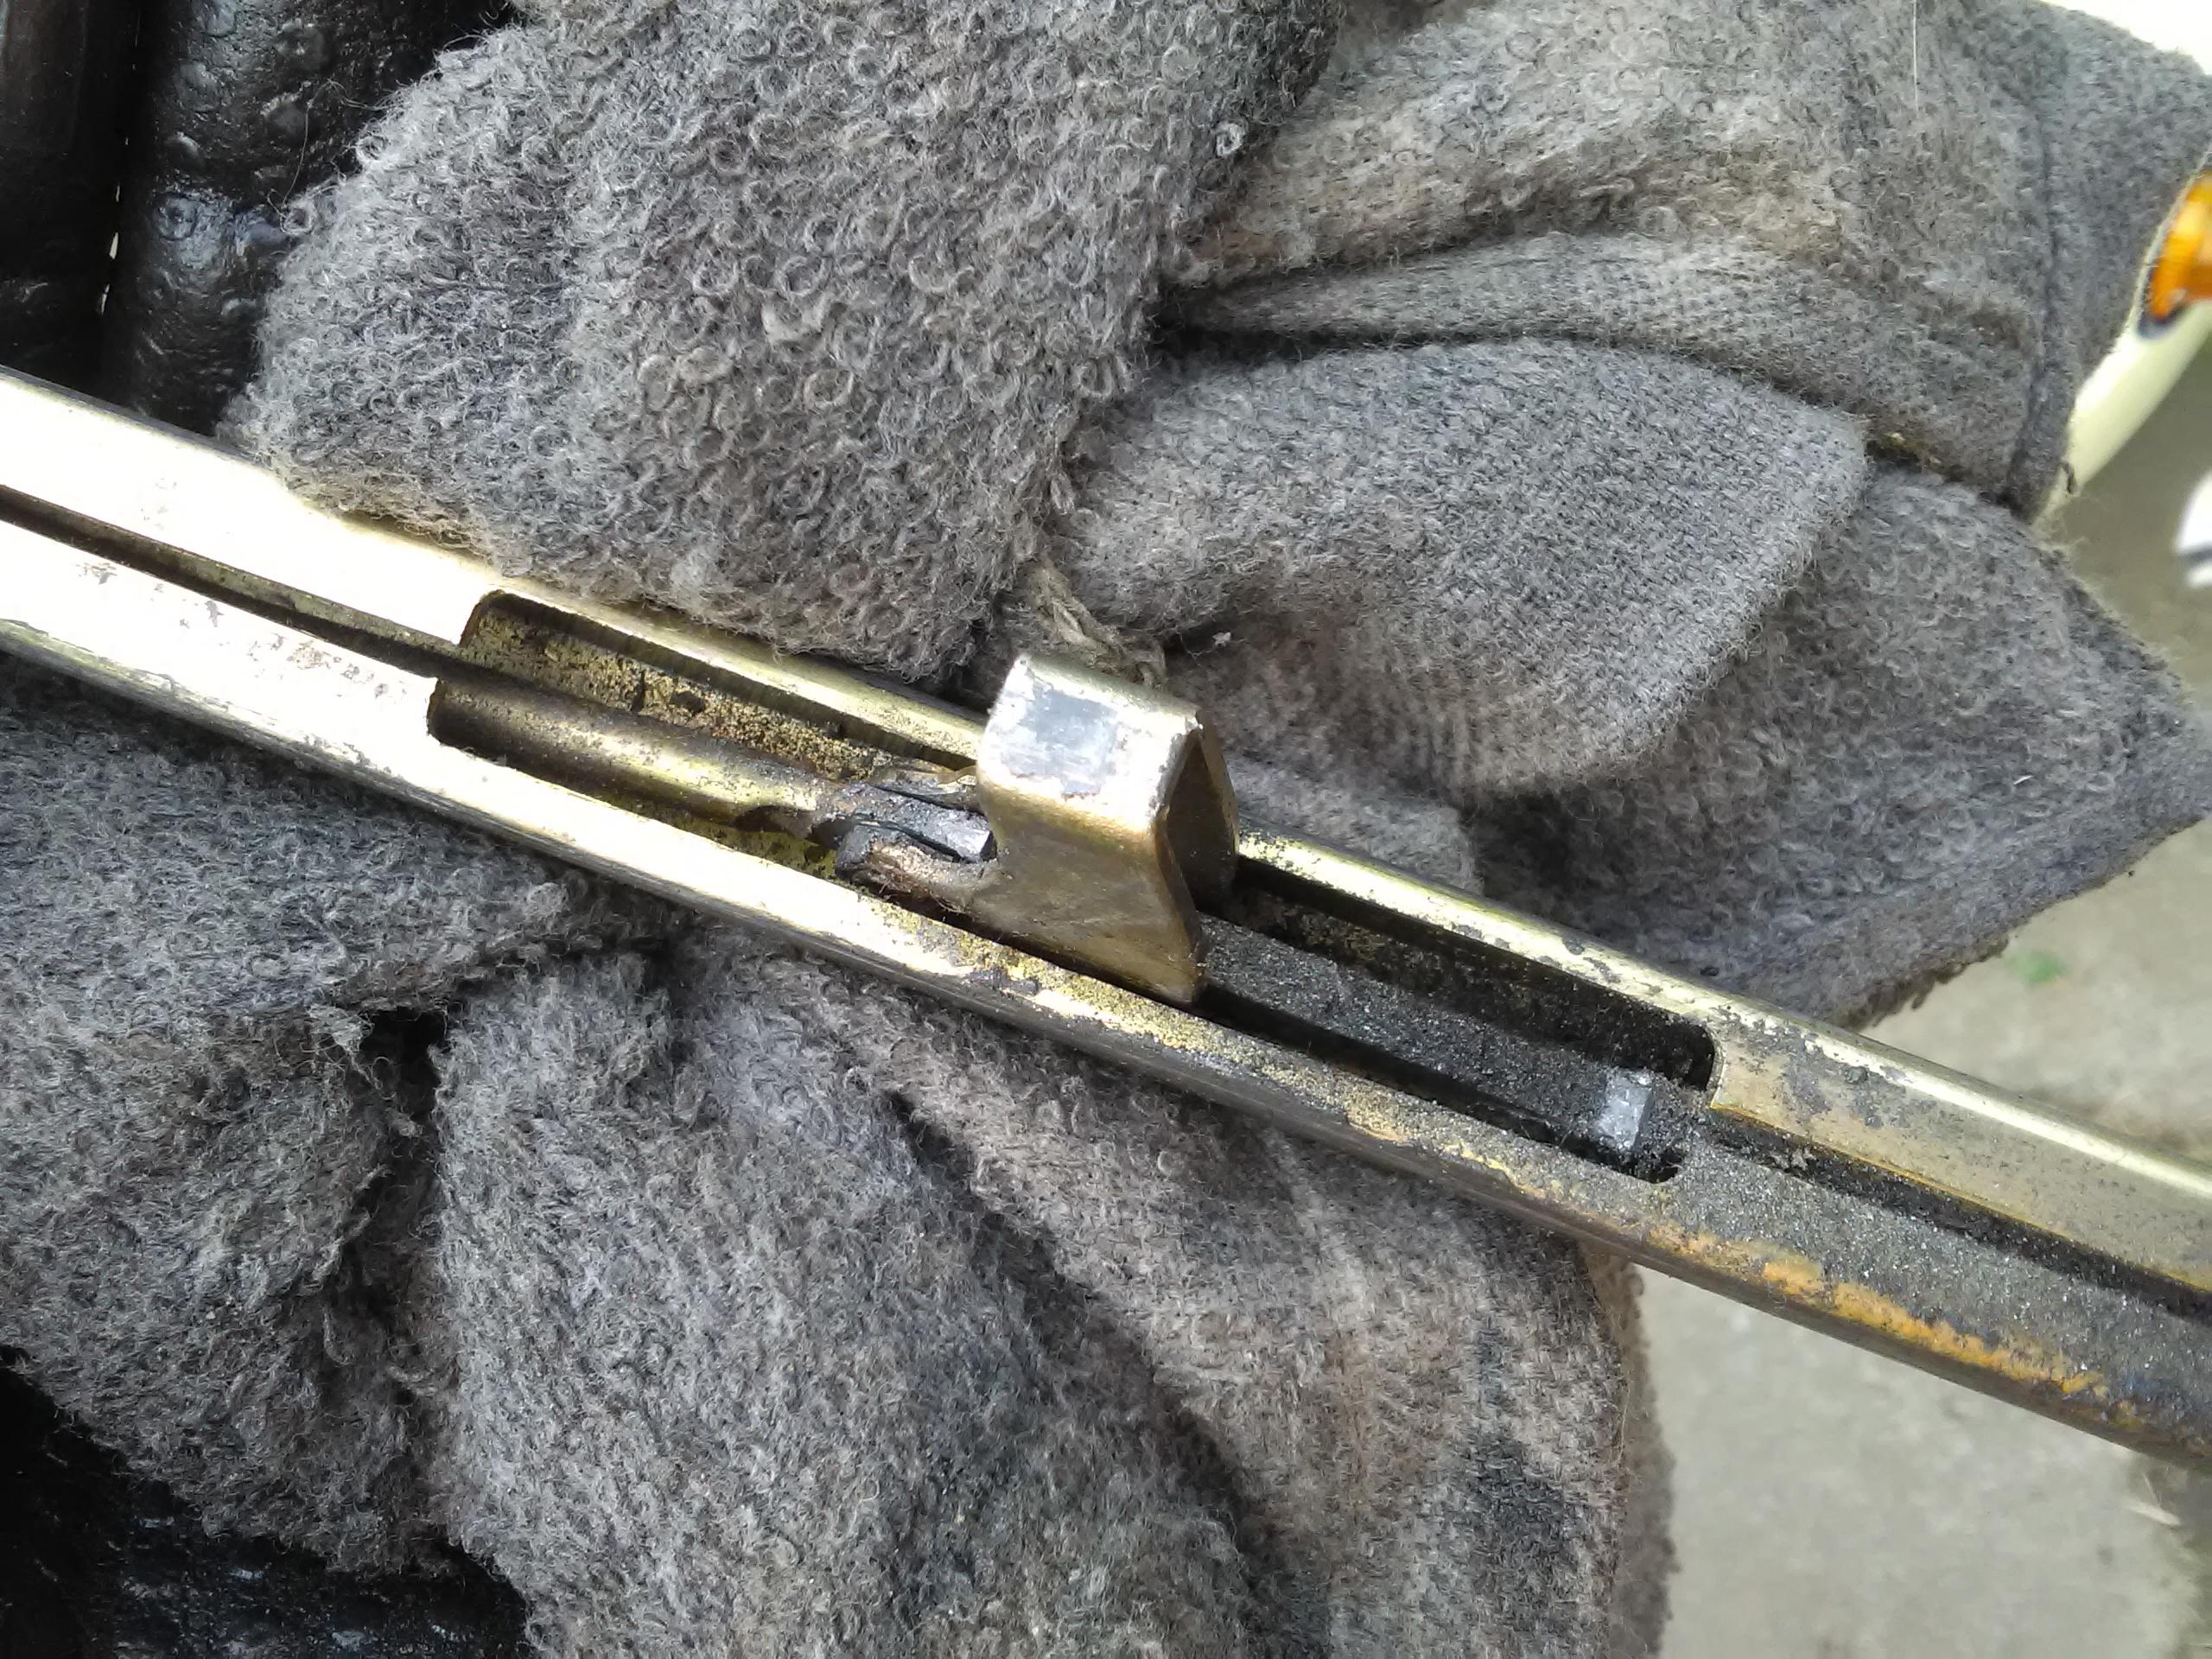
The handbrake linkages probably hadn’t been disturbed since they left the factory and were predictably grimy and the grease was quite thick, almost waxy.
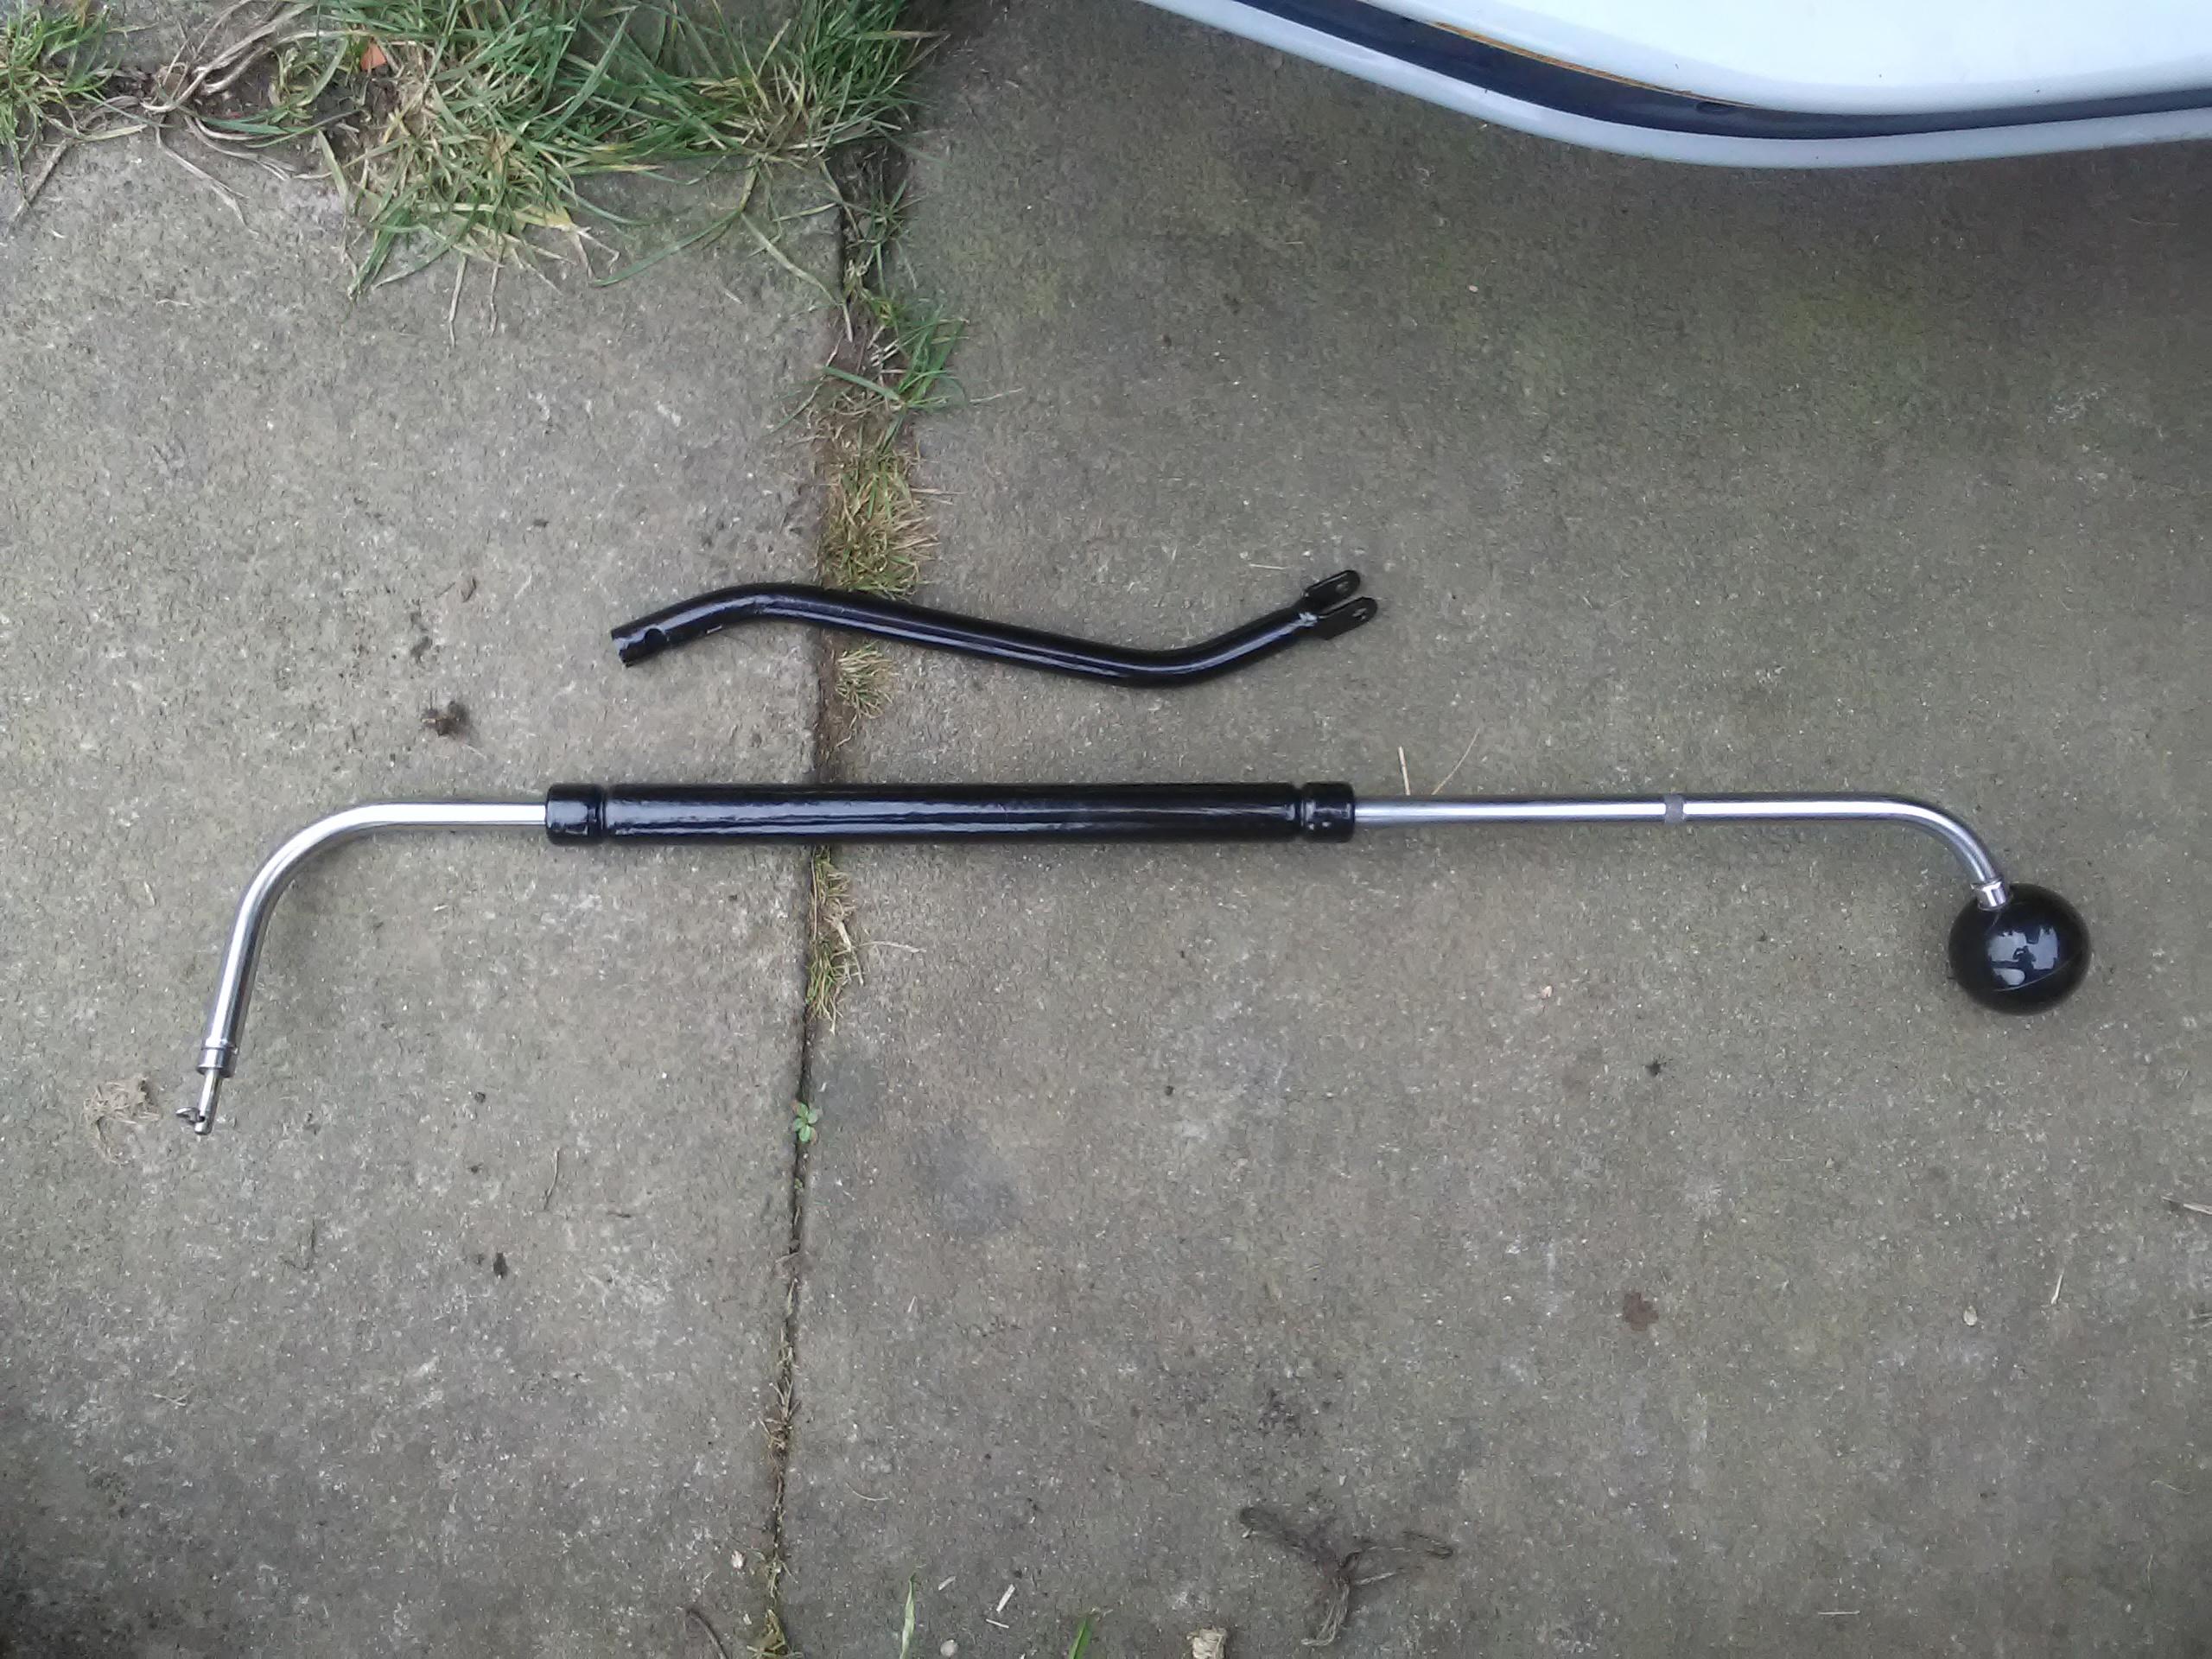
Taking the handbrake out is fairly simple in theory – undo two spring clips, take out the pins they were retaining, remove the intermediate linkage and then withdraw the handle linkage through the bulkhead from inside the car.
There are two things that can make the last stage difficult. Firstly, and most obviously, the handbrake catch needs to clear all the obstacles in it’s path. Pushing the button in is enough to achieve the majority of this.
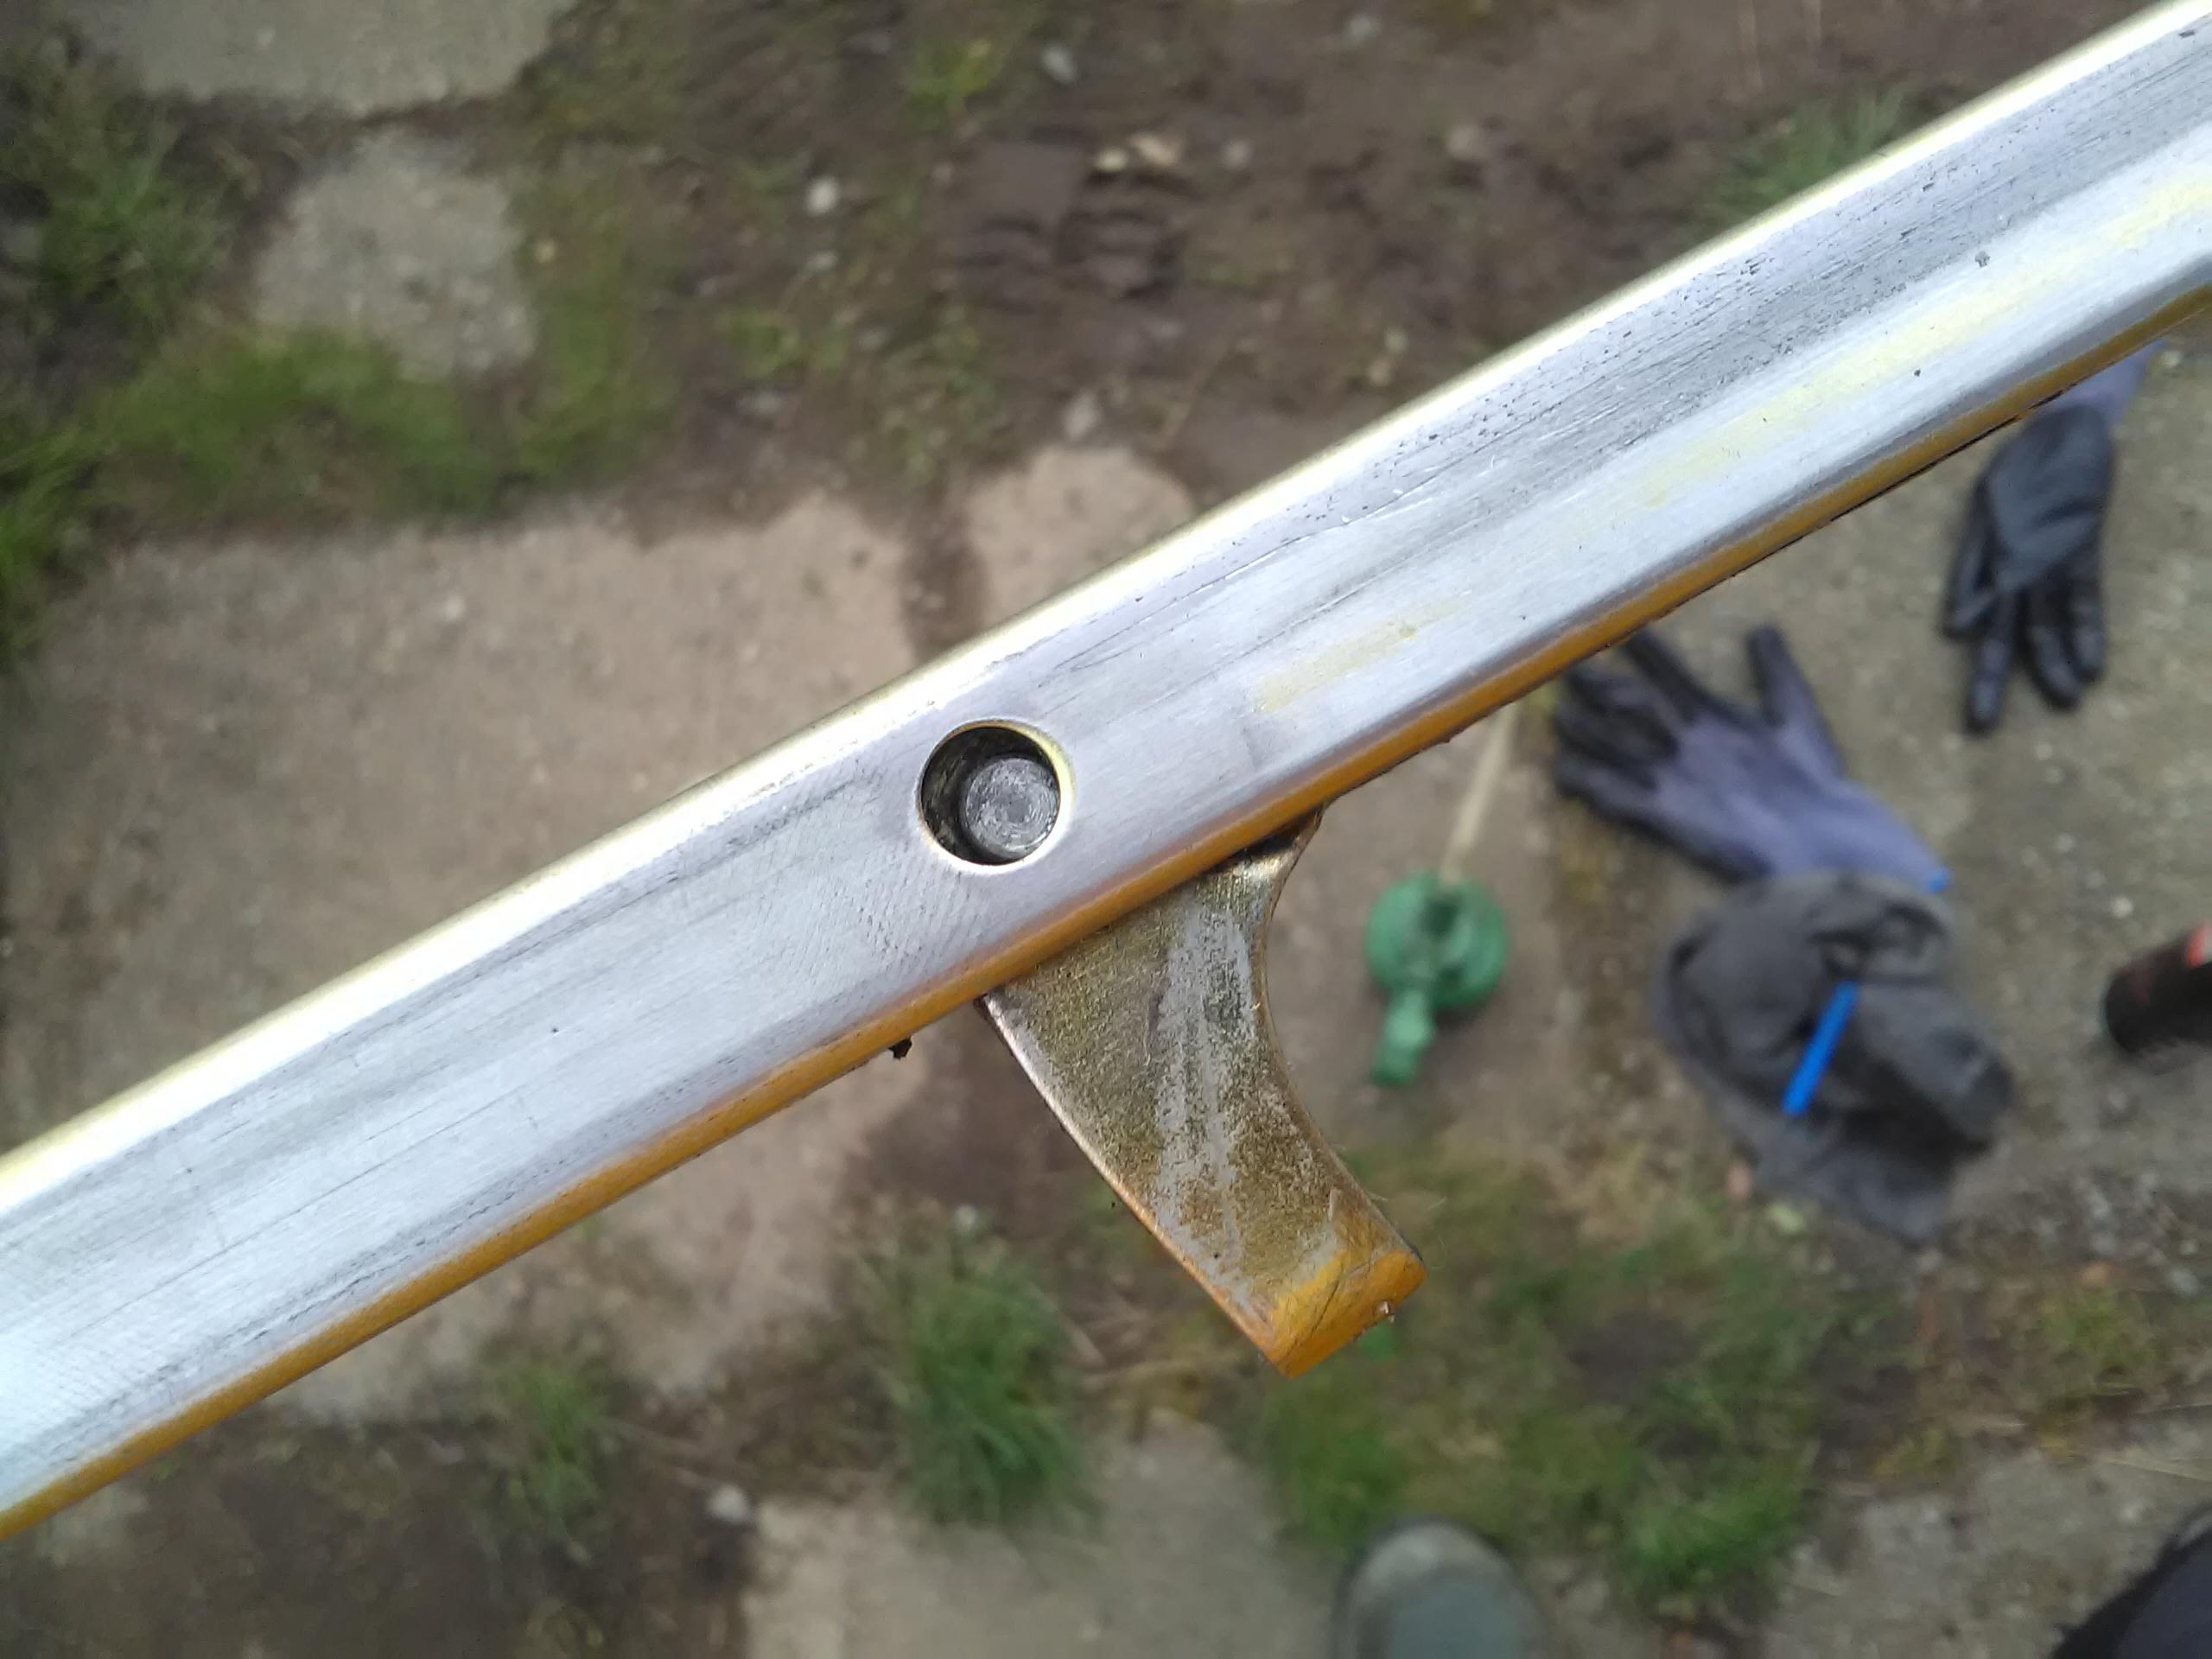
Less obvious is the end stop. This is normally held apart by the intermediate linkage and prevents the handle linkage withdrawing too far. To remove the handle linkage these need to be closed up whilst coaxing them through the various brackets under the dash.
With the handle withdrawn cleaning and re-greasing is easy and refitting is, famously, the reverse of removal.
Of note is a hole in the side of the handle linkage, it looks like this can be used to access the pivot pin of the catch but I’ve not examined this in detail.
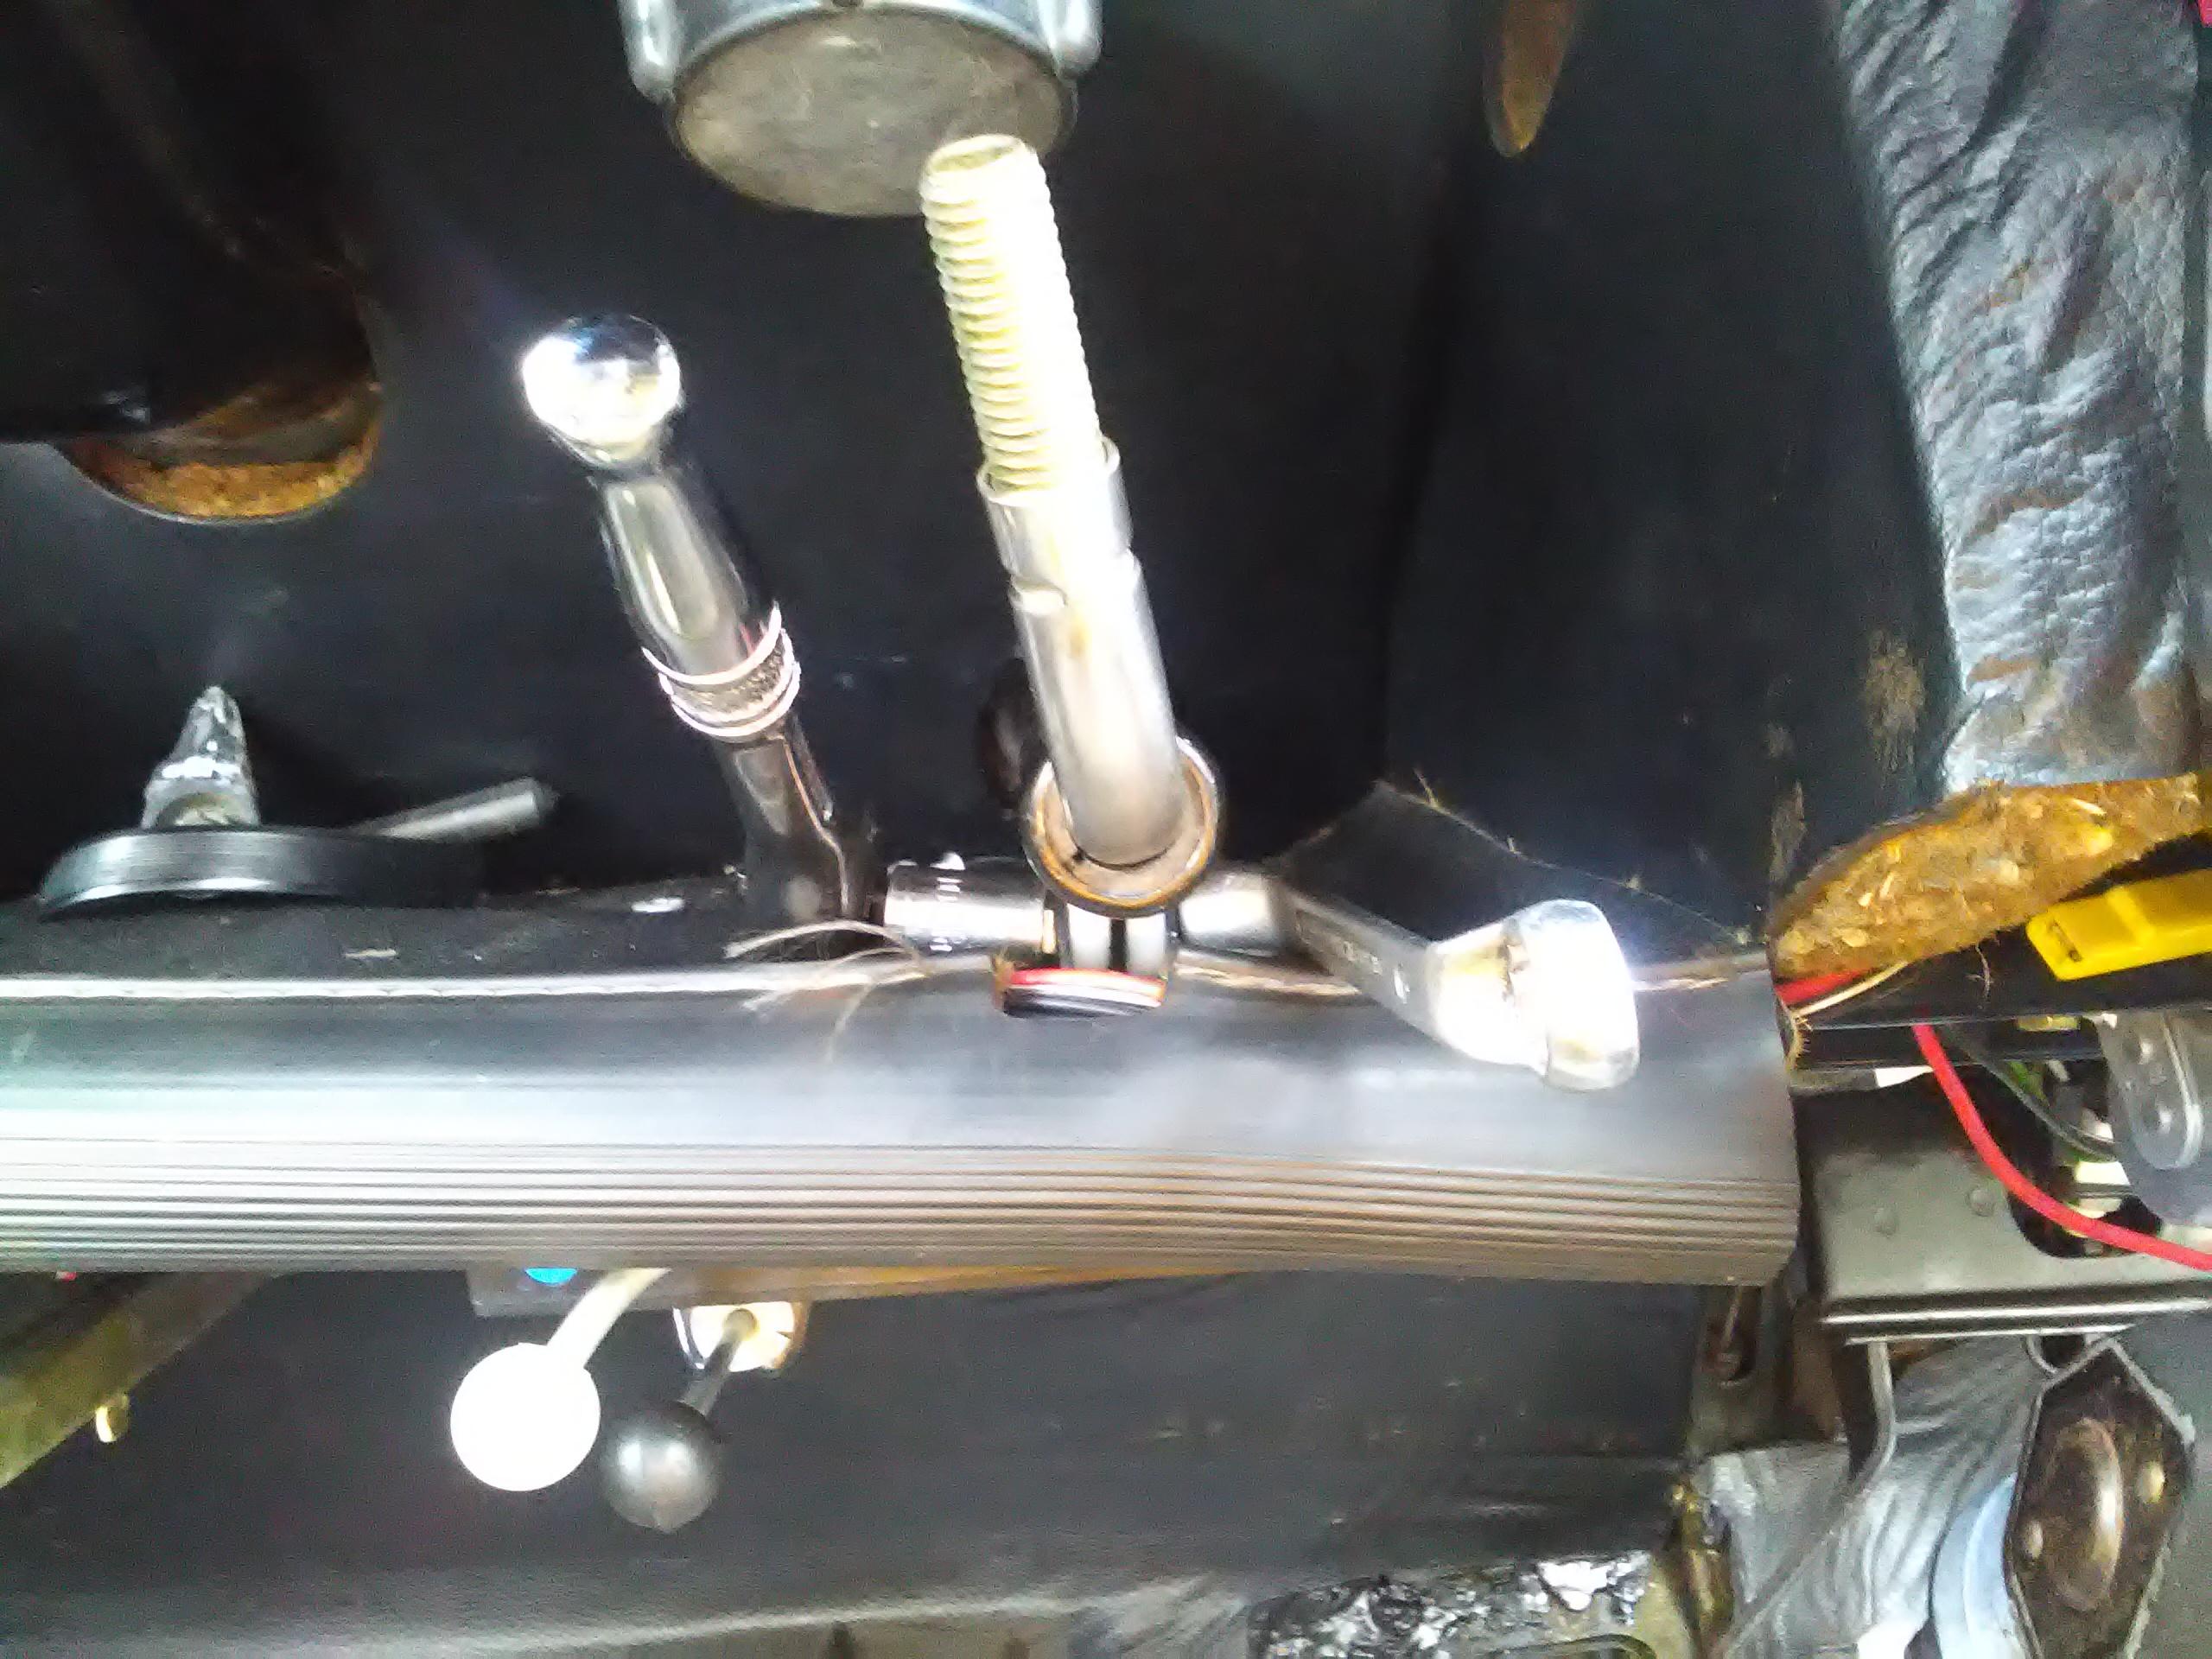
Similarly to the airbox supports the gear change parts needed reconditioning.
The gear lever’s powder coating had faired much better than the airbox support with only a couple of areas having been worn away and minimal surface rust on the exposed metal. A quick clean with emery cloth and treatment with k-rust was all that was required before a coat of Hammerite.
The gear change slide didn’t look as bad but once I started cleaning up the small areas of surface rust the paint started coming away like dust – Citroen might as well have used thinned down blackboard paint on it originally!
It didn’t take too long to get it back to bare metal but that did mean it would need two coats of paint. The first went on fine and was left to dry over night. The second coat caused me a lot of trouble, as it started to dry it was forming a mottled surface so I tried remedial action with thinners and fresh paint. This did eventually form a decent finish when it dried but I’m not entirely happy with it so will look at re-doing this at a later date.
Re-fitting the slide tube into the dash is a bit tricky. It has to be presented from inside the car through the bulkhead – even though it doesn’t seem like the upturned end of the actuator will fit through the grommet. The slide is secured to the dash between two thick nylon washers that sit inside the metal mounts. It’s secured with a 10mm nut and bolt which are tricky to get tools onto as the dash covering doesn’t leave much space round them.
When I replaced the linkage that joins the two parts of the gear change I said to pay attention to the order of the washers but didn’t say what that was. For the avoidance of doubt, the thick washer goes next to the gear change lever on the horizontal pin and next to the rubber bush on the vertical pin.