


Eventually got my re-profiled cam shaft back from Kent Cams.
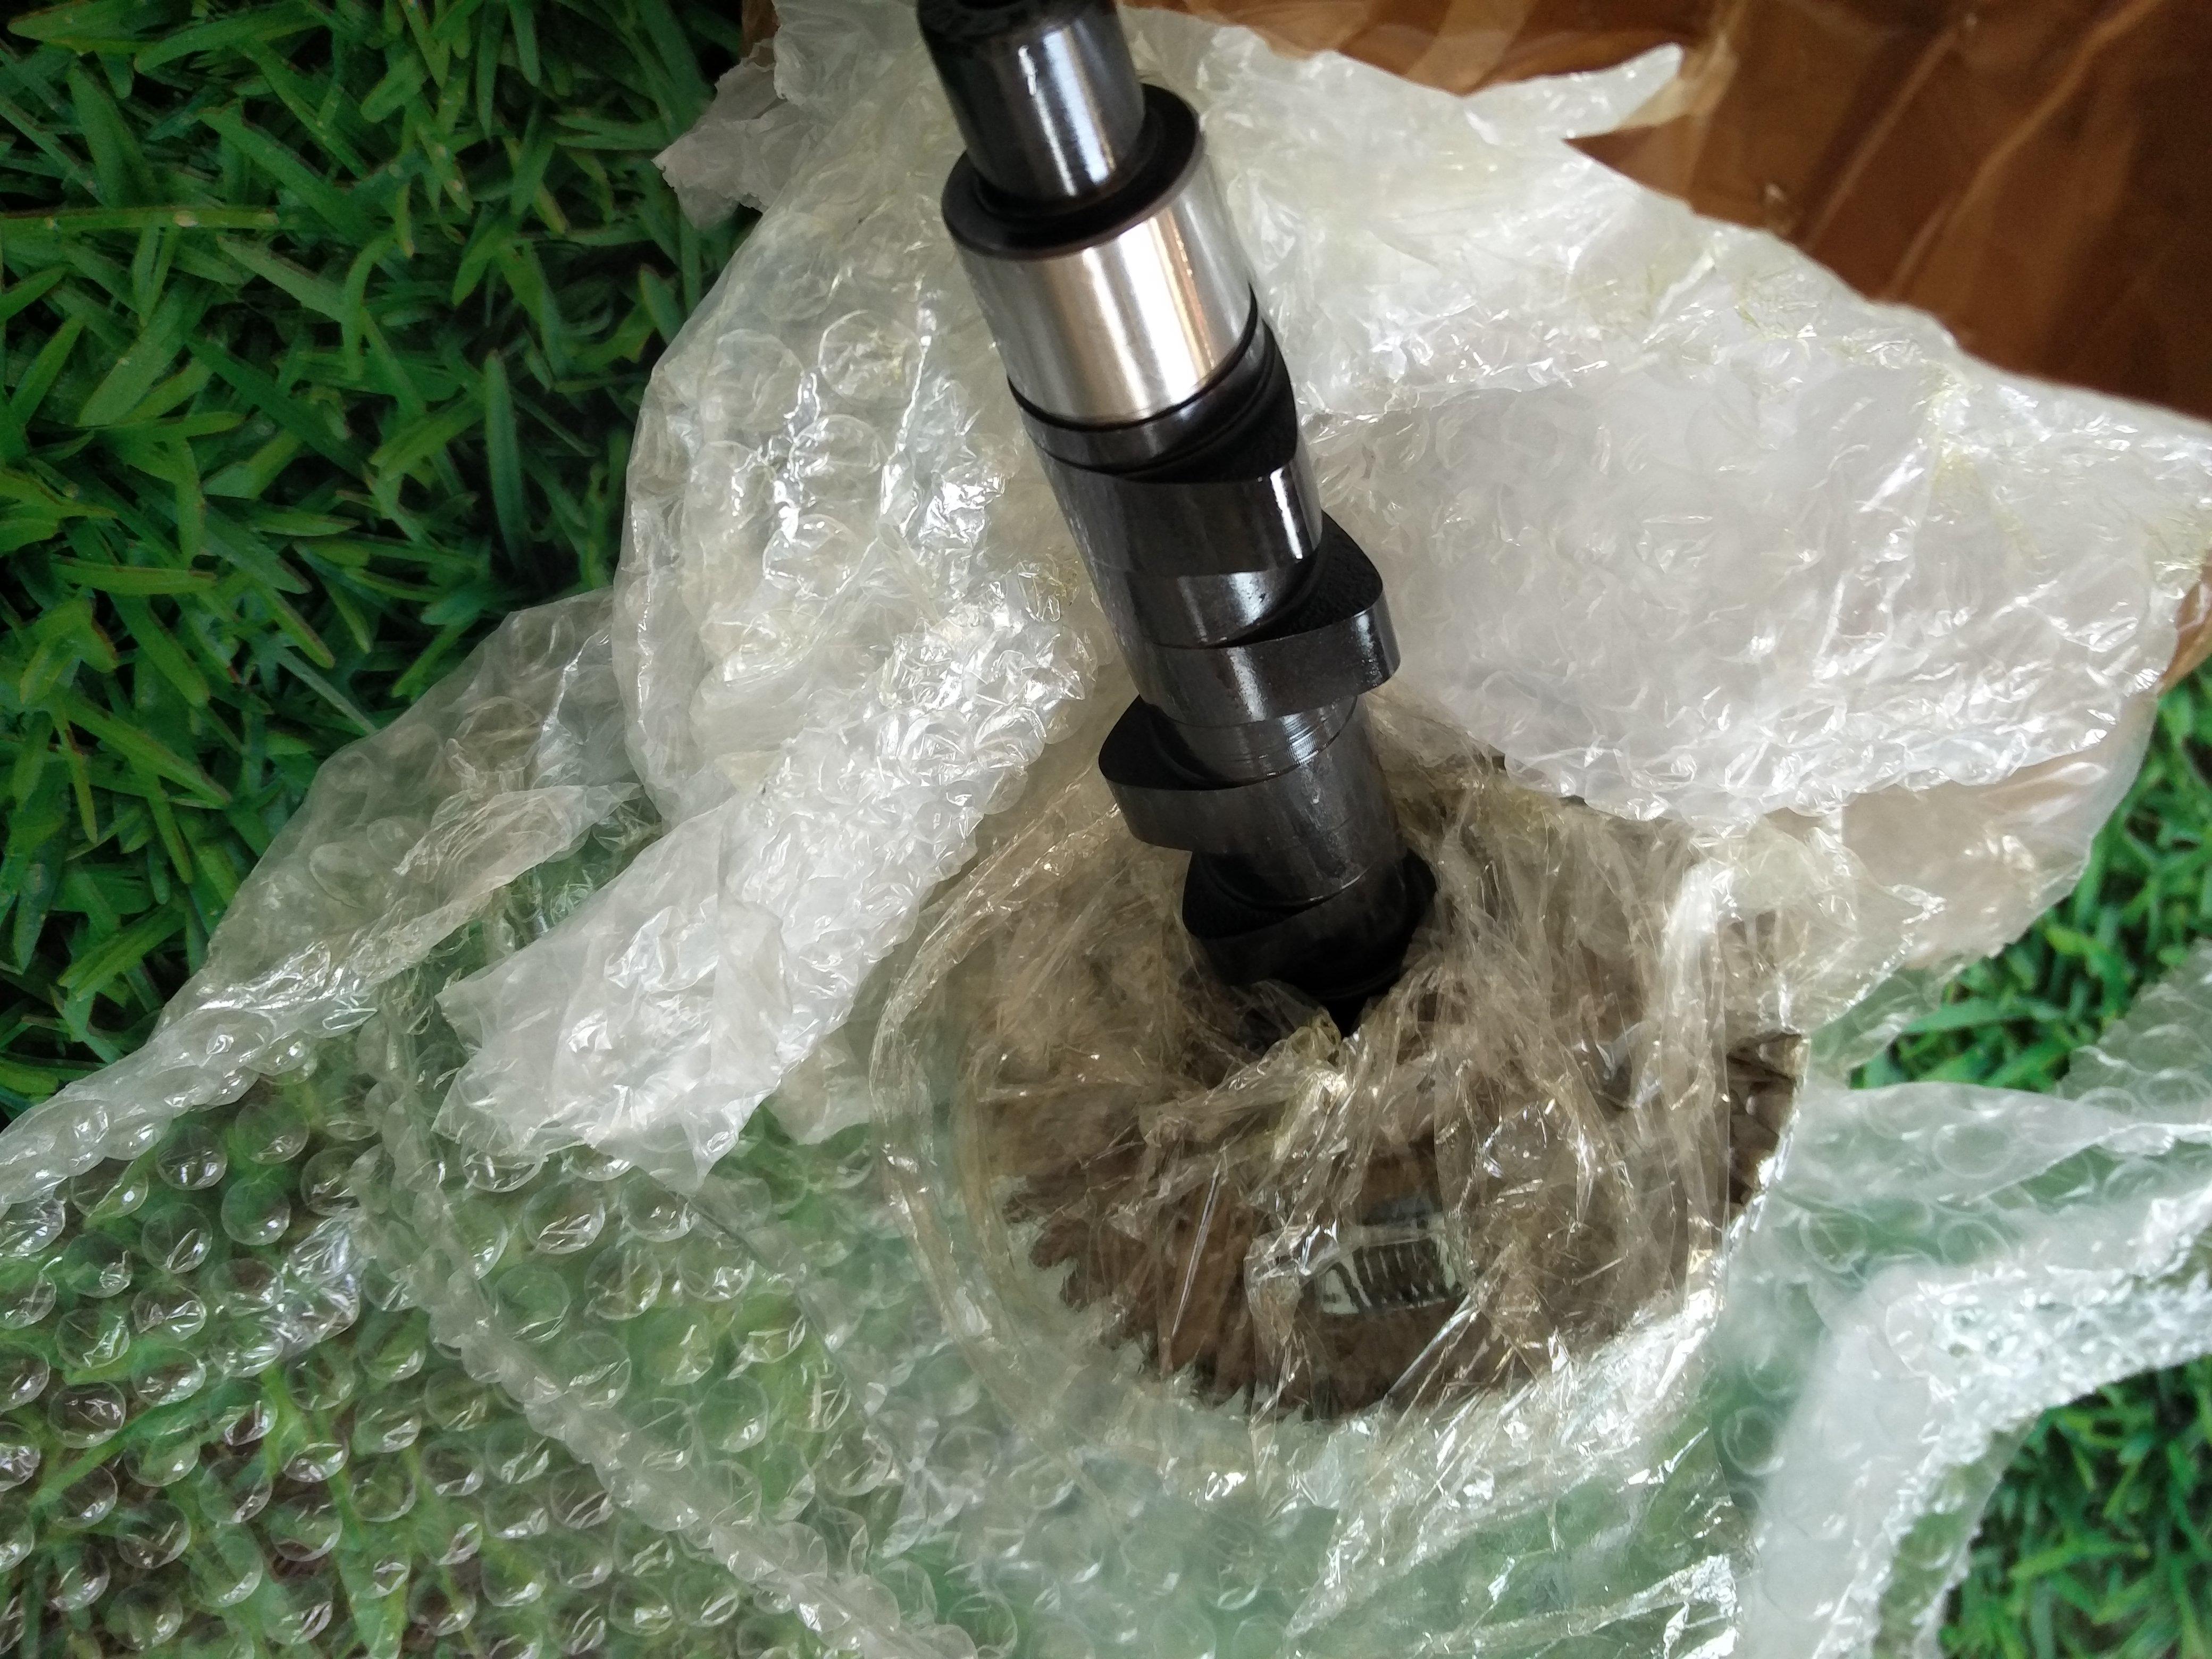
This has been holding up the rebuild for two months so hopefully I’ll be able to find time to make some progress now.
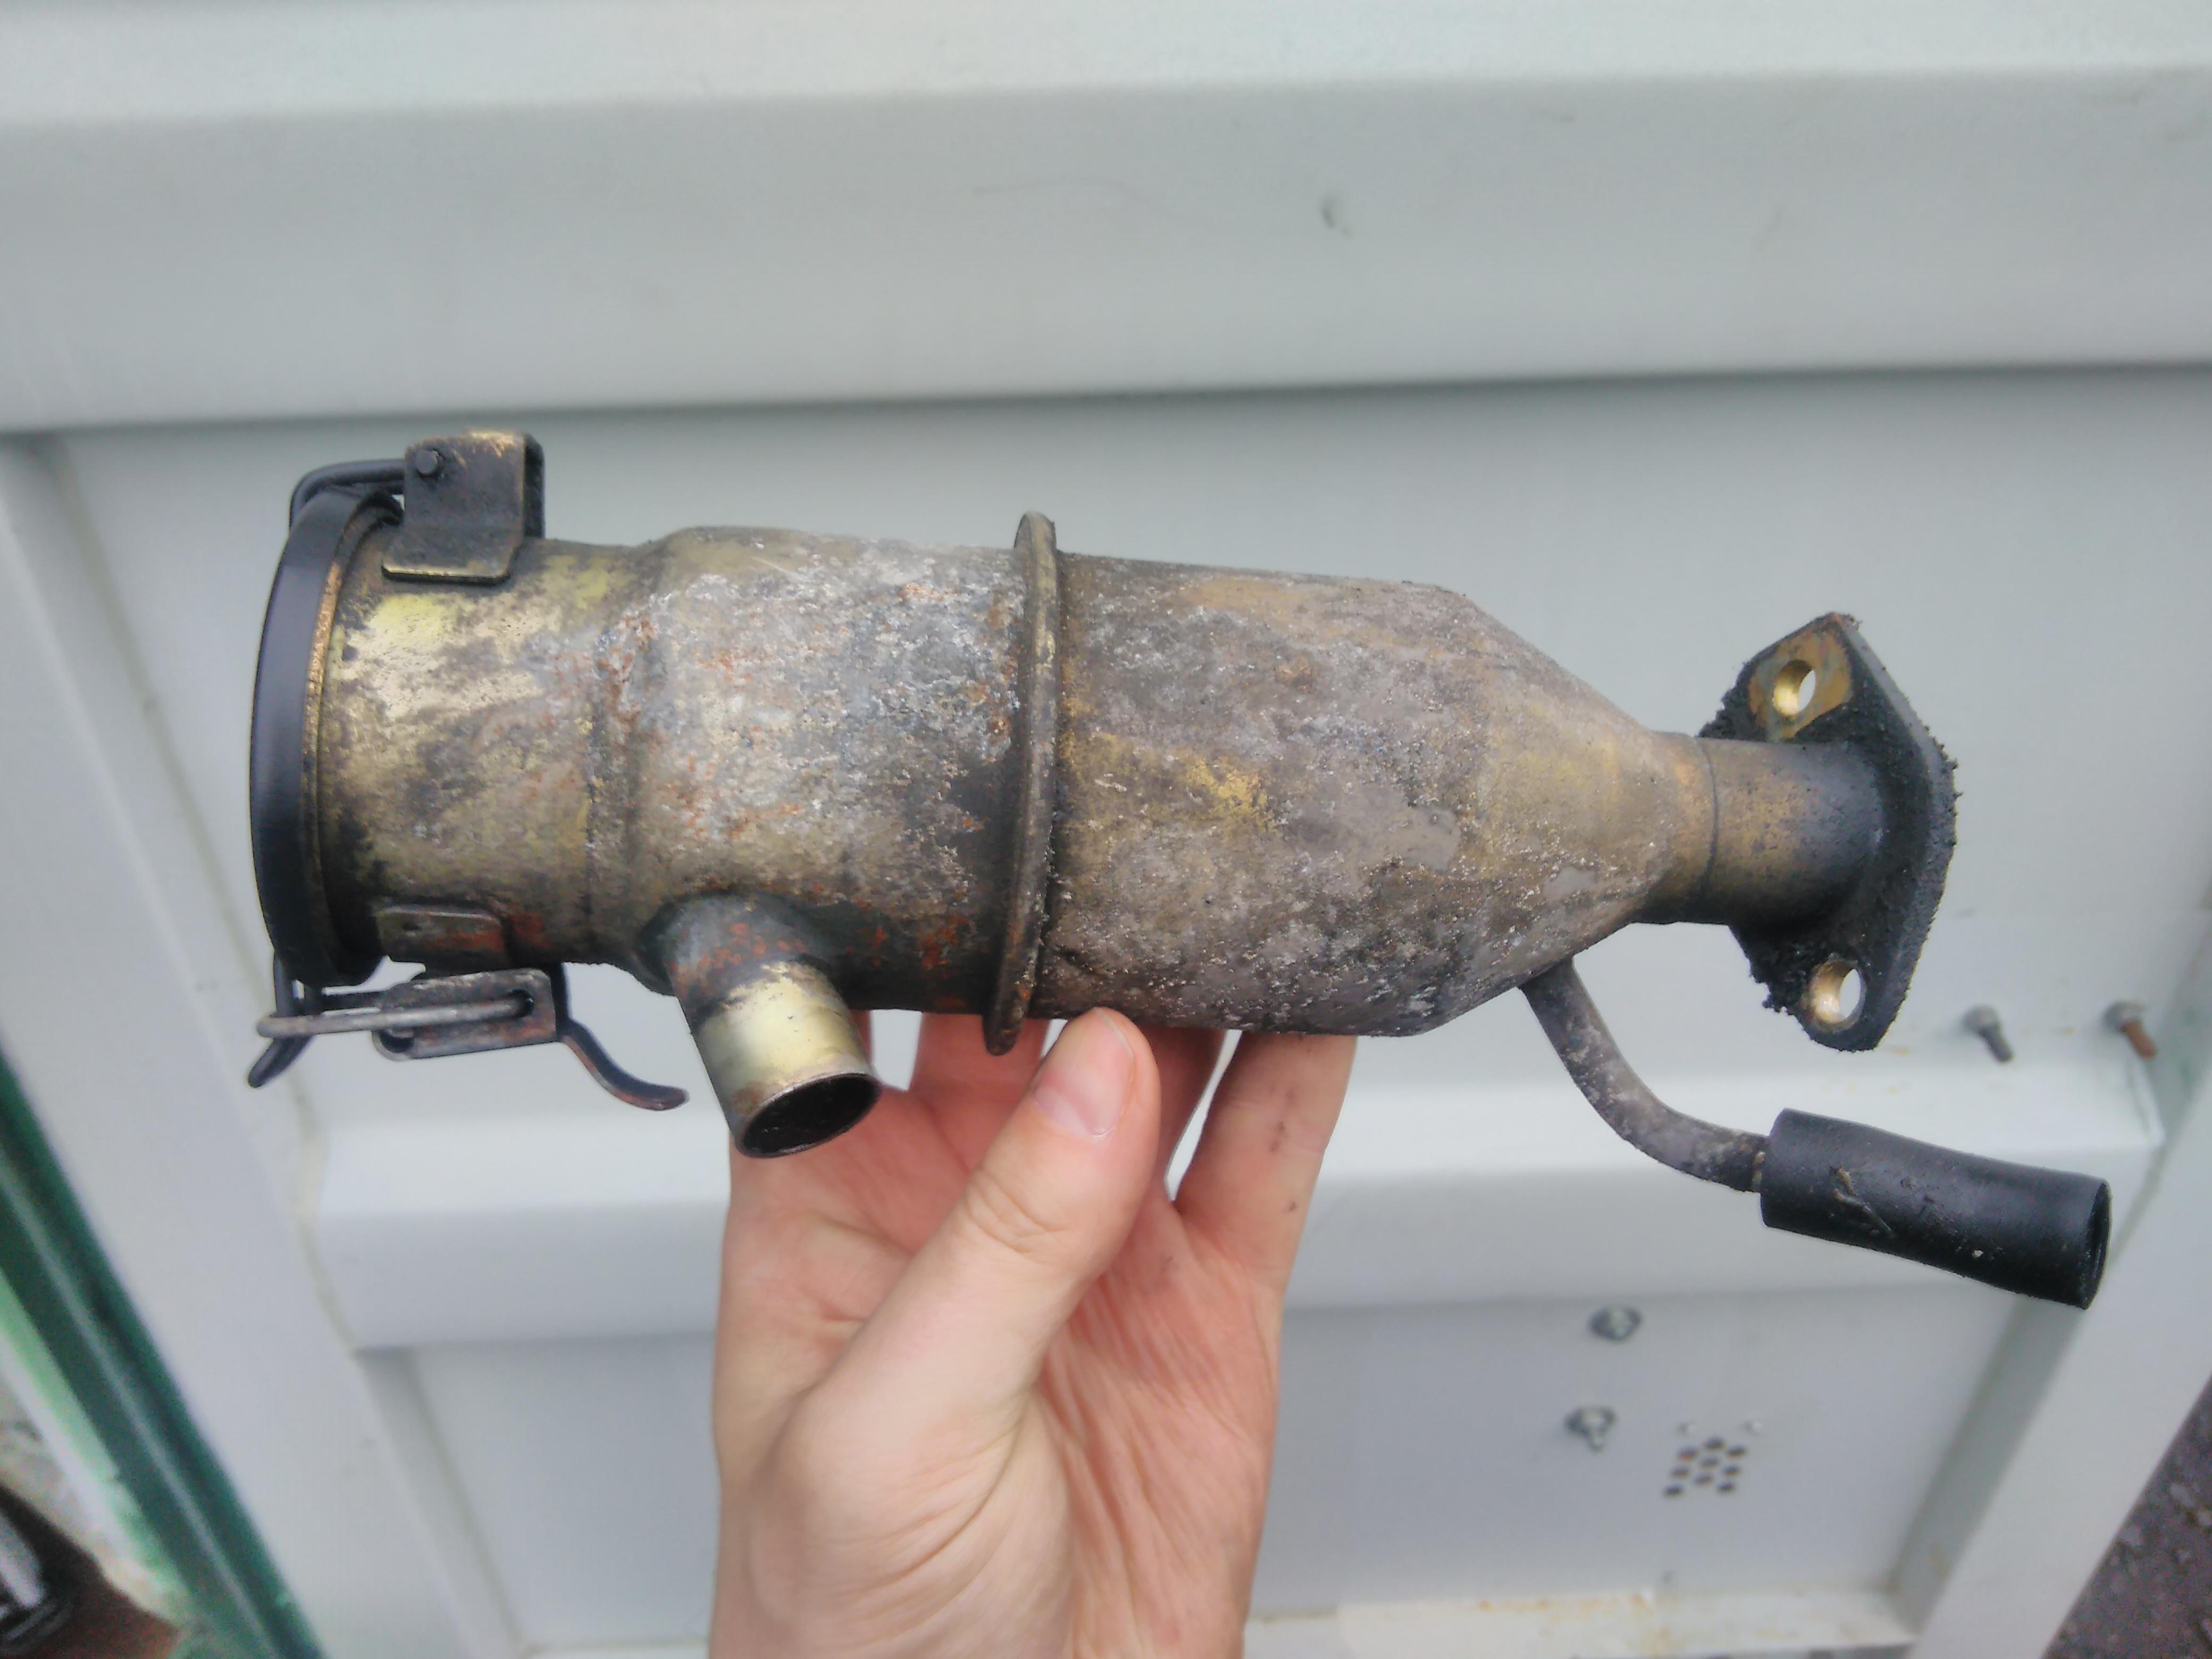
Nothing to see here.
Eventually got my re-profiled cam shaft back from Kent Cams.
This has been holding up the rebuild for two months so hopefully I’ll be able to find time to make some progress now.

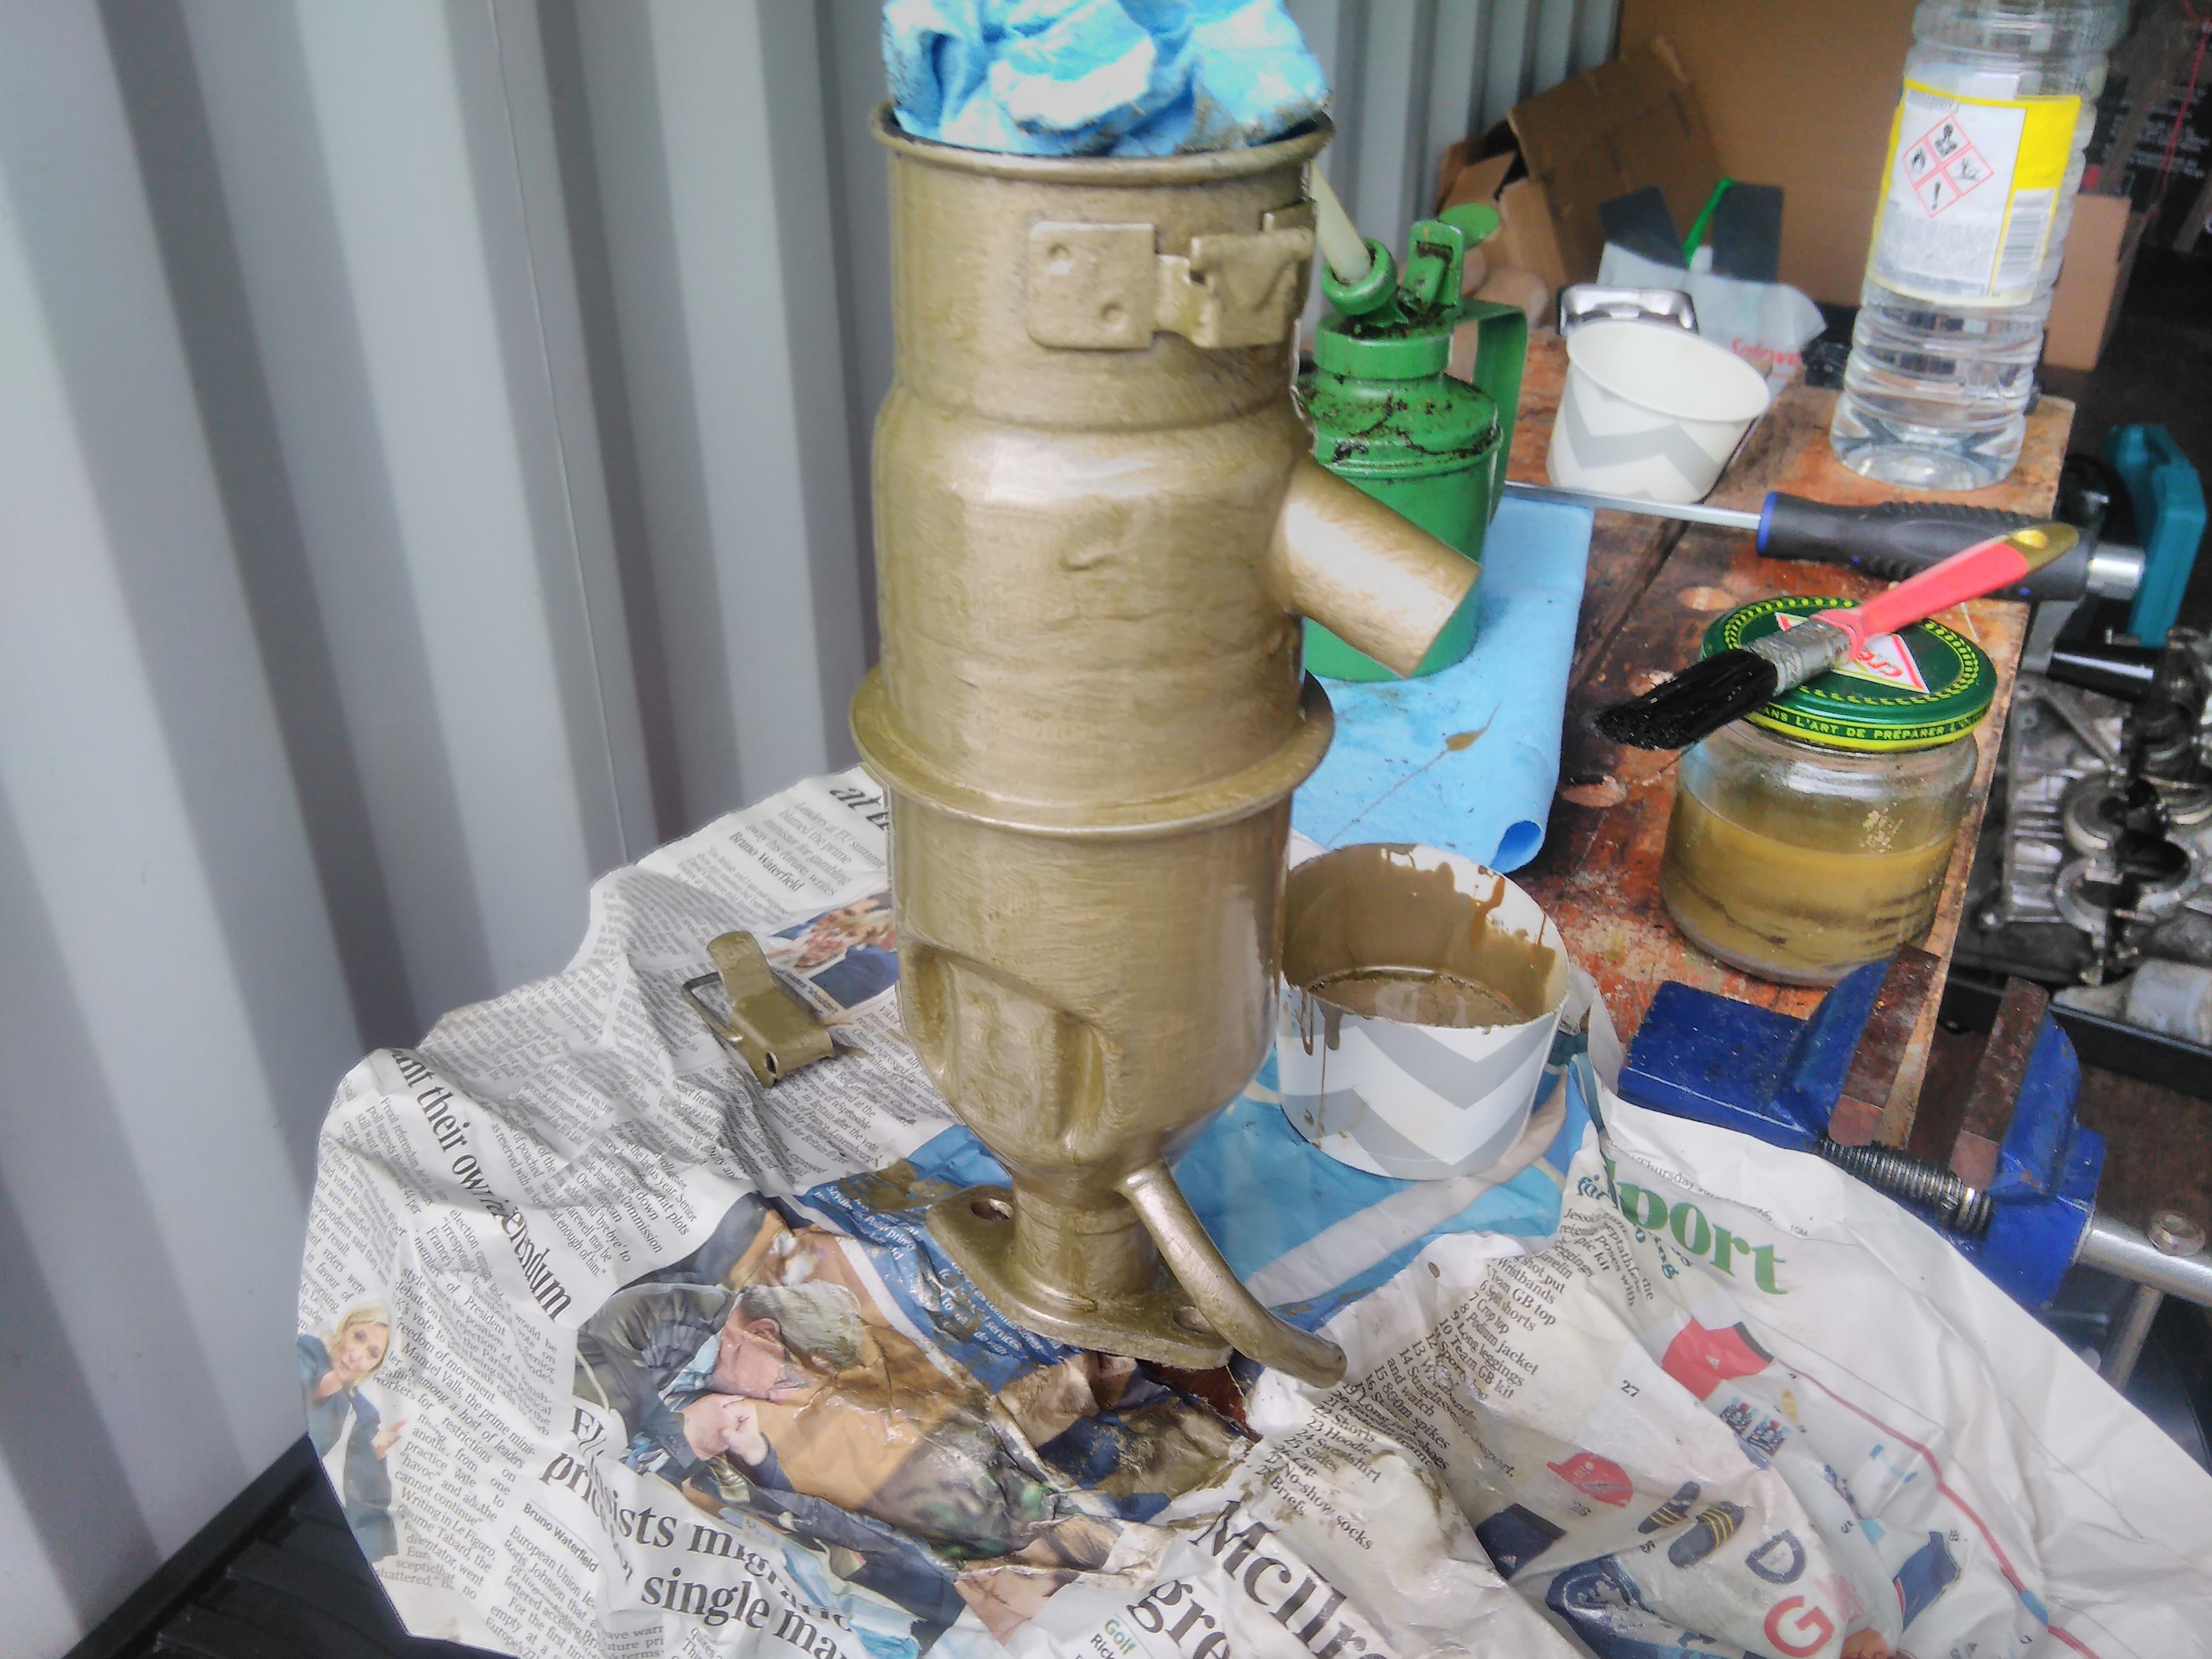
After finding out that my engine breather didn’t need replacing it was worth refurbishing it as it had got a bit tatty over the years, the surface treatment having worn off and rust had developed under a layer of grime.

After a thorough clean up, first with degreaser and then abrasives a treatment with rust remedy had it ready for a protective coat of paint.
The choice of paint was a tricky one, originally it was a coppery gold colour but redoing it in that colour would have looked a bit too gaudy in a 30 year old engine bay so I ended up mixing copper and silver Hammerite to achieve a colour I was happy with.
There’s an oil return from the breather to the crank case at the bottom of the breather, this is connected to the dip stick tube via a short length of 8mm ID rubber hose. As the original hose was by now very stiff a trip to the local Piriteck secured some new hose.
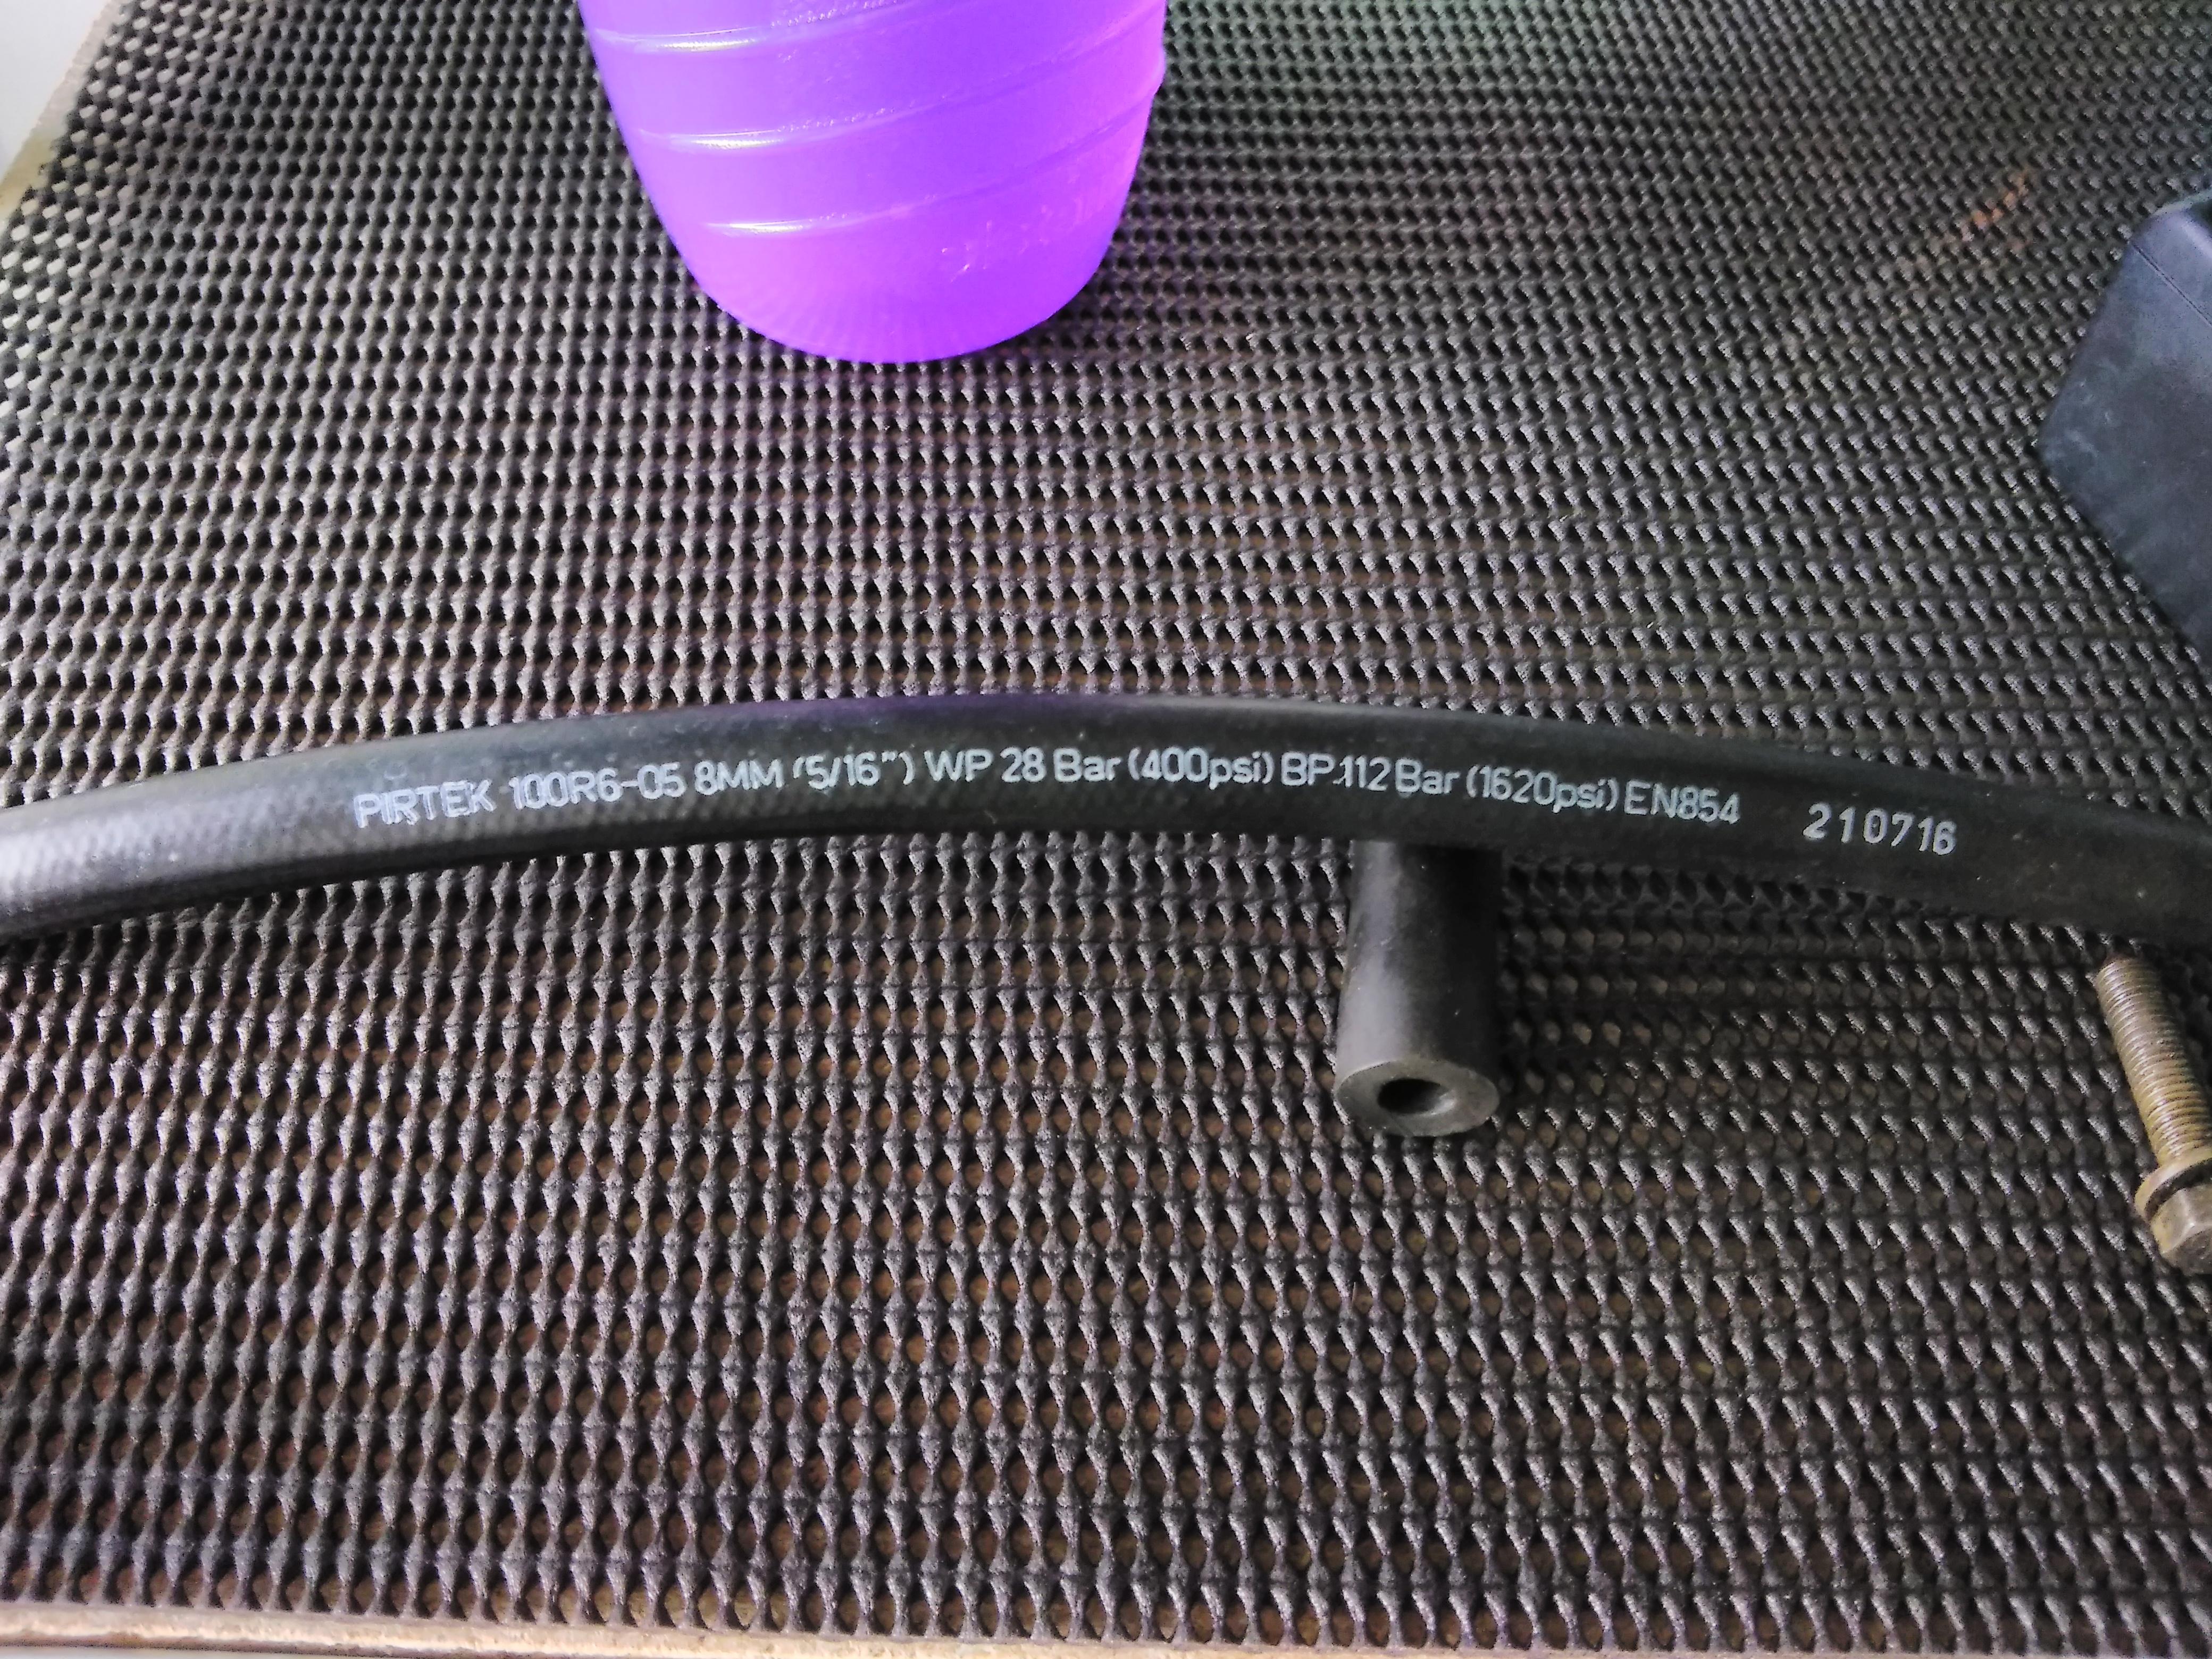
The new hose isn’t as thick as the old hose but it’s reinforced and rated for oil so should be good.
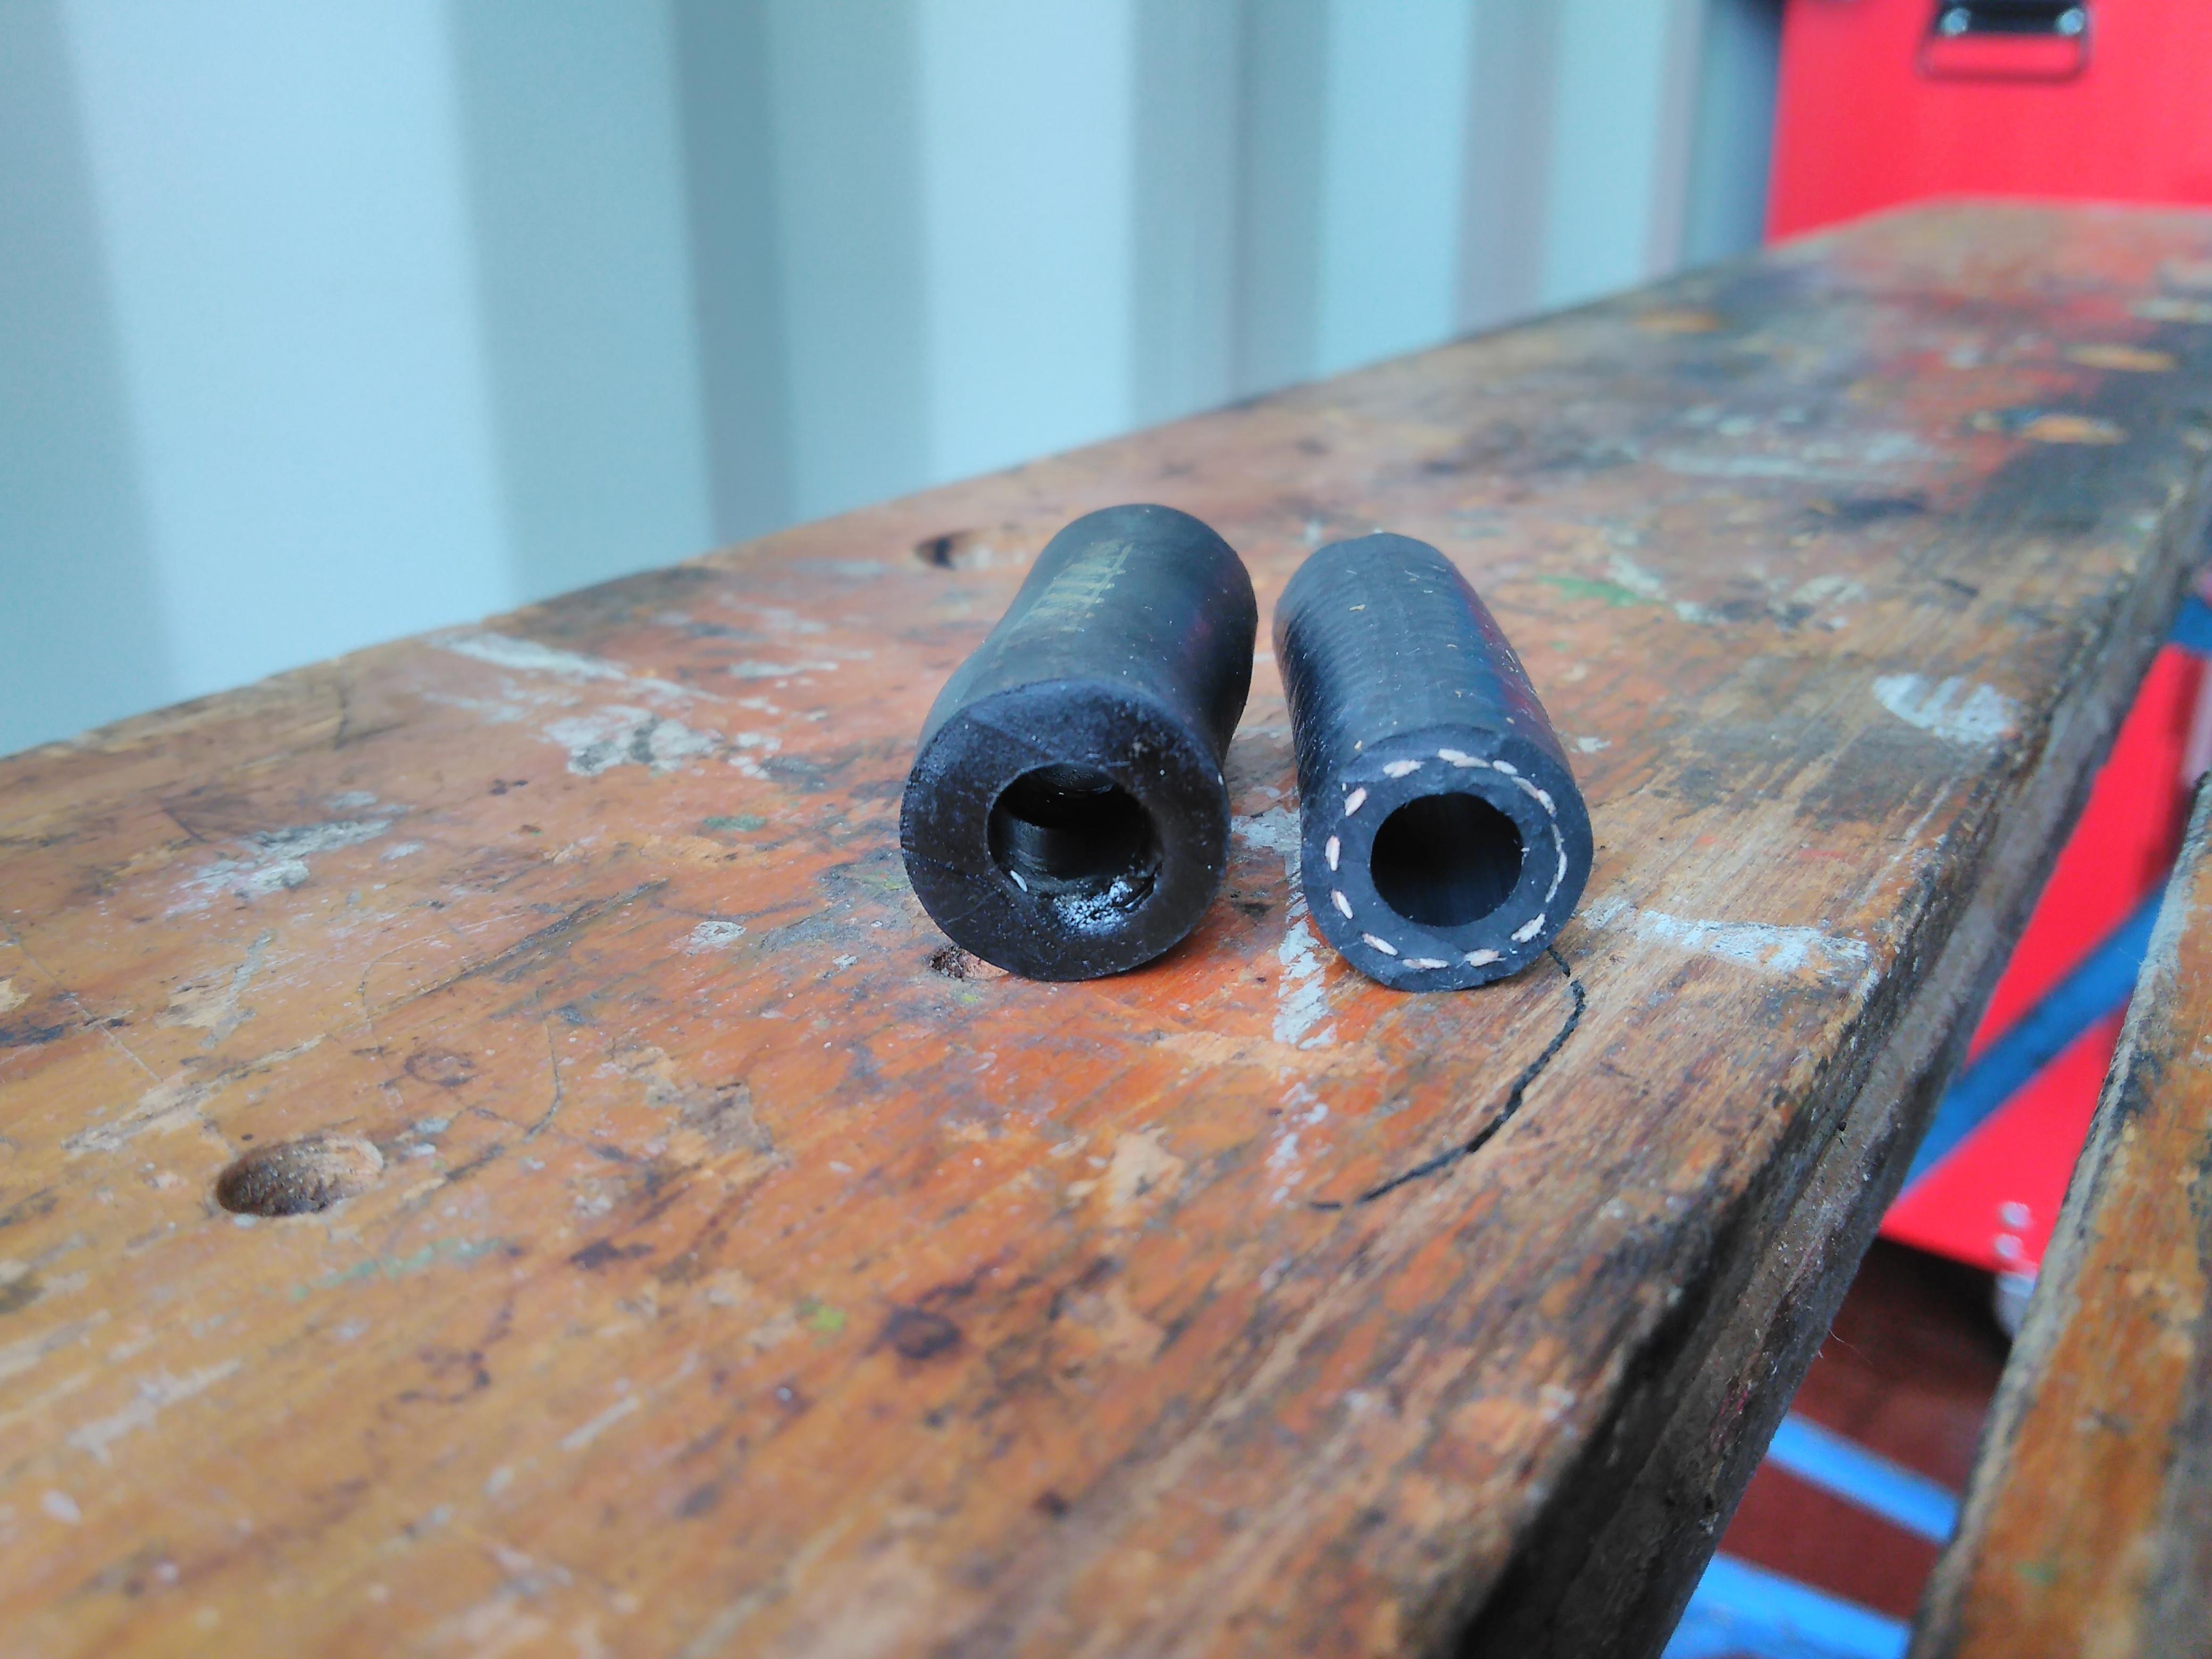
Cut to the same length as the old one it was 42mm.

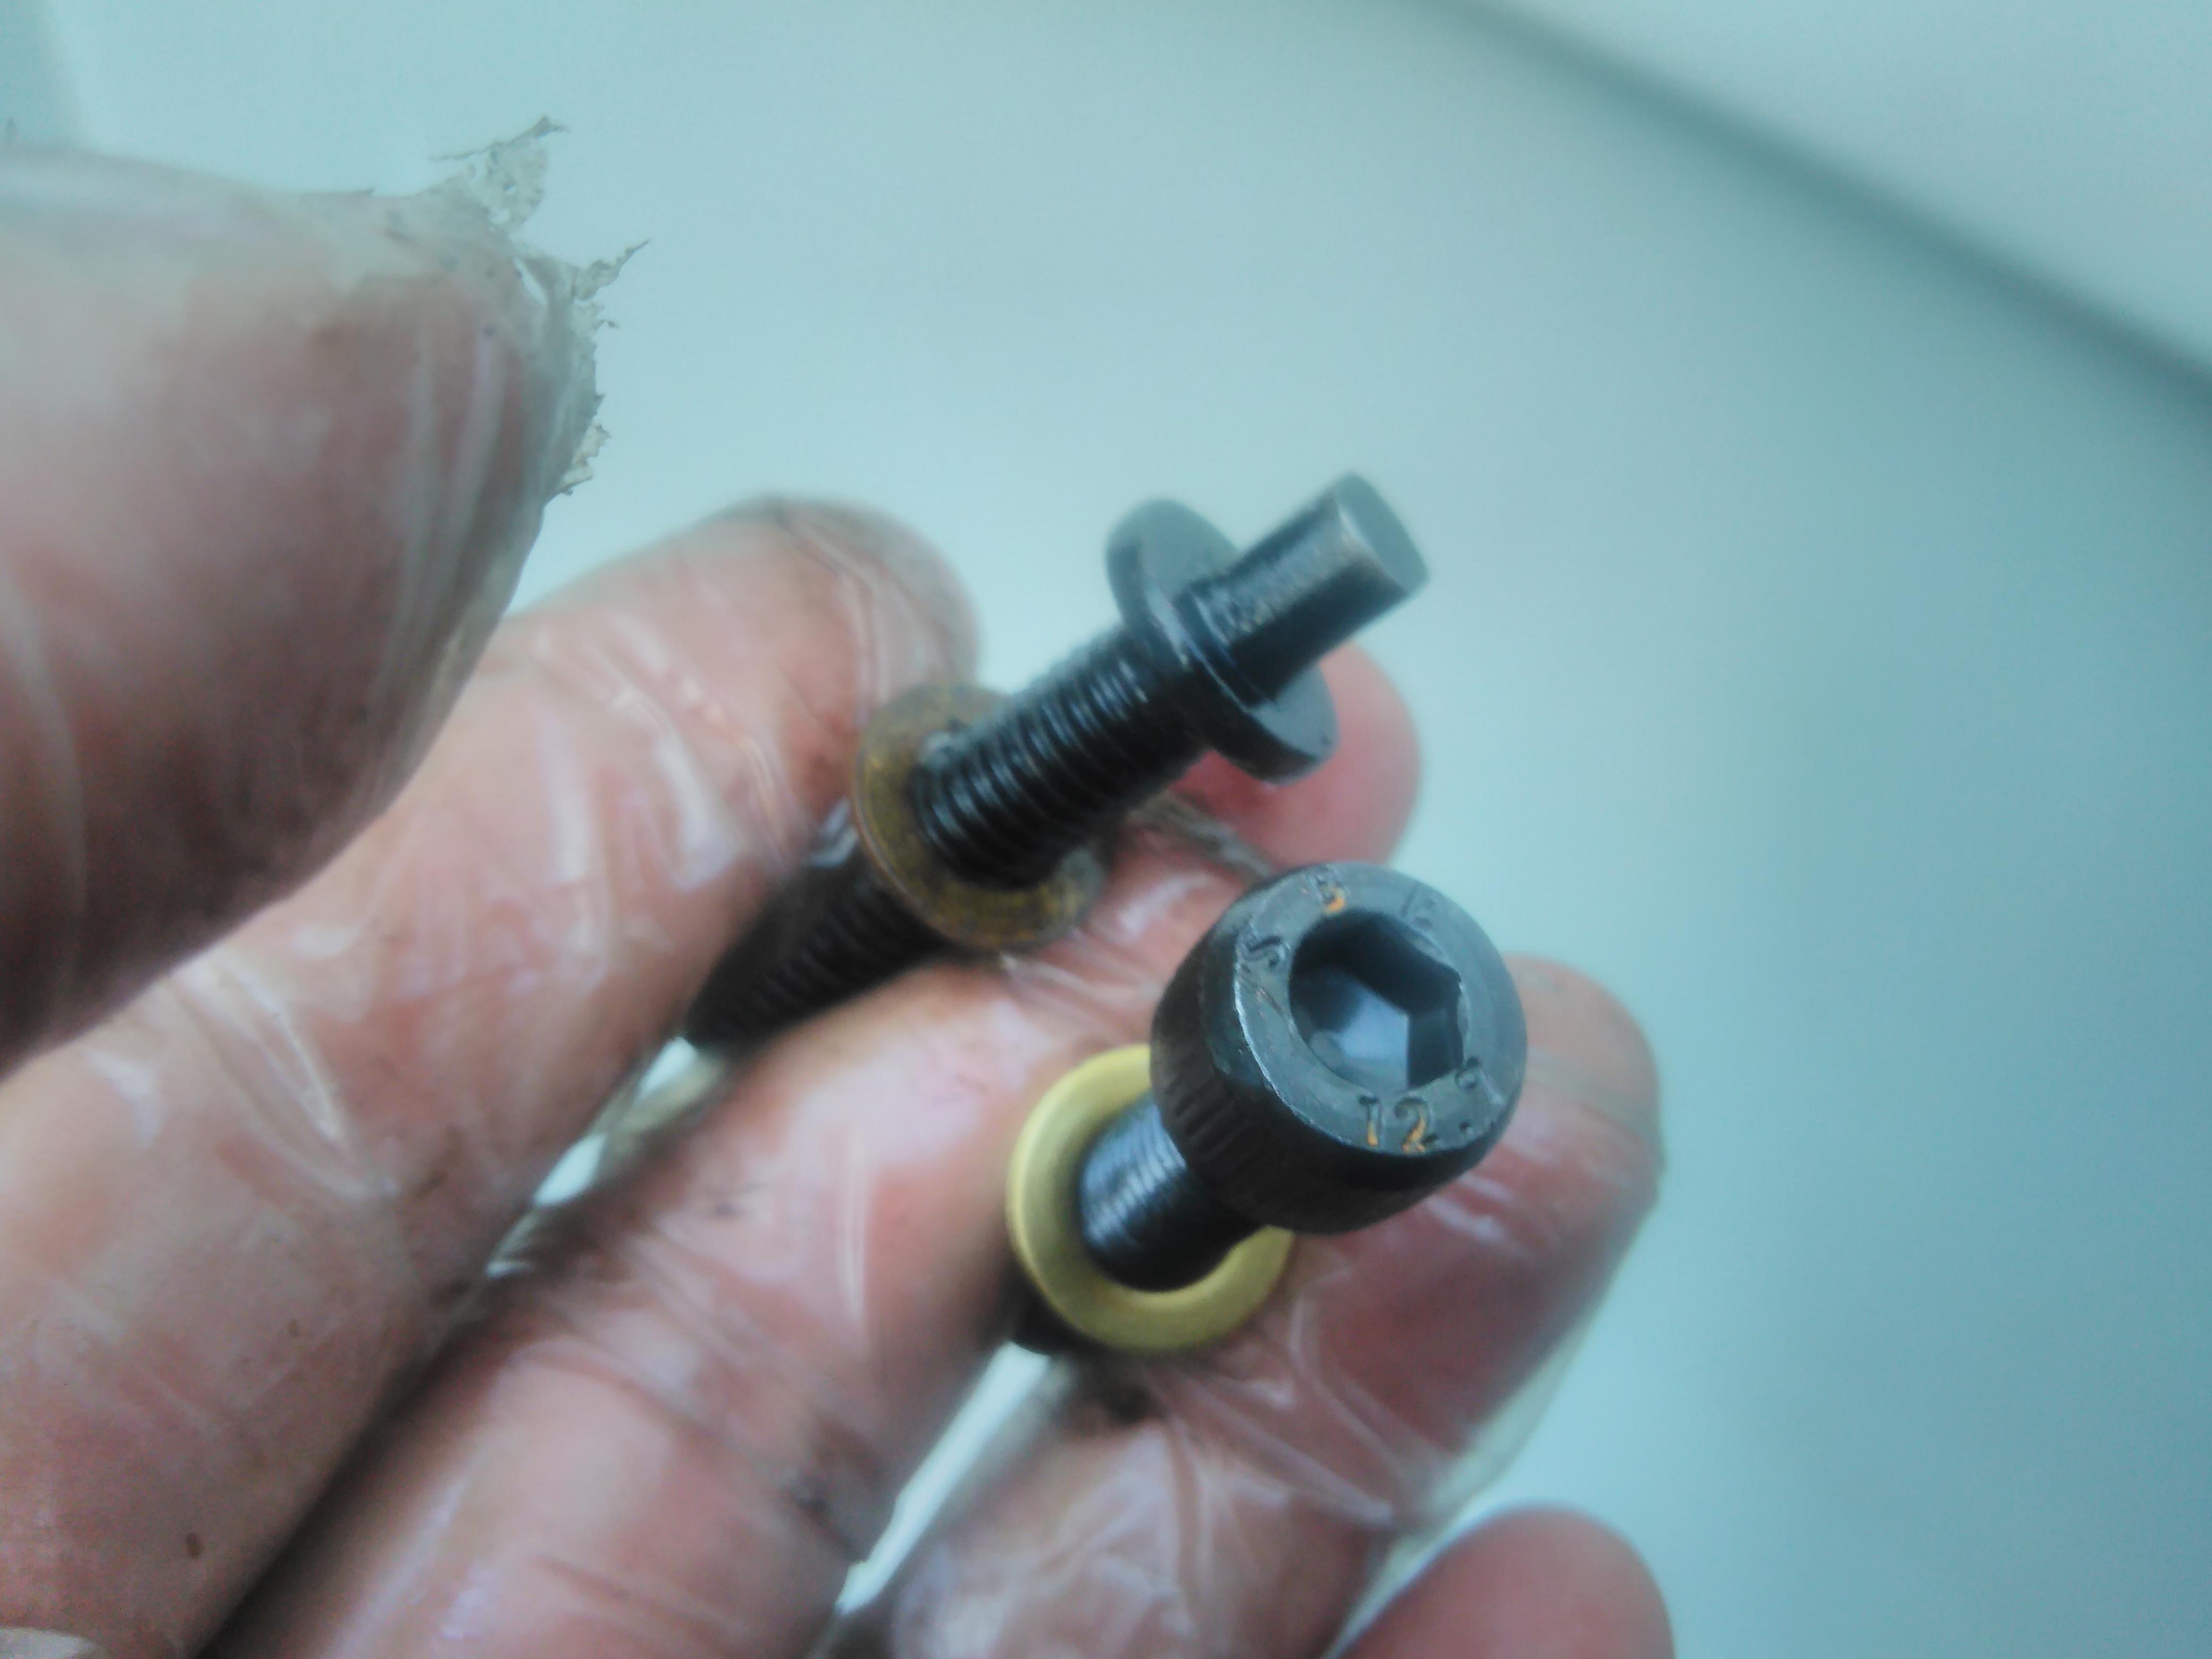
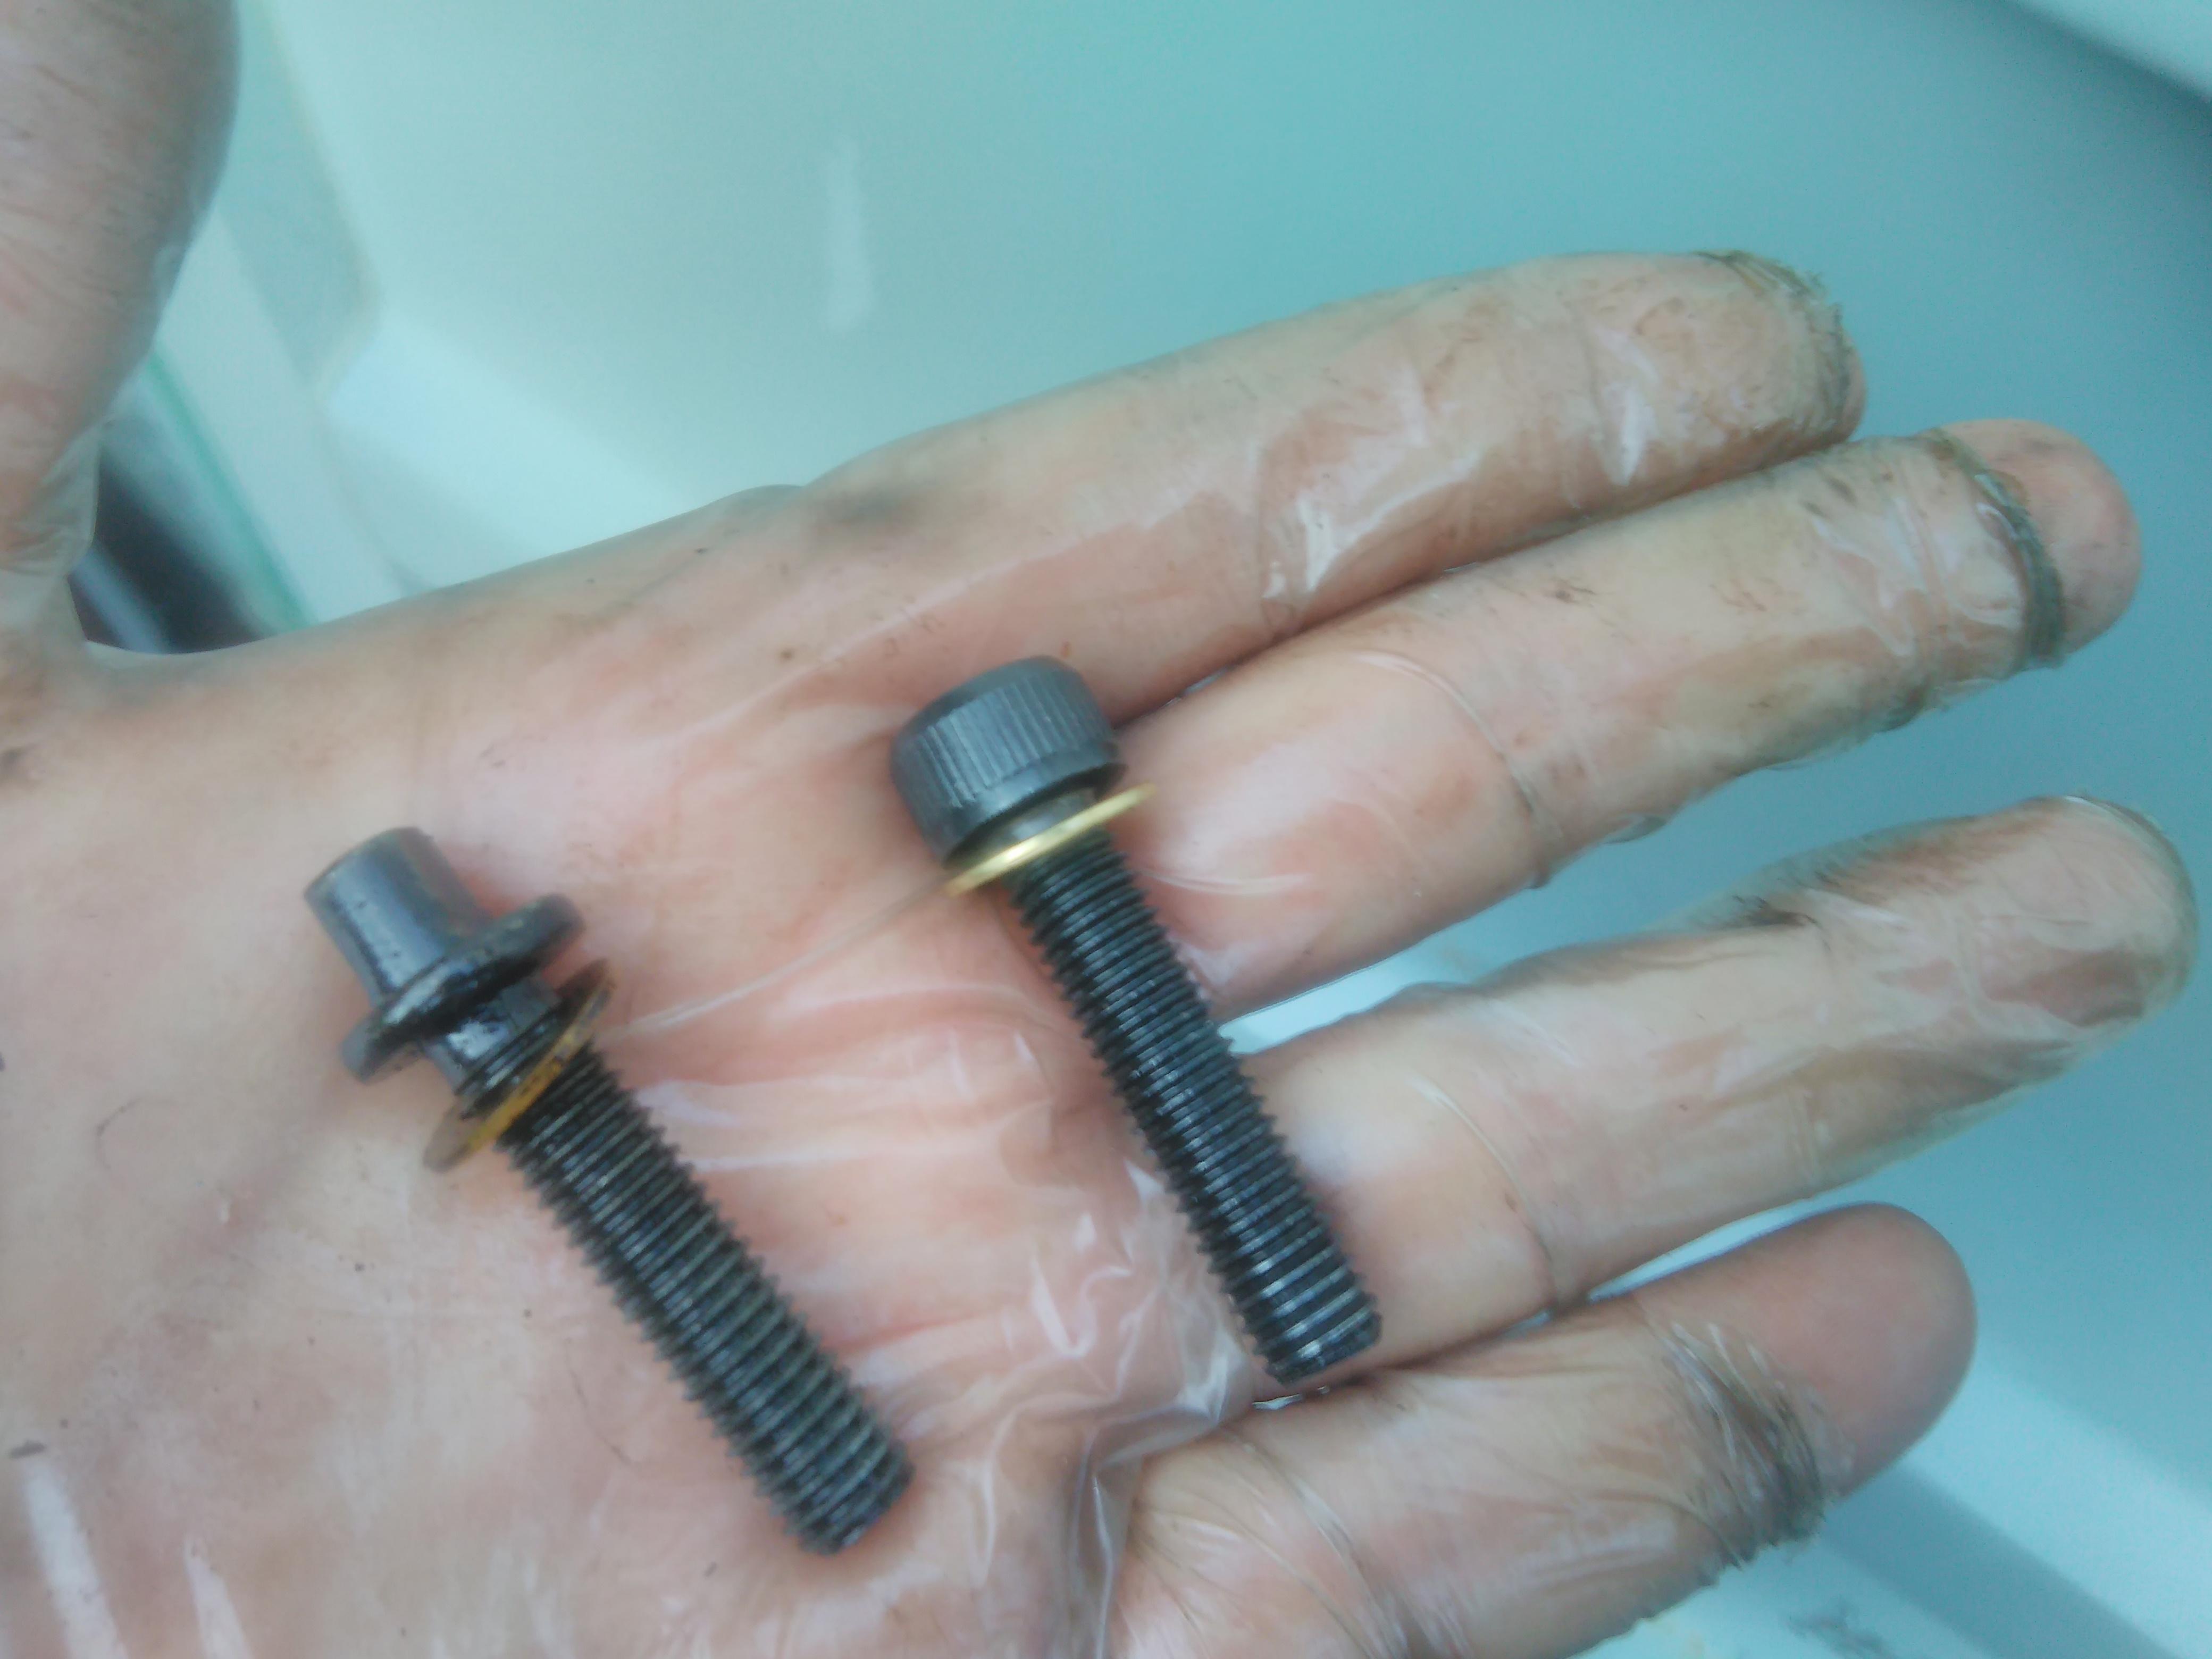
The studs fit in the block with a bit of thread lock for good measure – as shown more clearly during this crank case build up.
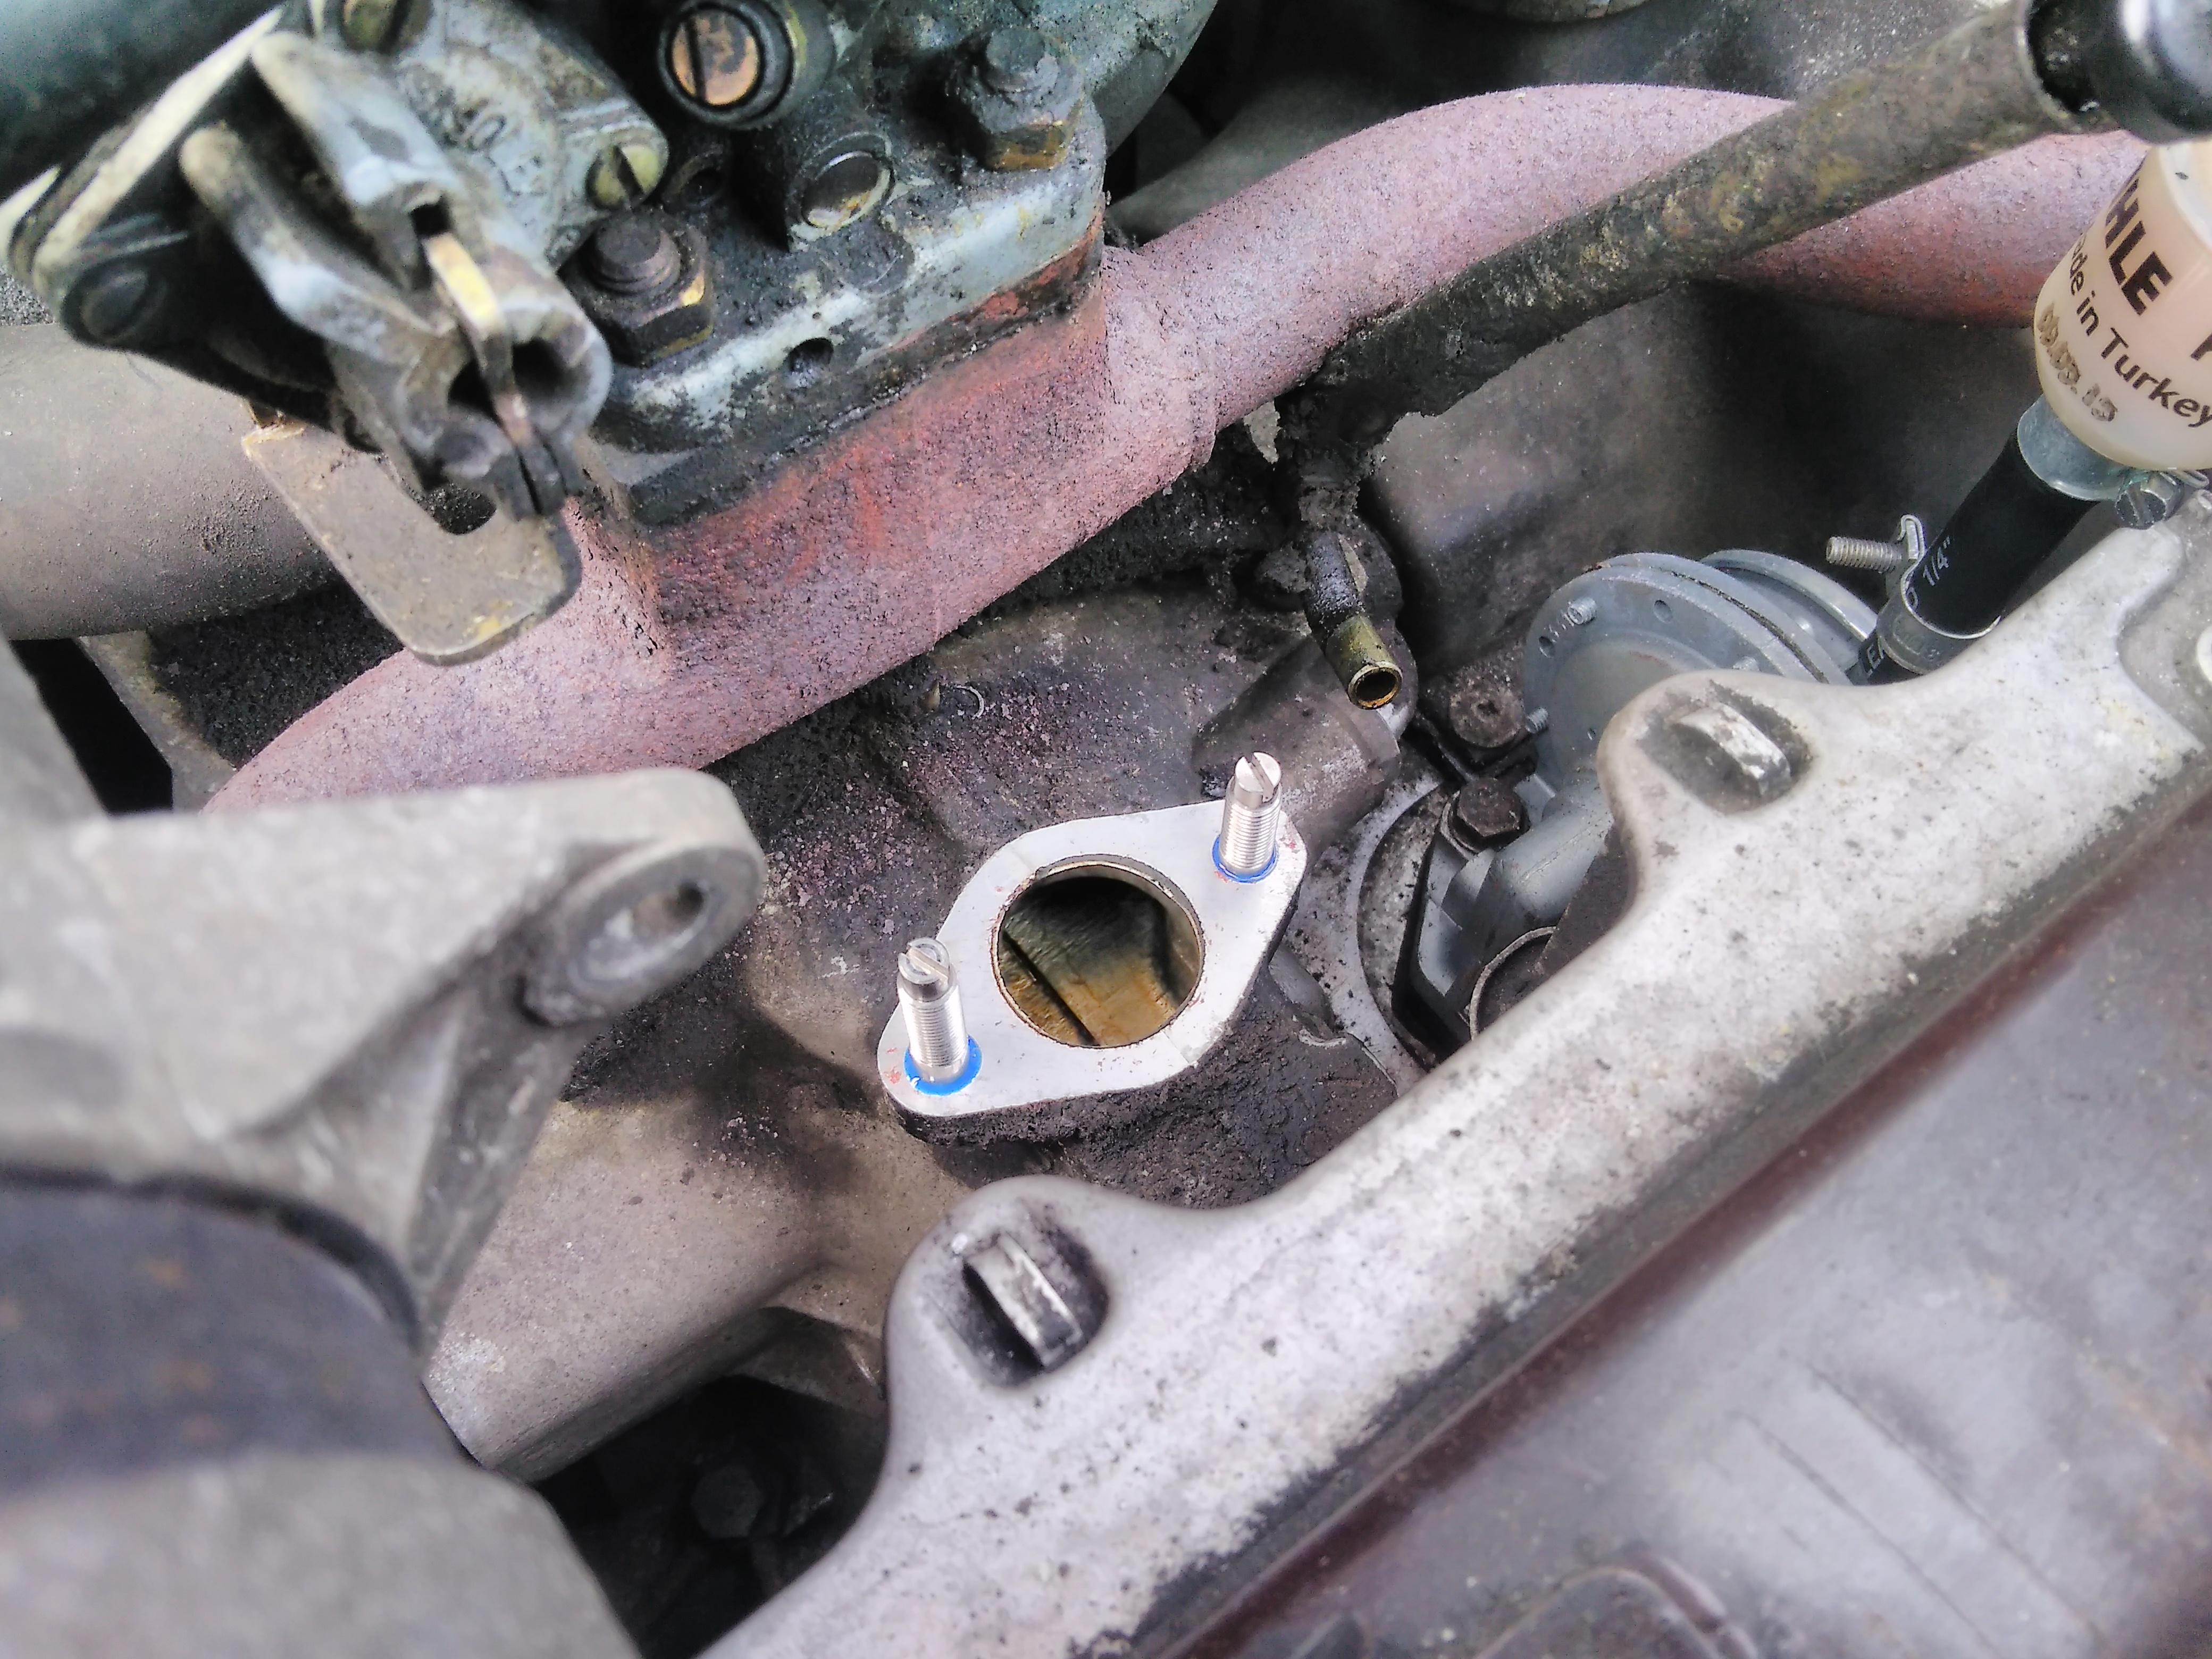
Whilst the breather is easier to fit onto the studs than using bolts, it does make fitting the return hose onto the dipstick connection a bit tricky. However, after some finagling it all went back together and was secured with the 11mm nuts and washers supplied in the stud conversion kit.
The 652cc V series engine had a few changes from the M series engine it was based on. One of these was stud mounts for the fuel pump and the engine breather/ oil filler rather than the bolts used on the M series.
As the stud mounts make it easier to fit the relevant accessories the SPOG produce stud conversions for the M series engines that replicate those found on the V series – as shown below from the Haynes Manual for the Visa.


I’ve got a salvage wiring loom that I’m going to work up ready to fit on the Burton. The first step is to remove the wrapping to get to the wires.
This is best done with a seam ripper, it will cut the wrapping without damaging the wires themselves.

As the wrapping is removed re-usable cable ties are put at the junctions to keep the loom together whilst still allowing wires to be added and removed.

The full order of the other 11 aircraft of each type have arrived nearly two weeks after ordering them – what I learned from this is that Hermes are significantly slower than Royal Mail.

Similarly to the test miniatures there’s a lot of flash on these that needs cleaning up and I’m going to need to fair over the gun ports on the noses of the FW 190s before they get painted.


After the port polish and lapping the new valves and cylinder barrels it was time to rebuild the cylinder head. This is basically the reverse of removal.
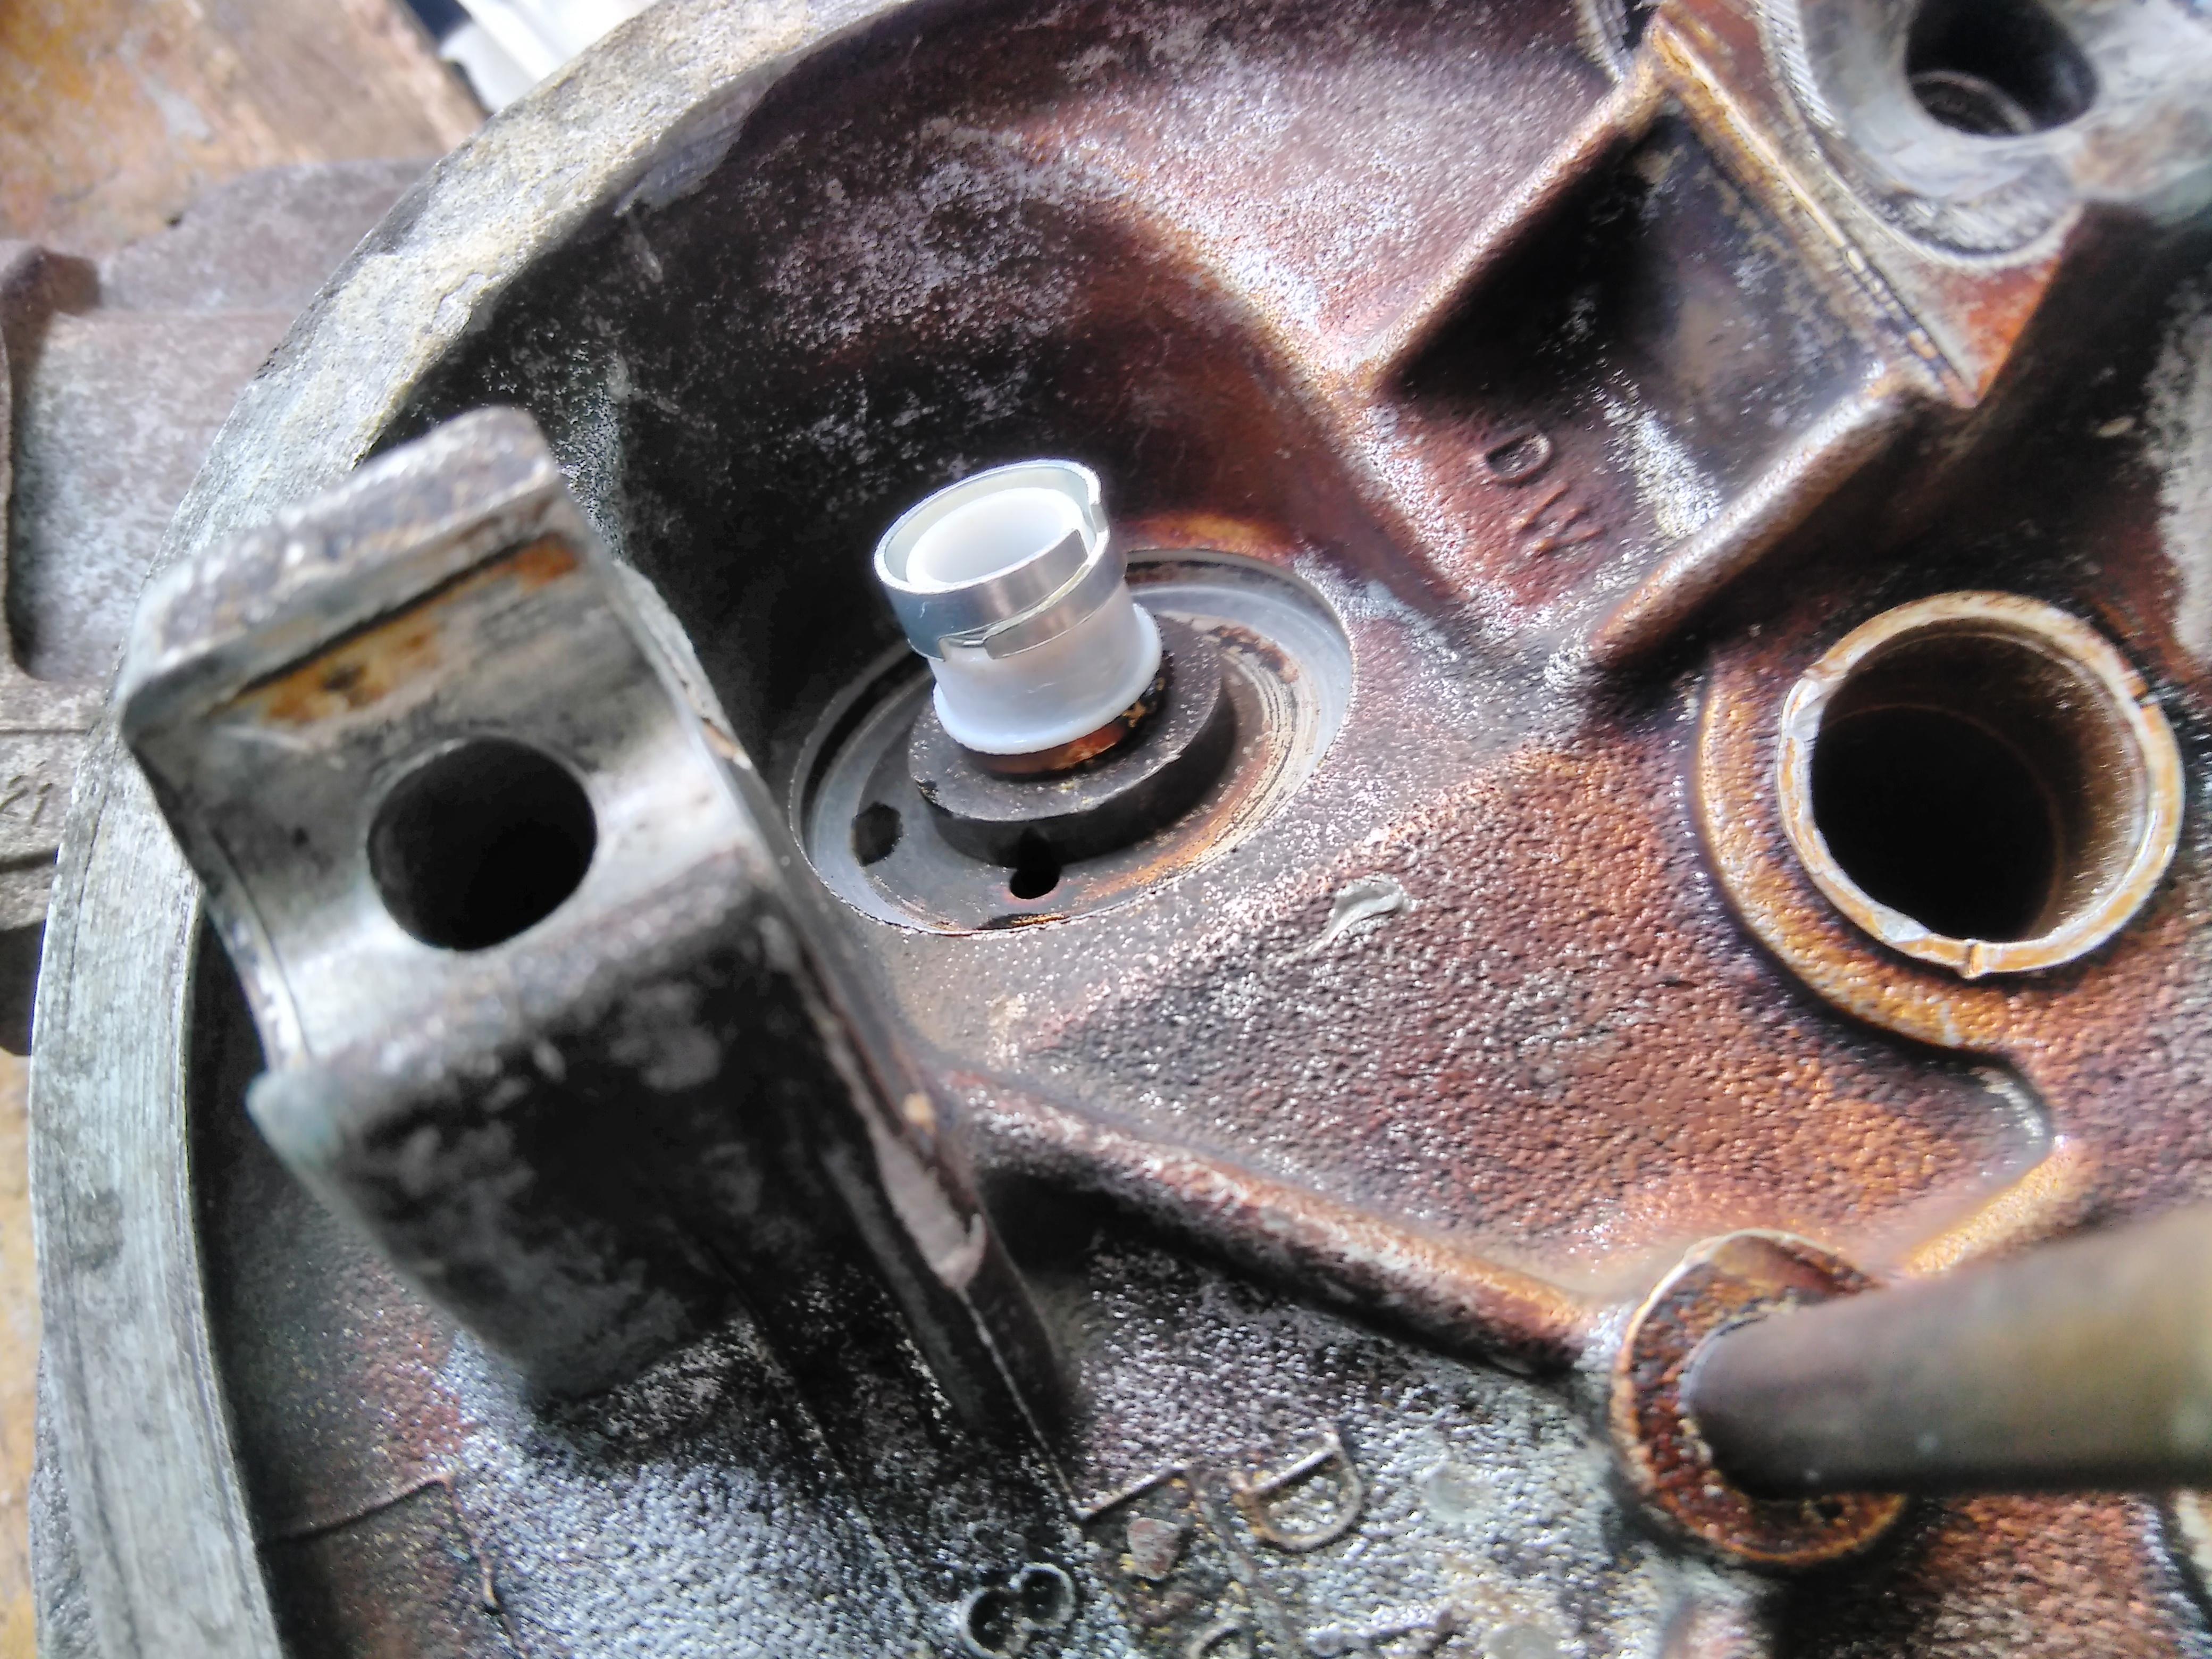
The white exhaust valve stem oil seals are a tight fit on the valve guides, even without the securing collar. They’re also a tight fit on the valve stems so it’s worth fitting the valves at this point before the springs.
The springs have caps at either end so, with a generous covering of oil, these sit over the valve stems.
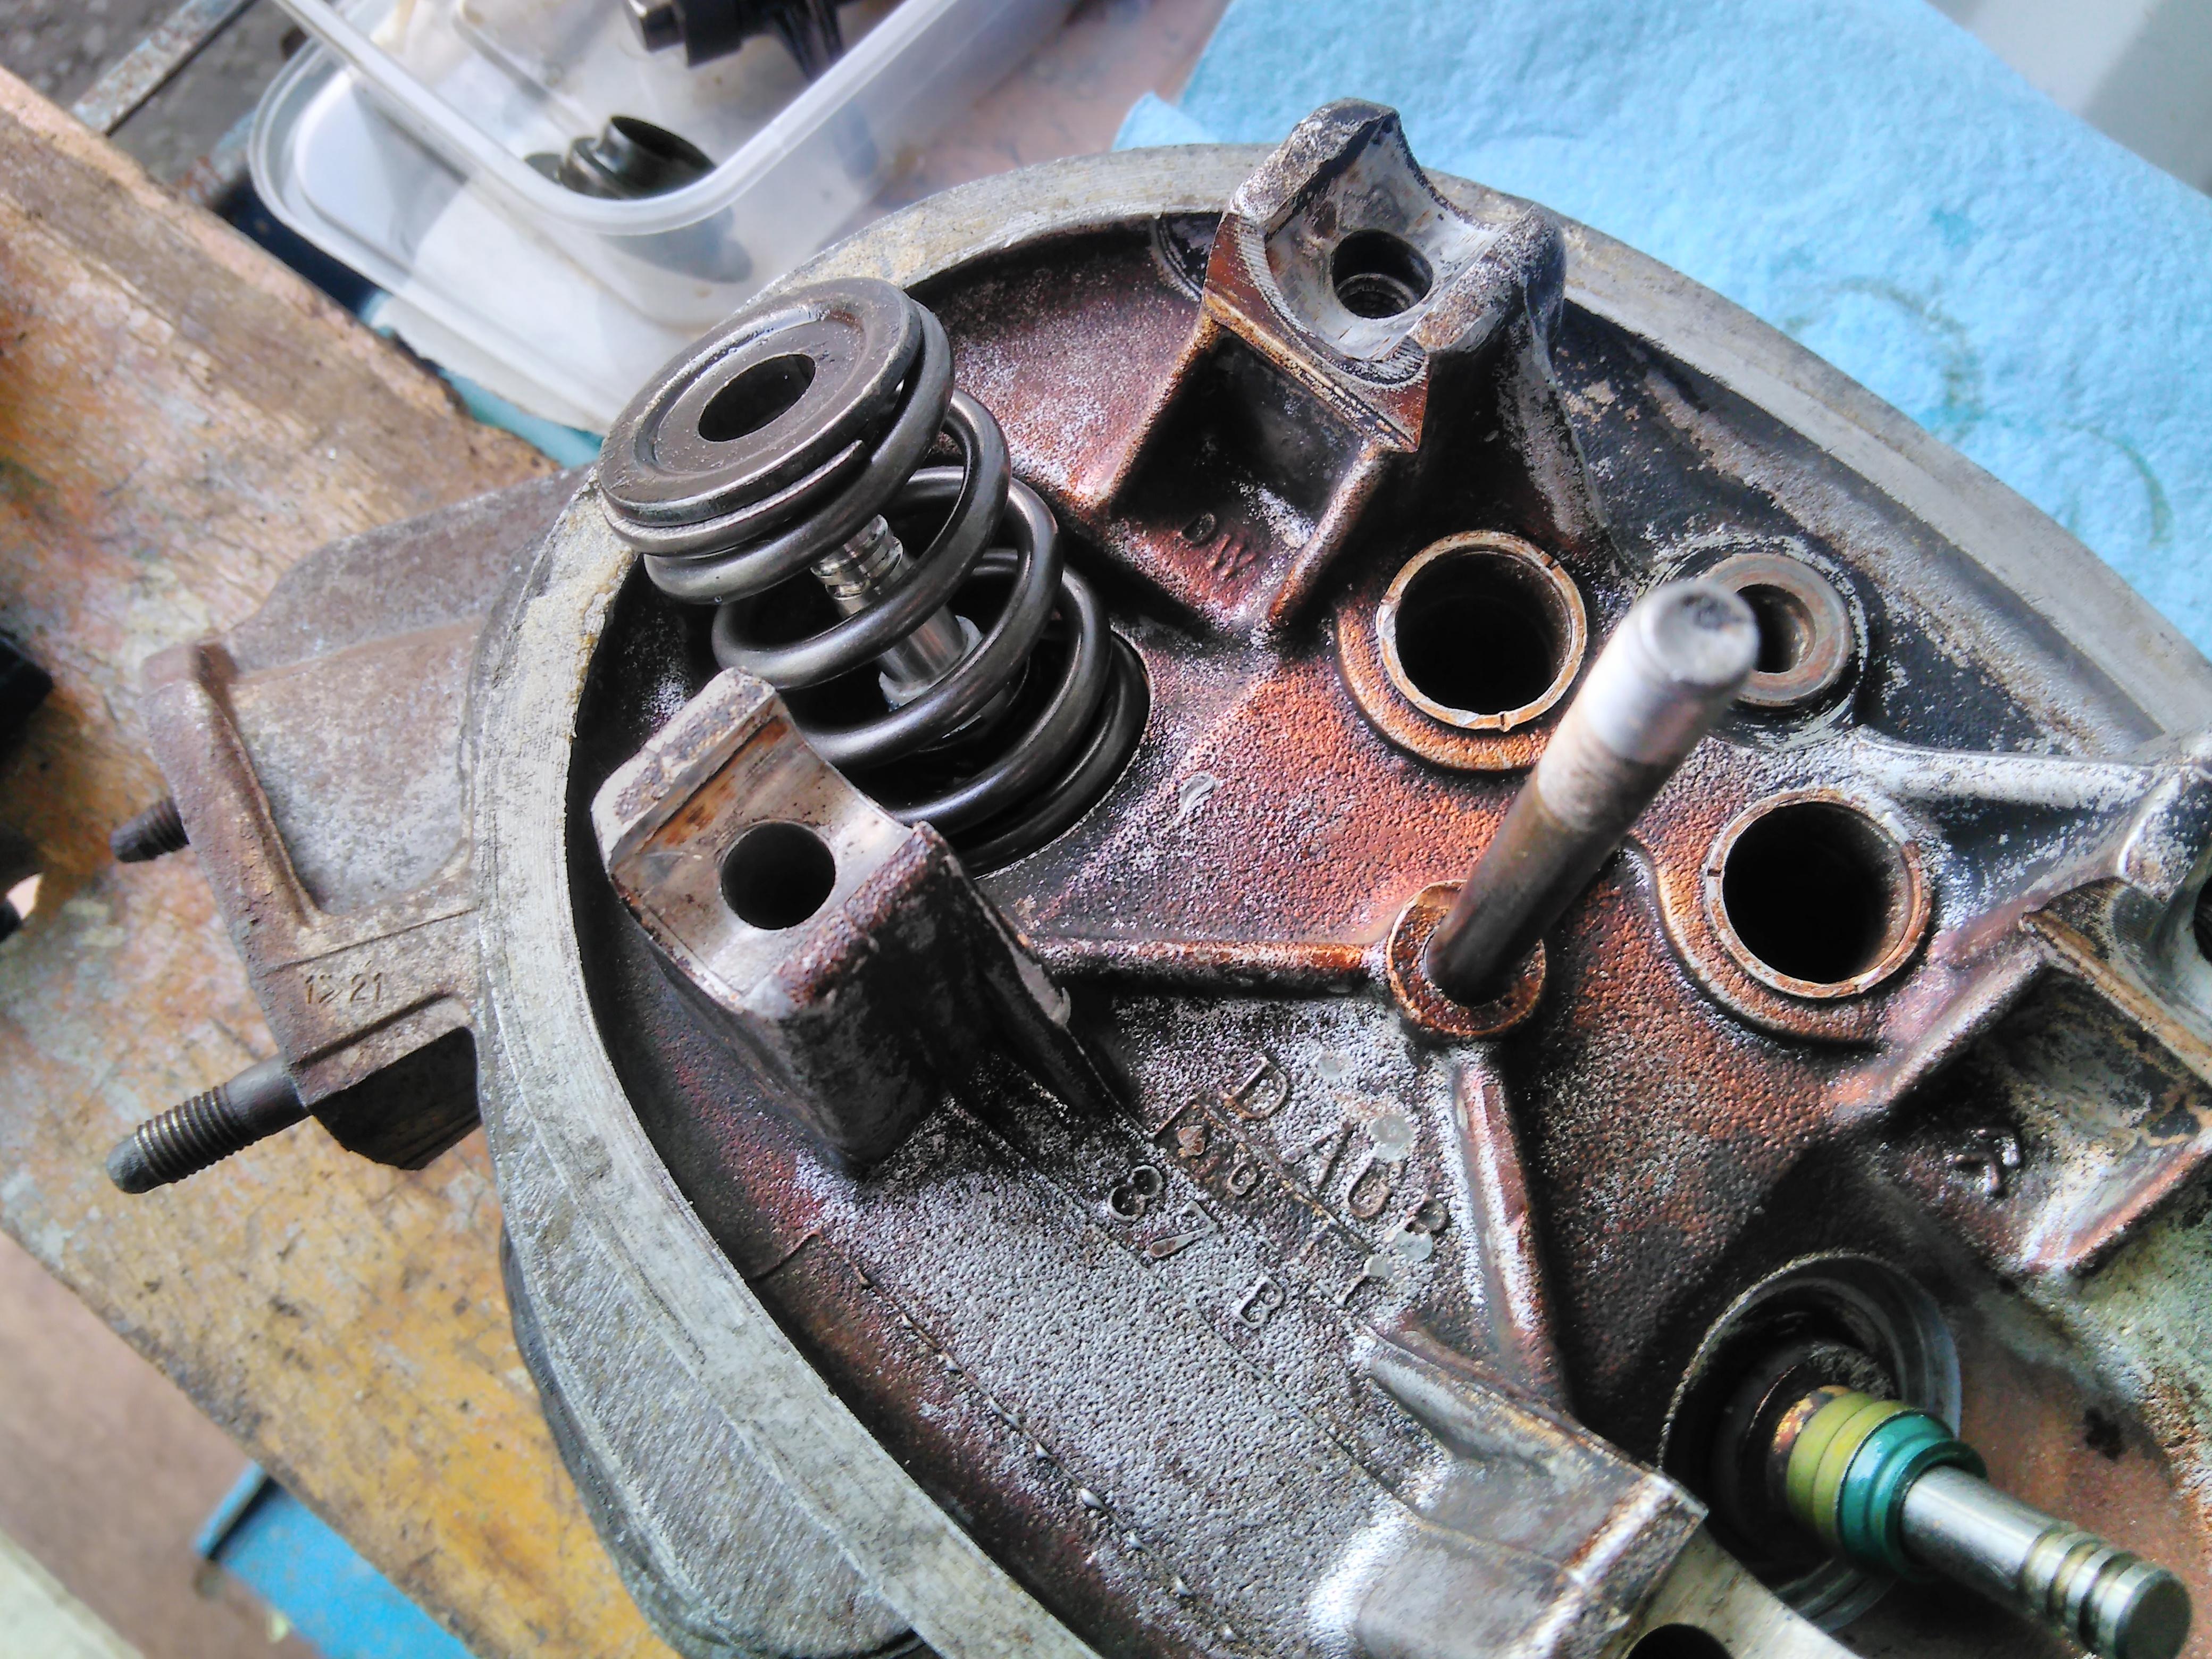
The valves are attached to the springs via the collets. Like removal, this is a three handed job involving a heavy spring under compression so I didn’t take any photos. Essentially, with the spring compressed and some grease on the valve stems to hold the collets in place the spring can be slowly and carefully uncompressed until the spring cap rides up on the taper of the collets until the whole assembly is secure.
The biggest departure from the removal was the replacement of the “special” bolts used to to hold the lower end of the rocker pivot. As fitted by Citroën in their infinite wisdom the bolt has a strange head that has two flats. Whilst this came off with the assistance of an adjustable spanner I didn’t want to put it back so I used a 35mm M8 threaded hex headed bolt. This fits exactly as the original and uses a standard tool.
With the rockers fitted that’s the heads reassembled as far as possible.

Whilst there was nothing wrong with the previous testers they seem to have been about the last of those lines in stock. With no more stock coming in I’ve sourced alternatives.
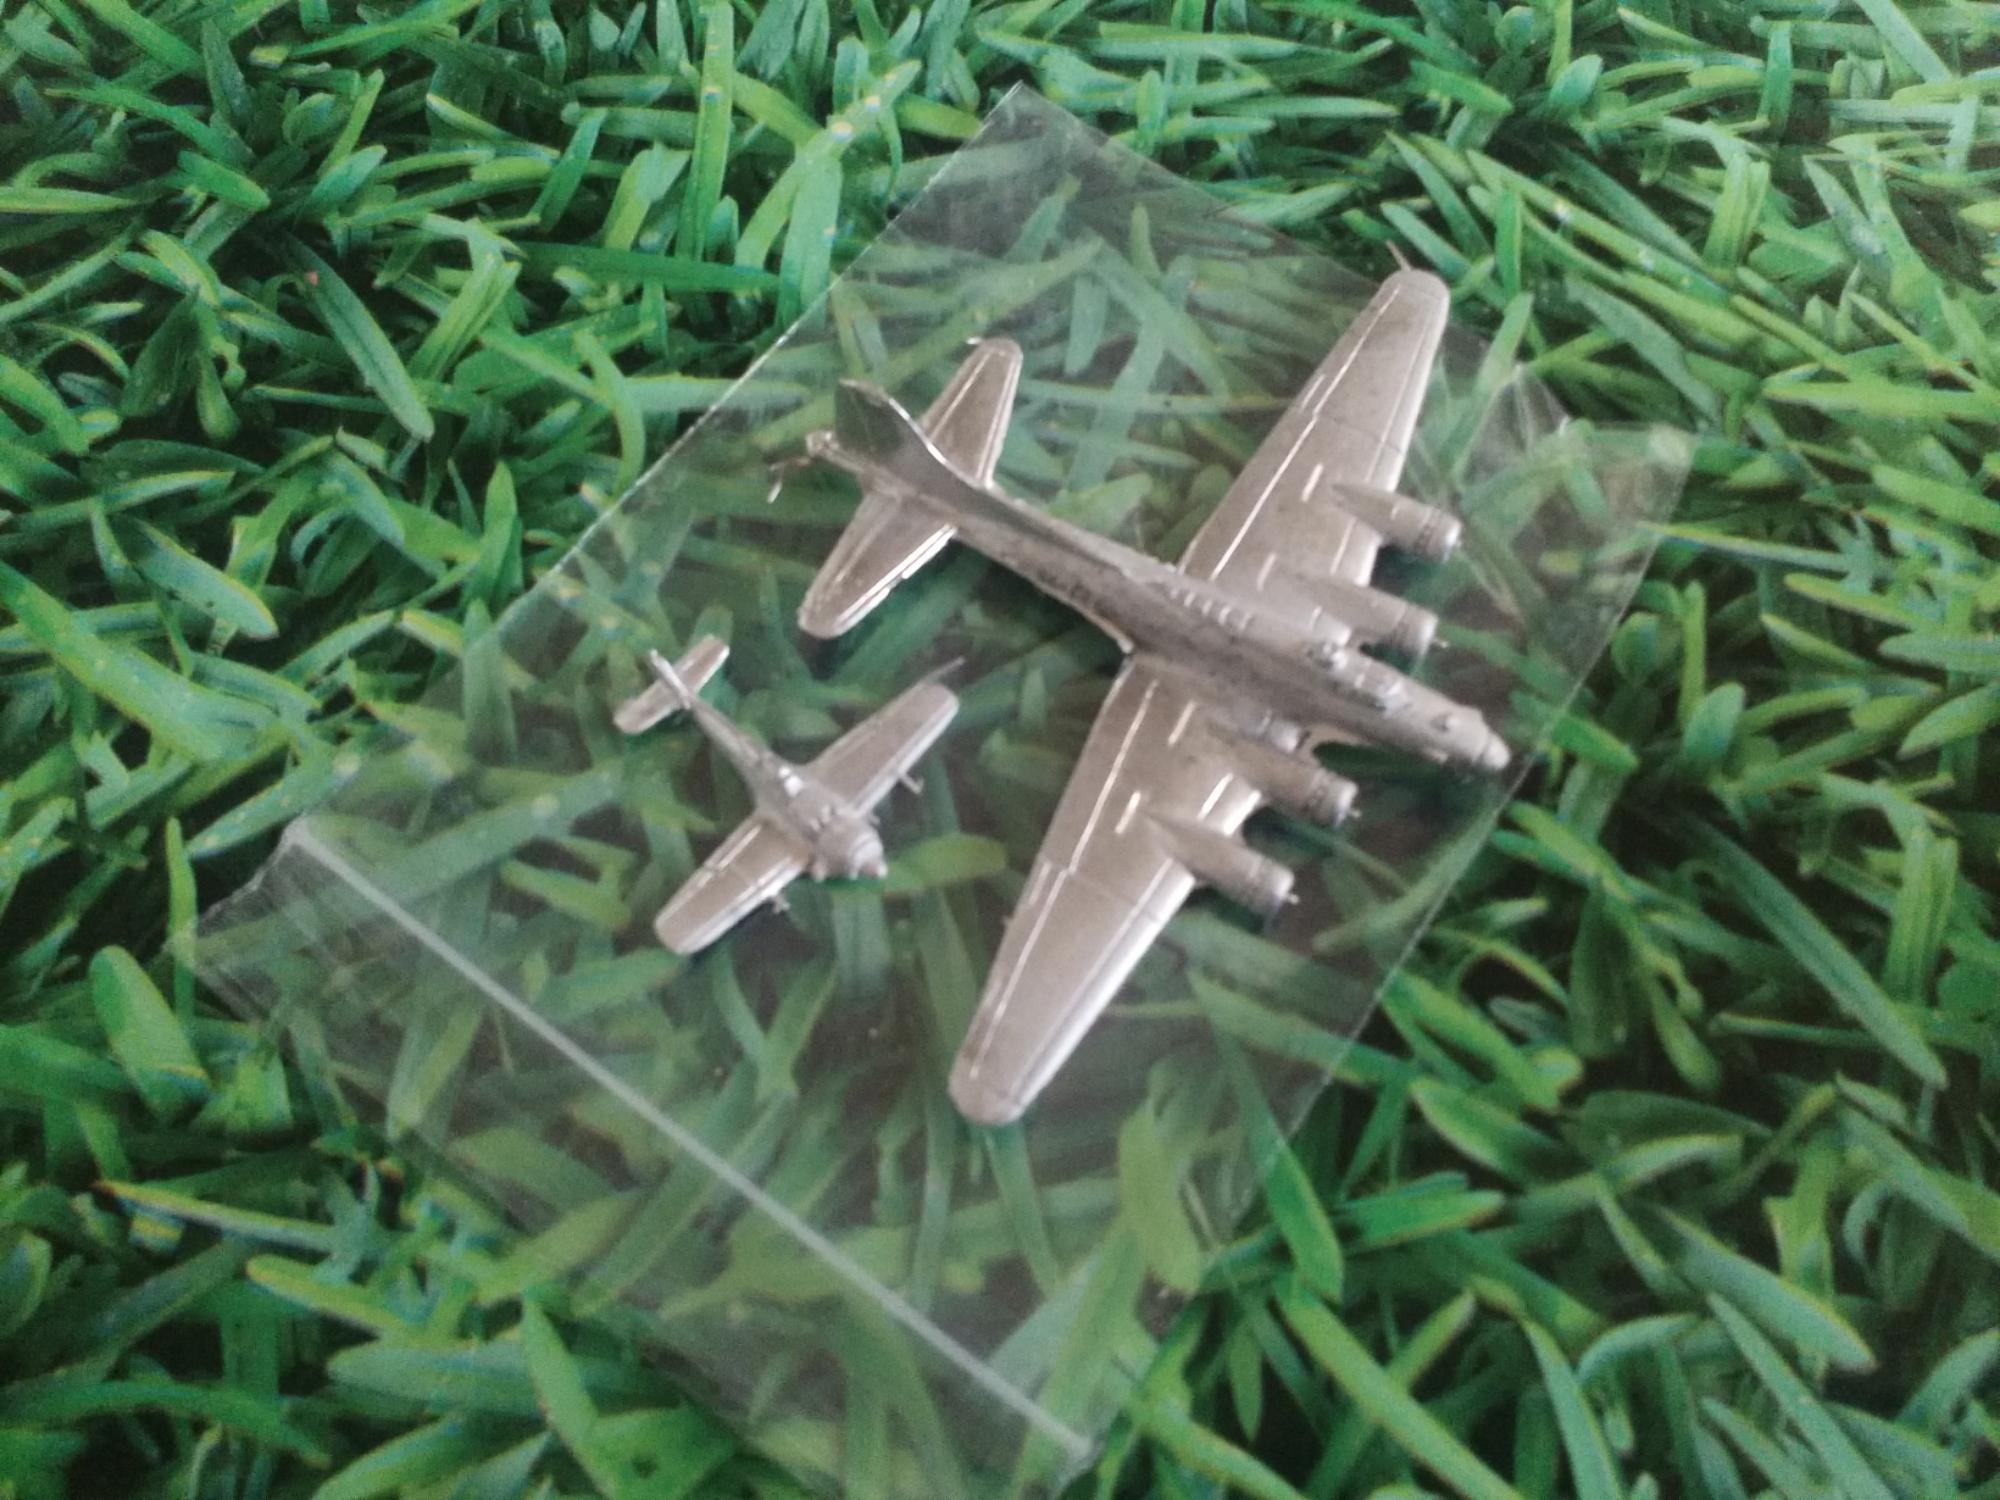
These are from Scotia, they’re cheaper but the casts aren’t as good with quite a lot of flash. Looks like they’ll clean up fine so and the detail is plenty good enough. Time to order the rest of the squadrons – given I ordered these on Friday and they arrived on Monday shouldn’t have to wait long…