Carburettor fettling

After the previous fun and games with the engine I had some outstanding business with the carburettor. Firstly the elephant’s knee* had split (gaffer to the rescue for the trip home).

The top of the carb comes off with six screws – one of which holds the choke cable in place.

With the top of the carb off the fuel was siphoned out of the bowls – there was a bit of clart in the bottom of the bowls which I removed but nothing to worry about.  The jets are easy to access with the top off and – not that I found any obvious obstructions – they were cleaned with spray solvent and some plastic brush bristles.

To replace the top gasket the floats need removing, the pin that forms the hinge is a friction fit and needs drifting out – I used a cross head jeweller’s screwdriver.  With the gasket back the float heights were equal at 18mm so no problems there.  Also in the top of the carb is the needle valve activated by the floats and, whilst that wasn’t obstructed, it was pre-emptively cleaned as well.

With the top back on the only remaining item was the new elephant’s knee which, being unperished,  went back on much more easily than the old one.

2CV carburettor and airbox hose

* The pipe connecting the airbox to the carb, this is what I always called it when I was a nipper – no idea if anyone else calls it that.


Fixing a backfiring, popping and stalling 2CV

TL;DR:  The points gap was too much too small.

I took Judith on a fairly long trip to York and she was using more fuel than normal, the idle was lumpy and – towards the end of the run – she was increasingly popping, backfiring and stalling at idle – but was running OK at higher revs.

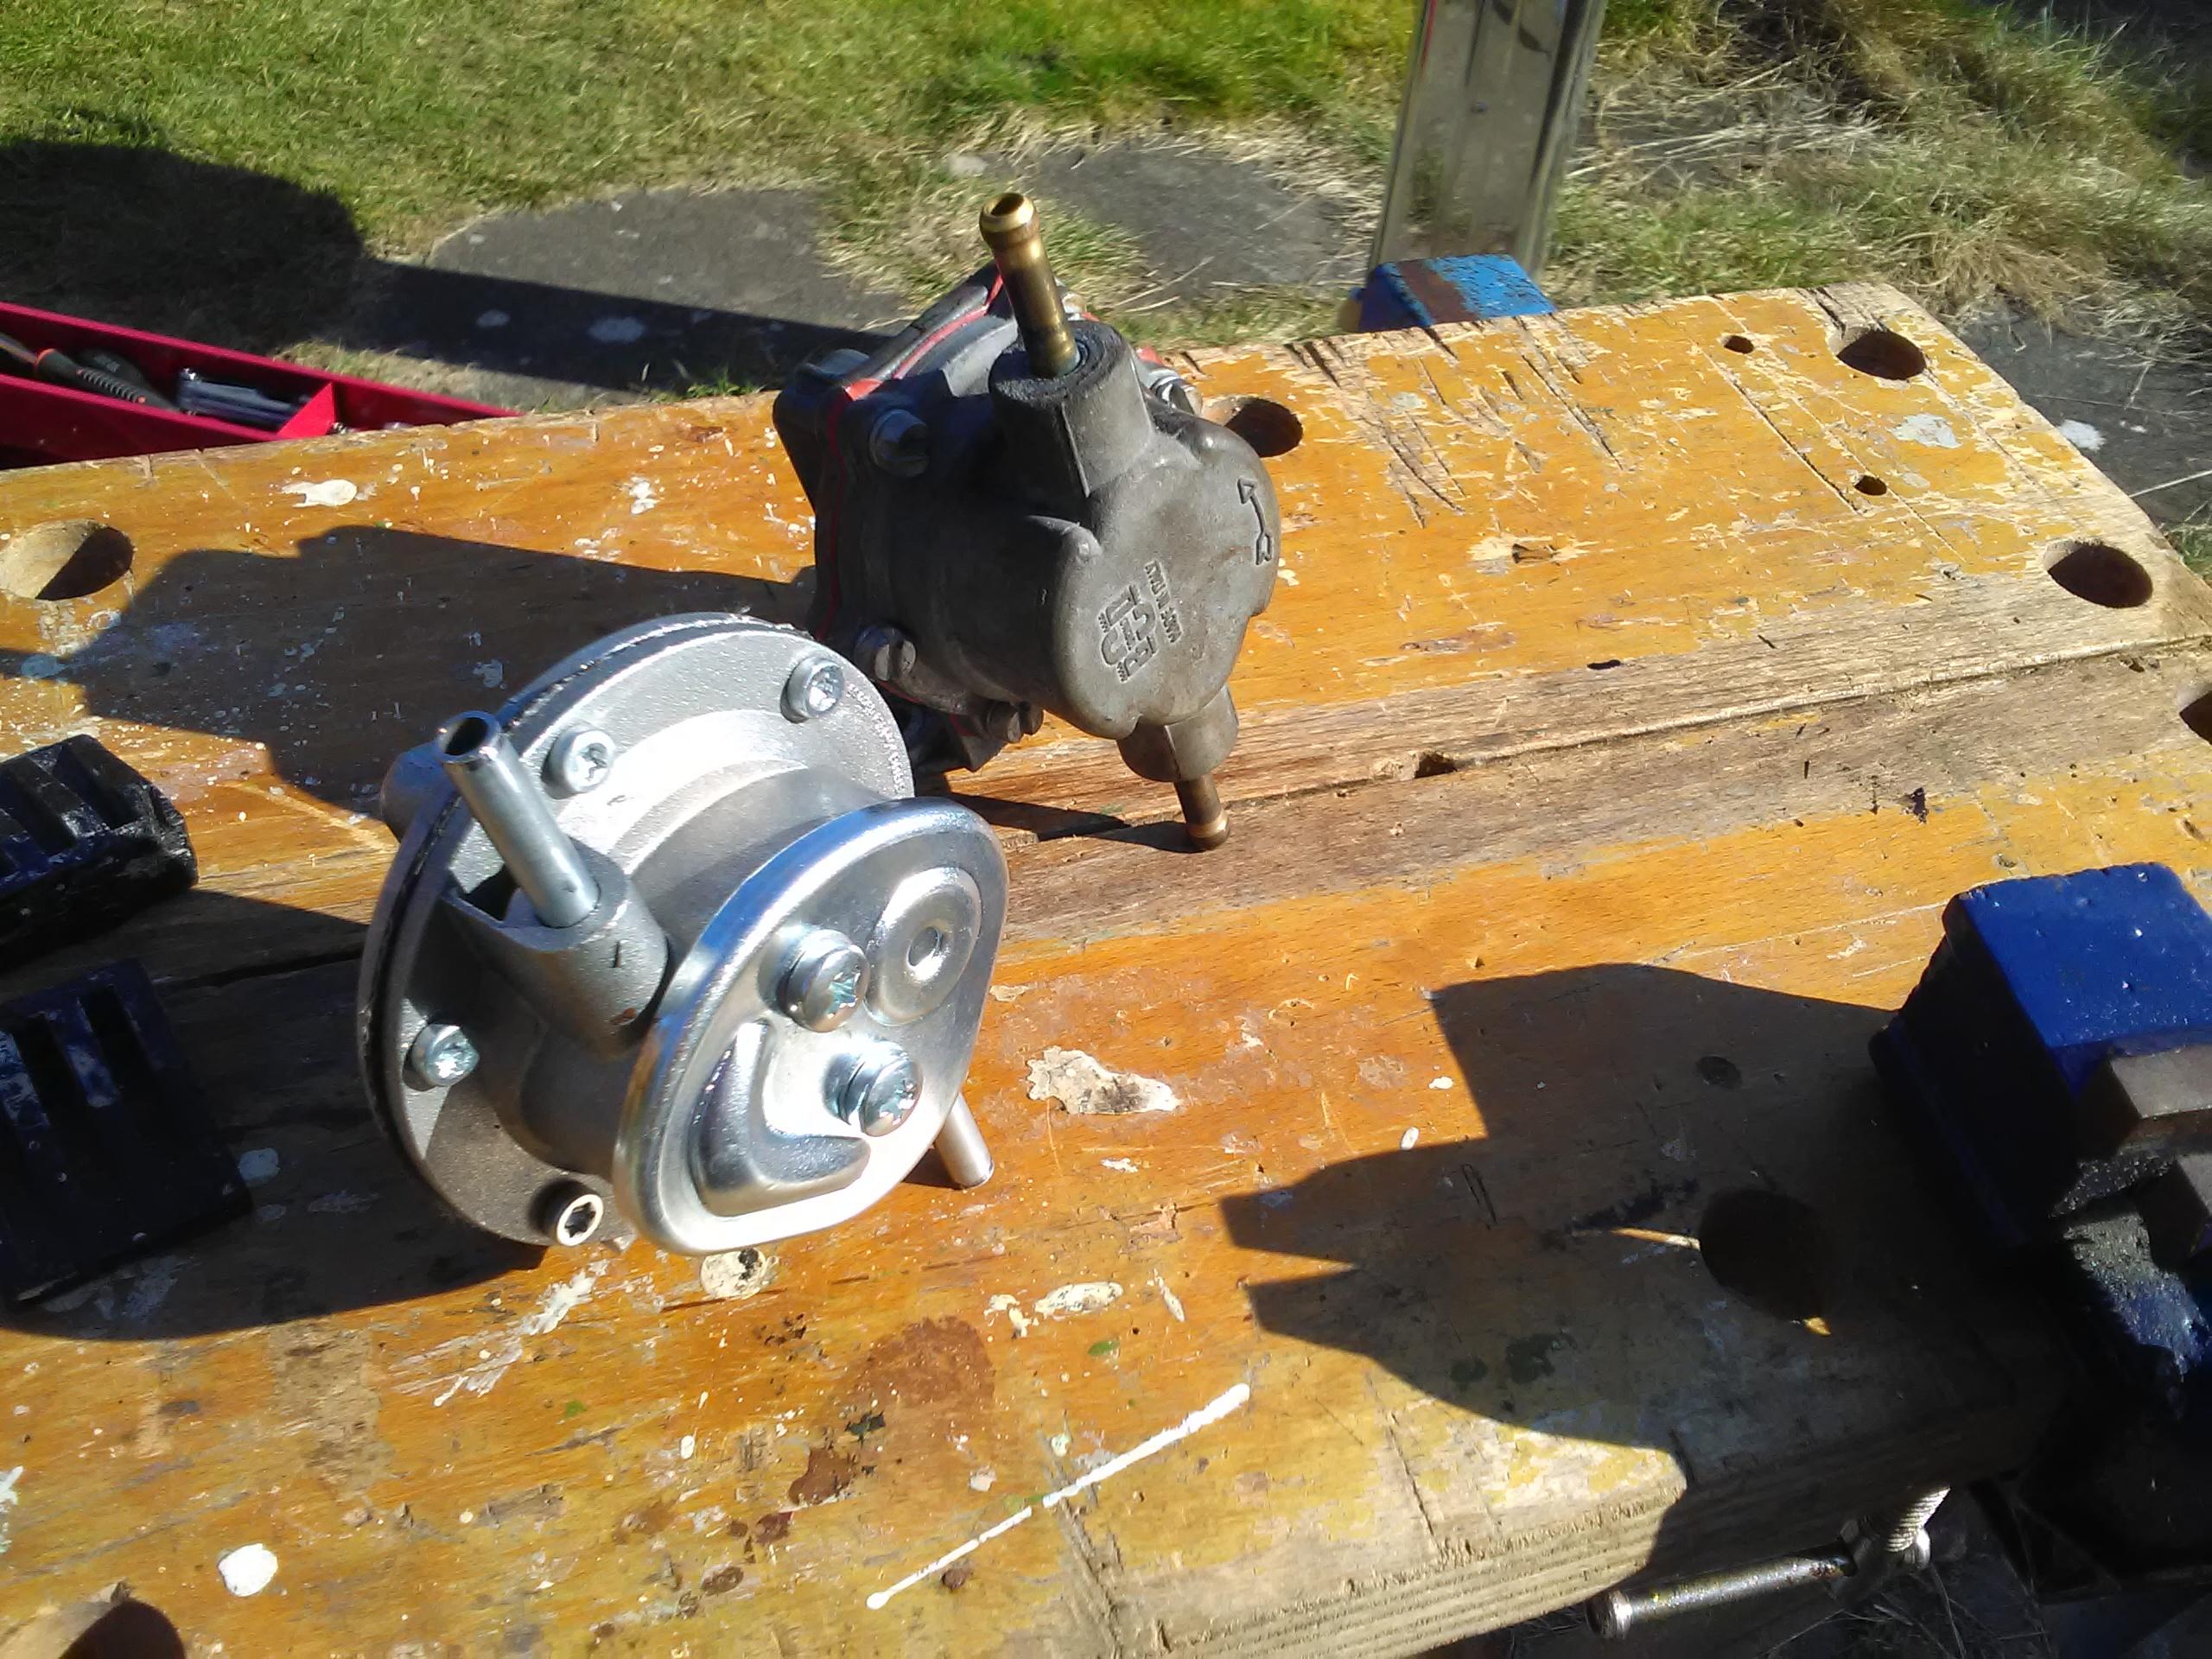
As I was staying at TomB engineering we had a full garage of tools and two pairs of hands which made things easier.  First off we dropped the fuel tank to replace the split fuel line previously identified.   Whilst a good thing to have done it didn’t make a difference.

The key symptoms were pops and backfires causing the engine to stall.  Adding some choke seemed to help but there was lots of soot coming out of the exhaust and collecting on the drive under the back of the car.

With a rich mixture the first thing to check was the carb but, without dismantling it, it seemed fine – including the idle jet.  (With hindsight, the fact it did run a bit better with some choke – which richens the mix – suggests that the mixture wasn’t the issue.)

A short consultation with my Dad and his first suggestion was to check the ignition timing.  Whilst she’s not done many miles since it was set, it’s possible something had moved.

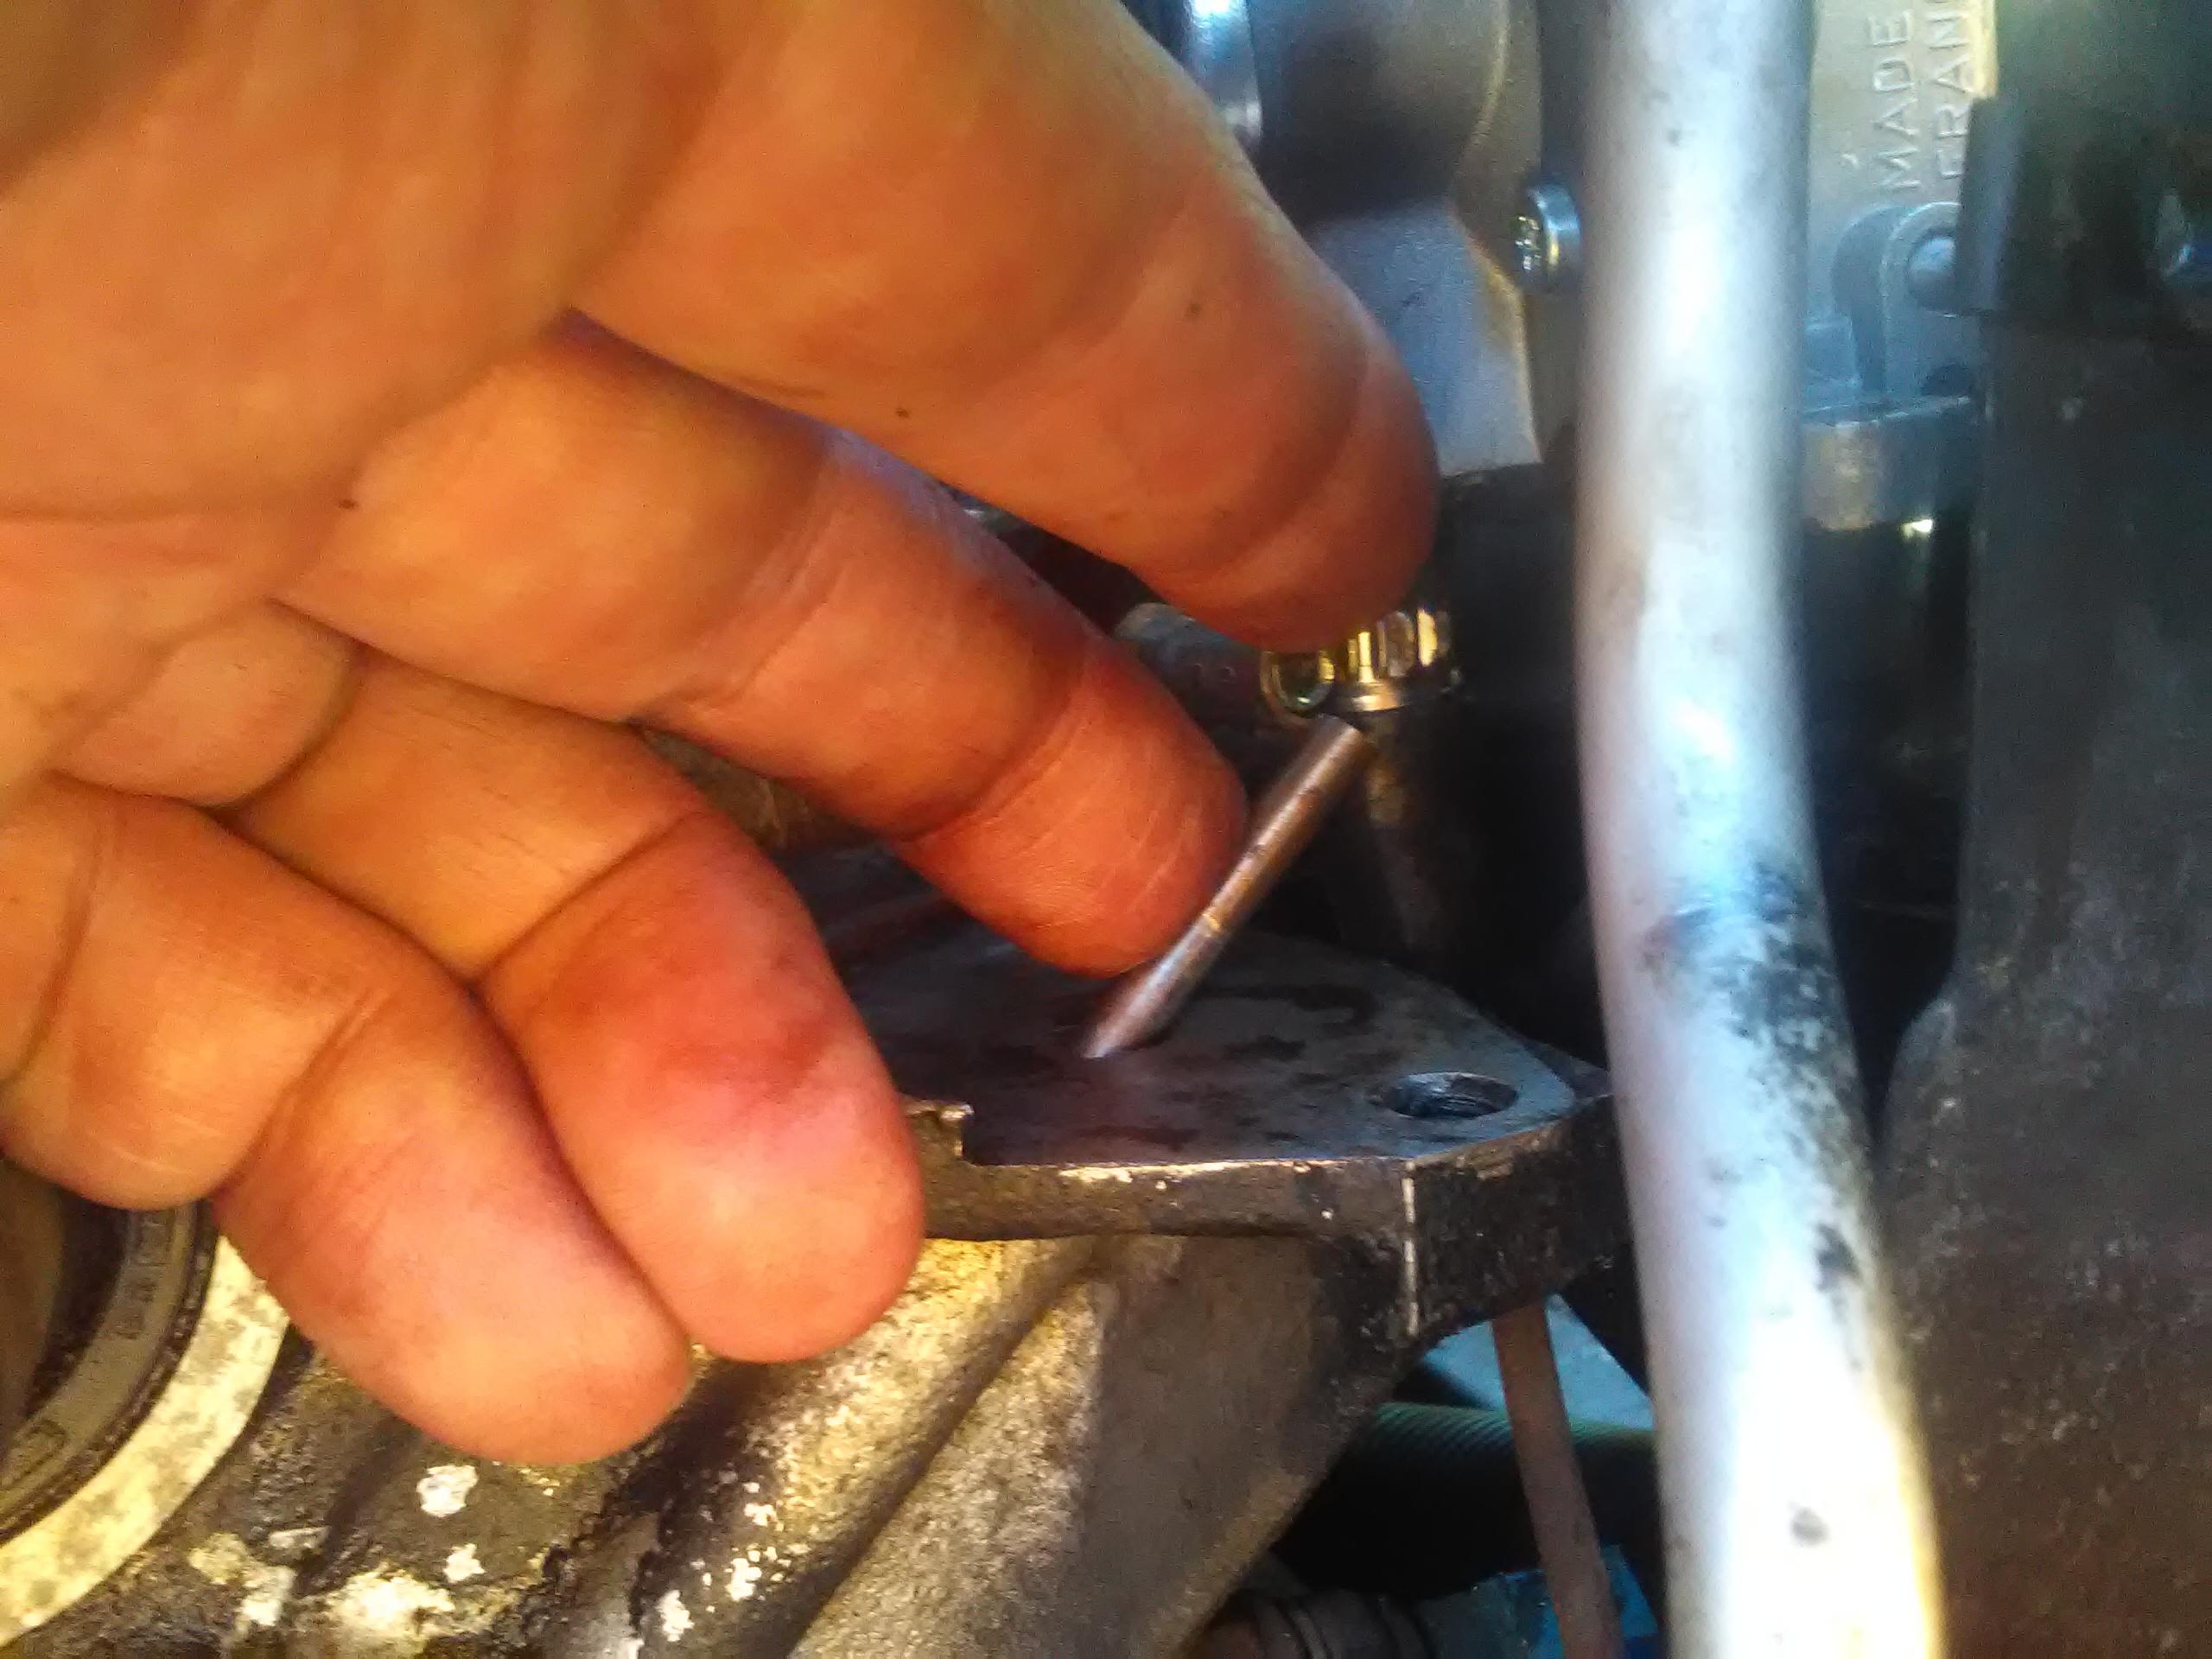
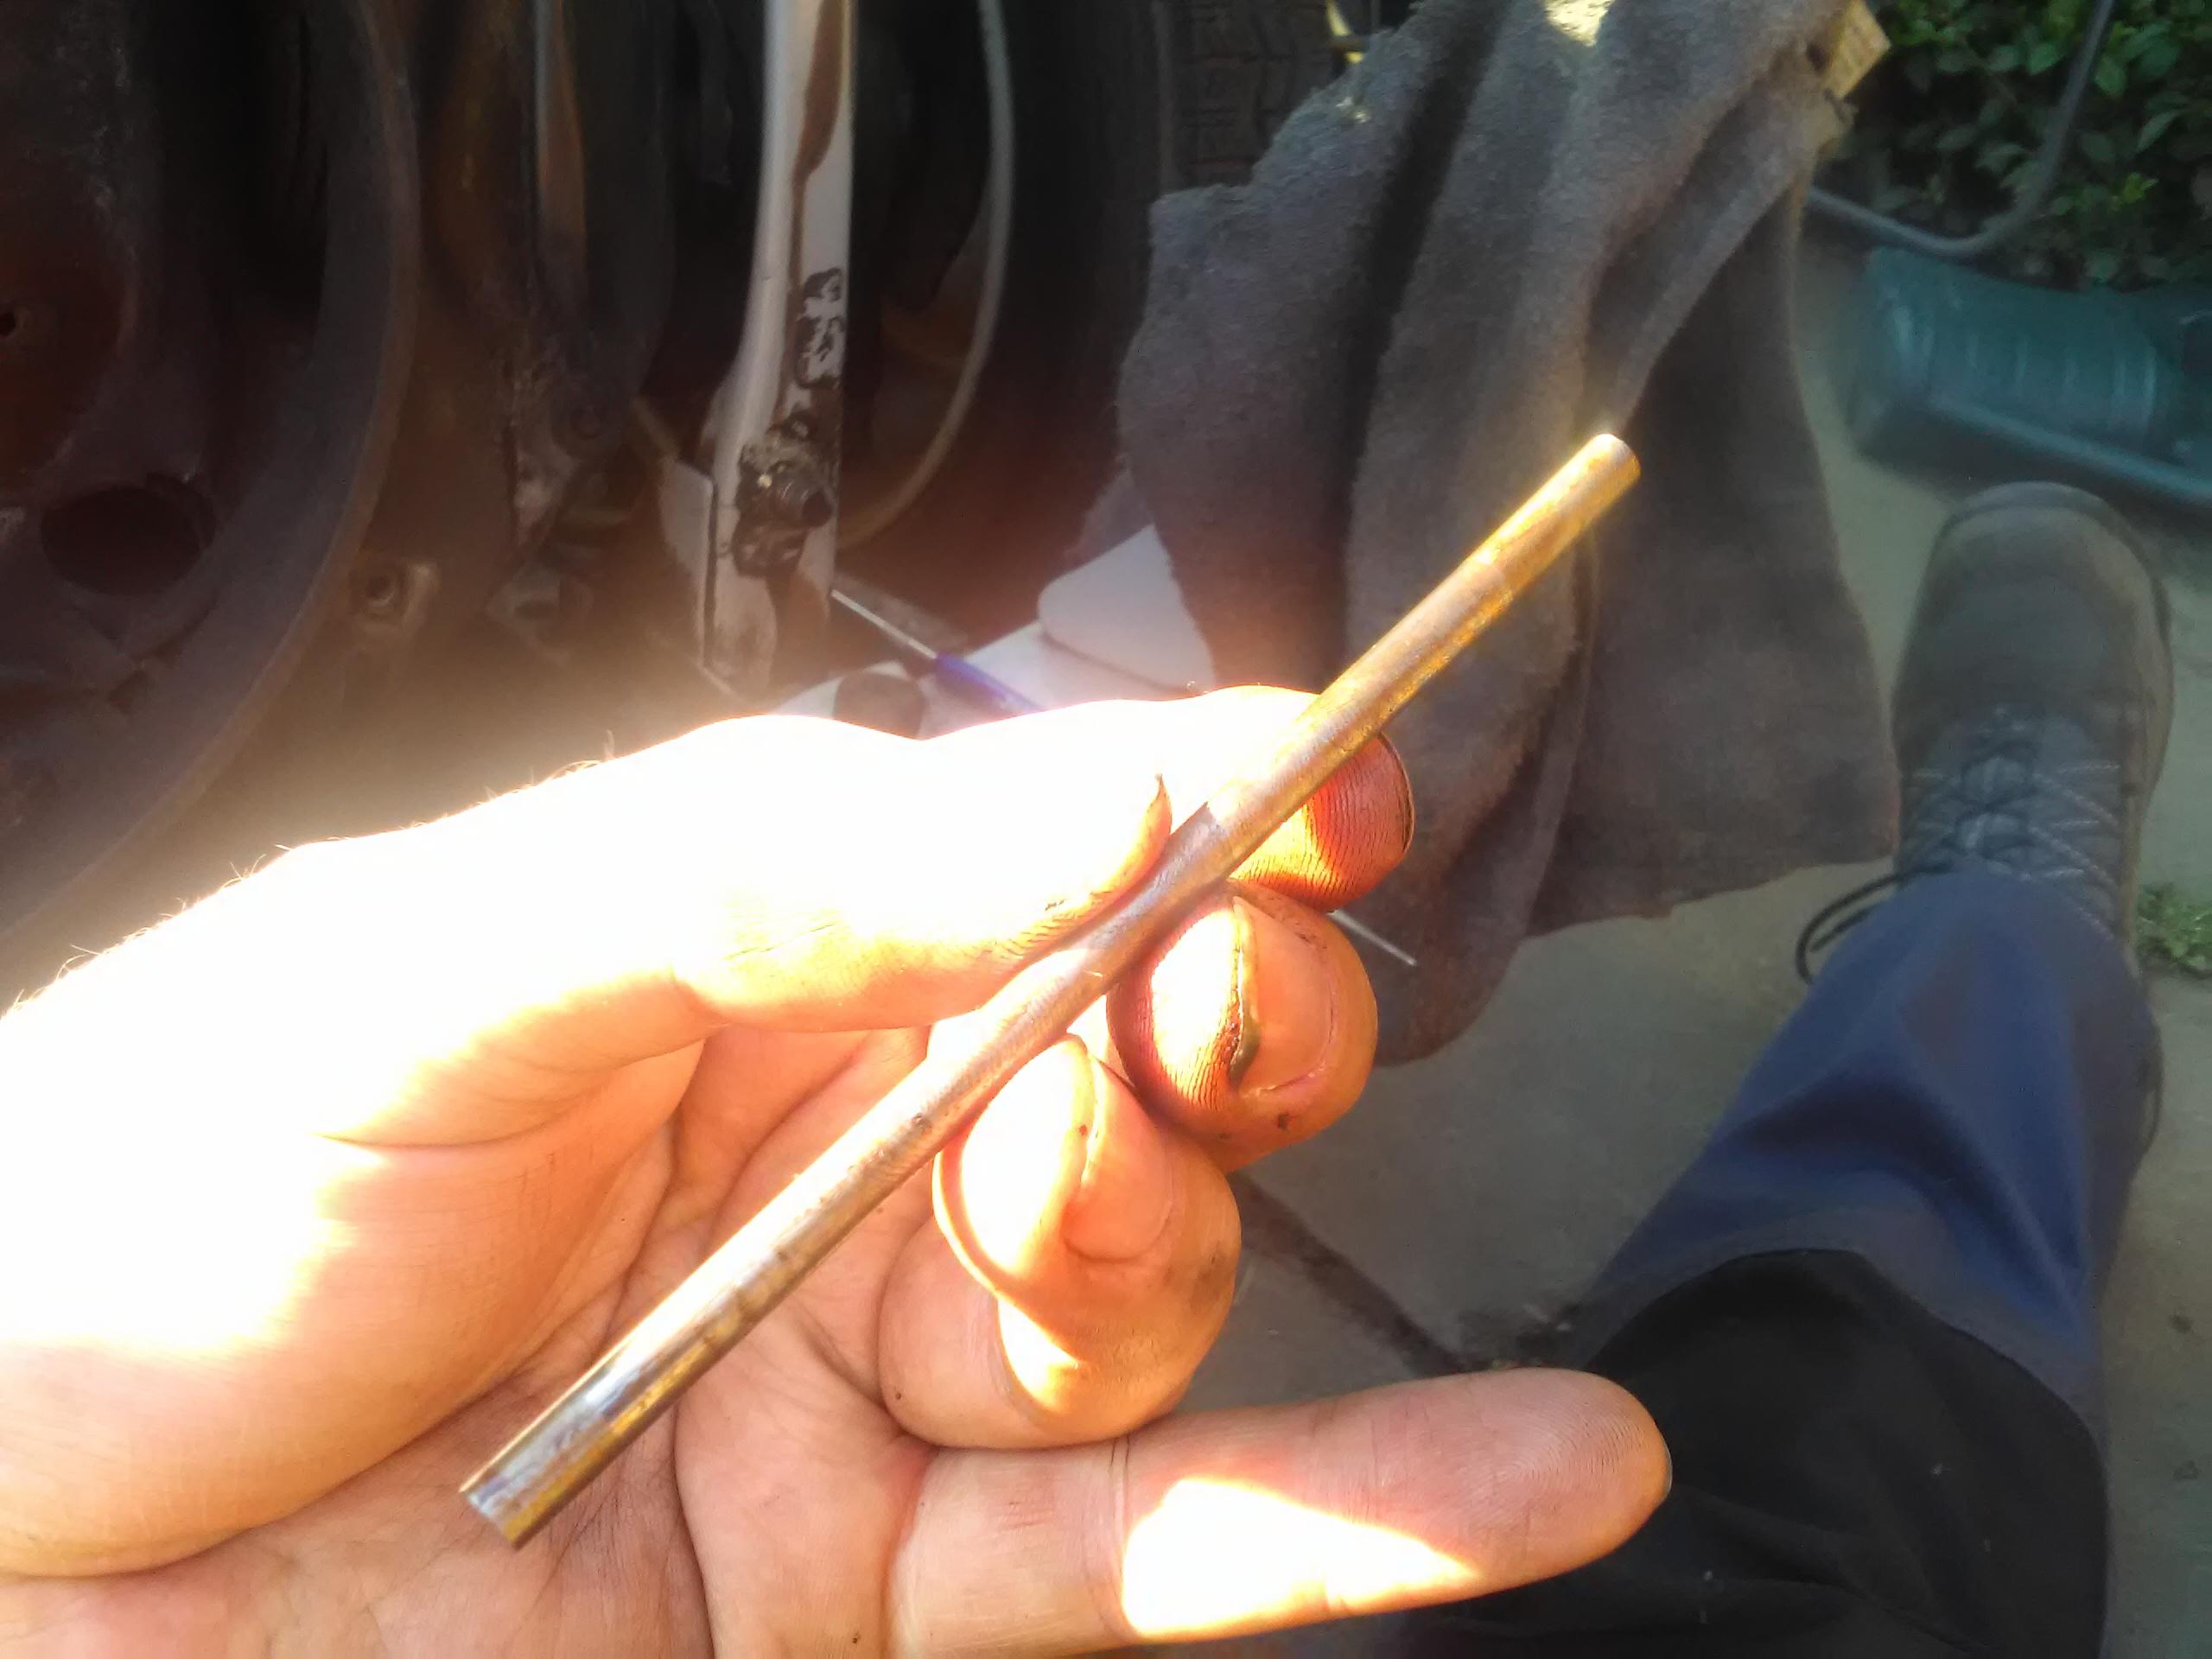
As one thing TomB didn’t have was a timing light he set about making one from spare parts (the Megan light cluster finally providing itself something other than a complete pain the derrière) whilst I checked the points gap.  The gap is supposed to be 0.4mm but it was down to under 0.1mm – clearly something that needed fixing.  Re-setting the gap was accomplished with no difficultly and, when testing the timing, it was spot on indicating that nothing else had moved.

She then fired up on the button and the tickover was spot-on.  A short test drive in the last of the afternoon sun confirmed things were back to their best.  The run back to Scotland the next day passed off without incident – and used much less fuel!

So what was going on?

The spark is generated when the points open and the LT field in the coil collapses inducing a current in the HT circuit.

When the points are closed (i.e. the follower is on the flats of the cam) the charge builds in the coil. Then when the heel of the cam comes round it opens the points. The gap spacing controls the amount of time the points are closed – this is known as the dwell angle – smaller gap is a longer dwell, with a small gap it’s only the tip of the heel that will open the points. The flip side of the smaller gap is that the points will open later (i.e. only the tip of the heel, not part way up the heel). As the points are opening later in the rotation that has the effect of retarding the timing – and that’s where Judith was sitting.

Normal static timing is eight degrees before top dead centre, the retardation will mean it’s firing (probably) at, or after, after TDC so the mixture is being thinned out and there will likely be incomplete combustion. Given the wasted spark it also means there will be a spark on the exhaust stroke of the opposite cylinder which will be igniting the unburnt fuel – this will be the pops and backfires.

Now to the next bit – the centrifugal timing advance. Combustion basically always takes the same time so as the engine rotates faster the spark needs to fire earlier to ensure the explosion happens at the right time to deliver the power on the down stroke. To accomplish this there are a set of sprung weights between the cam shaft and the timing cam that have the effect of rotating the timing cam relative to the cam shaft thus advancing the timing.

So Judith was running with retarded timing at idle – causing the incomplete combustion (not running rich as we first thought) and the popping and backfires that stalled the engine. However, as the revs built the centrifugal timing advance was cancelling this retardation which explains why she was able to run at high revs – albeit using more fuel to get there as it wasn’t fully burning.


Replaced off side front indicator

Well, this wasn’t planned for today but I had bought a replacement indicator because I knew it was coming.

What I had planned for today was taking a look at why the clicker and the dash indicator light weren’t working when signalling to turn right.  After much digging around with a multimeter I worked through a couple of connectors that needed improving and ended up with the offside indicator in the wing.

It soon became apparent that the problems in this area would take longer to fix than replacing the unit.  It looks like there was a creative repair in the past but the root of the problem stems from the design of the unit as a whole, it’s very exposed to corrosion and the wiring might be easy to fit when assembling the car at the factory but less so when coming to doing a repair.

The replacement is now fitted but I think I need to take a look at replacing the wiring for both wings at some point.


Exhaust bandage

I’ve known there was a band of rust on the front cross box since I first looked at her but there was no evidence of a leak. However, the other day when I started her up cold I happened to notice that a small amount of condensation was bubbling out of a pinhole leak.

Whilst I will get round to replacing the cross box at some point it’s not a job I want to do at the moment – so time for a temporary fix.

With the front end up on axle stands I got out the wire brush to clean up the rust.  Whilst it’s mostly surface rust, once it was cleaned up the source of the leak was apparent.

2CV exhaust cross box showing rust

The exhaust bandage was fitted according to the instructions on the packaging, the most difficult part being feeding it round the top of the cross box.

2CV exhaust cross box with bandage

Quick trip out to heat it up and cure the adhesive and job done (shortly before it started raining).


2CV fuel line ‘fixing’

Clément-Bayard factory, Levalois-Perret, late 80s:

Ah, Pierre, shall we use ‘ose clips on any of zee many joints of zis deux-cheveaux fuel line? Bah non, John-Paul, zey cost two centimes each – do you zink, Monsieur Citroën, ‘e is made of money? Bof, ah theenk it is time for luunch anyway. Where is zee vin rouge? It occur to me – whilst ah eat mah baguette and drink mah vin rouge – zat maybe one of zeese unclipped joints may be zee weakest link in zis system as it can flex more zan zee rubber pipe we put in to abszob zee flex. Bof, we shall let some crazy Eeenglish fool deal wizz zat in 30 years.

30 years later:

After checking the visible fuel line for potential leaks the only place left to check was on top of the fuel tank and the only way to check that is to unbolt and lower the fuel tank. As fully lowering the fuel tank is realistically a two person job I had to make do with lowering it about 10cm using a trolley jack. This didn’t give me much access but I could see what was going on and get in with one hand.

Supporting a 2CV fuel tank with a jack

There is a metal pipe that comes up from the fuel tank onto which a short length of rubber hose is attached. The other end of the hose is attached to a PVC fuel line which then runs down to the front of the chassis.  This is a pretty good system for joining the metal pipe to the main PVC fuel line as the rubber hose can absorb any flex in the system between the fuel tank (which is mounted on rubber bushes) and the chassis.  However, without a clip on the joint it means that the joint becomes the weakest point.

2CV fuel tank connections to the fuel line

Examining this I could see that the hose at this joint in the fuel line had indeed developed a small split right at the end, weakening the joint, so was a potential source of a leak. Being at a high point of the system it wasn’t going to be letting fuel out but would have been allowing some air in.

Ideally I would have liked to replace the length of rubber hose but, with limited access, the best I was able to do was put a hose clip on the joint to hold the split closed and reinforce the joint.

2CV fuel tank connections to the fuel line with hose clip

This isn’t a long term fix but does buy me some time until I can fully replace the fuel line.  With hose clips at every joint this time…

Update: With the able assistance and extra resources of TomB engineering we fully dropped the tank and that short length of split hose was replaced as part of a larger piece of work.


Lubricating 2CV suspension cylinders

The suspension cylinders of a 2CV are key to the interlinked front and rear system that provides such a good ride over uneven surfaces. Like most moving parts on a car they benefit from lubrication. Given there are rubber seals in the cylinders that maintain the seals that enable the transfer of movement from front to rear spring, it’s necessary to use a non-mineral oil that won’t cause them to perish. Some form of vegetable oil is normally used – caster oil being the traditional family choice as it’s quite viscous at ambient temperatures.

Back when Judith was fresh out of the factory it was possible to buy caster oil from the village chemists, these days it’s available as a cosmetic item from on-line retailers. The retailer I chose was also able to provide a suitably sized syringe and tubing.

Filling a syringe with caster oil

To get the oil into the right place, the rubber gaiter on the suspension pull rod needs to be pulled back and the tube inserted as far as it will go as the seals are in the middle of the cylinder.

Inserting the lubrication tube into a 2CV suspension cylinder

This process needs to be repeated four times: front and rear on the left and right cylinders.

As I didn’t know when this had last been done I put about 50ml into each side of each cylinders which is about as much as they would take.

After completing this it’s best to take the car our for a drive over some bumpy roads to work the oil into the seals.


Replacing a 2CV fuel pump

In the first couple of outings after the winter I noticed there were some fuel starvation issues, especially at low revs. Suspecting a tired fuel pump I set about replacing it with a brand new one.

2CV fuel pumps (Valeo and BCD)

Having already taken the fuel pump out to renew the hoses there wasn’t much to add to the process outlined there. However, this time I did take the fan off and get access from the front of the engine which made things significantly easier – especially locating the mounting bolts.

Accessing a 2CV fuel pump with the fan off

Whilst I had the pump out I took out the actuator rod and cleaned it. This rod is driven by the crankshaft and mechanically activates the fuel pump. With the spacer block removed it’s not too difficult to tease the rod out as access is quite good.

2CV fuel pump actuation rod in-situ
2CV fuel pump actuation rod

After a clean and a fresh coating of grease, refitting was the reverse of removal.

A nice long shakedown run (starting by staying close to home) showed a significant improvement in the fuel delivery but there was still the odd niggle that warrants further investigation – either another split fuel hose or a carb issue seem the most likely.


Replaced bolt

Whilst cleaning out the inside of the car I noticed one of the bolts holding the near side rear door retaining strap was missing.

2CV rear door retaining strap

As fixes go they don’t get much simpler than this:  adding a new nut and bolt.  (And also cleaning up some rust, old grease and dirt before re-lubricating.)

2CV rear door retaining strap

Battery isolator

Disconnecting the battery is a common occurrence on Judith as I do it for storage and as a safety measure when working on anything that doesn’t require the electrical system (which, on a 2CV is most things).

As connecting and disconnecting the negative terminal requires a 10mm spanner and puts stress on the wires I wanted a better and more convenient solution: a battery isolator. Looking around there are various options but, as the secondary earth wire is cast into the negative terminal connector I didn’t really want to use an isolator that required replacing the connector. The one I’ve settled on has both male and female connectors so sits inline with no modifications required.

Battery isolator fitted to 2CV

It consists of two metal plates separated by an isolator and a brass screw. When screwed down the bottom of the nut contacts the top plate and the thread contacts the lower plate completing the circuit.

Battery isolator

Fitting to the car was as simple as it looks but I might try and replace the pinch bolt, whilst it shouldn’t need removing very often it does seem to be made of soft steel and the nut sits somewhere between my 12mm and 13mm spanners – the price of a decent replacement is worth the piece of mind.